Do you have a question about the Weller WR 3M and is the answer not in the manual?
Lists menu items like Standby, Setback, Offset, Window, and their corresponding codes (-1-, -2-).
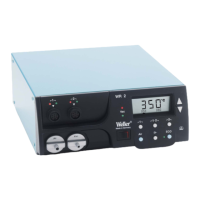
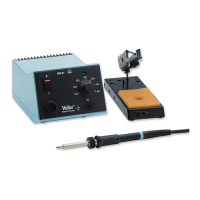
Details the various tools and their connections for the Air function on the WR 2 unit.
Details the various tools and their connections for the Vacuum function on the WR 2 unit.
Details the various tools and their connections for the Air function on the WR 3M unit.
Details the various tools and their connections for the Vacuum function on the WR 3M unit.
Details the various tools and their connections for the Pick Up function on the WR 3M unit.
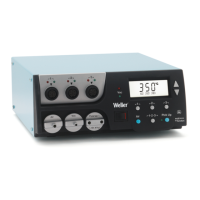
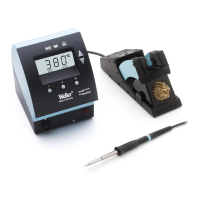
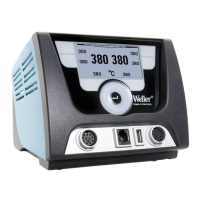
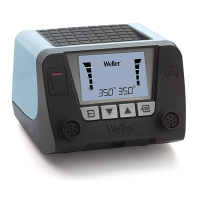
Identifies and describes the numbered ports and controls on the WR 3M front panel.
Identifies the USB port and power connections on the rear panel of the WR 3M unit.
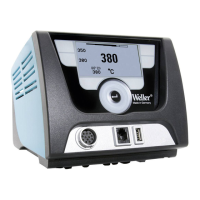
Explains labels related to channels, optical control, and status indicators on the WR 3M display.
Explains how actual, standard, and fixed temperatures are displayed along with °C/°F units.
Describes indicators for standby, offset, setback, window, interlock, and channel selection.
Illustrates proper placement of the unit and required clearance for ventilation.
Shows how to connect the WR 2 (max 2 tools) and WR 3M (max 3 tools) to power.
Demonstrates the correct procedure for connecting Air, Vac, and Pick Up tools to their respective ports.
Illustrates correct and incorrect methods for connecting handpieces to the unit.
Provides a tip for using the HAP 200 tool with the WR 3M.
Offers usage tips for DSX 80, DSX 120, and DXV 80 tools.
Demonstrates how to operate the Pick Up tool on the WR 3M, supporting up to two connections.
Shows the WRK and WVP accessories and their connection points.
Illustrates the process of turning the unit ON and OFF using the power button.
Shows a warning symbol before starting the filter replacement process.
Demonstrates how to disconnect the tool and remove the filter from the unit.
Illustrates the insertion of new AIR and VAC filters, specifying part numbers.
Shows how to adjust the air flow percentage from 10% to 100% using the unit controls.
Demonstrates the correct procedure for starting the hot air function.
Displays a warning symbol indicating caution when starting or stopping the hot air function.
Illustrates the process of selecting channel 1 on the WR 2 unit.
Demonstrates how to select channel 2 on the WR 2 unit.
Shows the procedure for switching between channel 1 and channel 2 on the WR 2 unit.
Illustrates how to turn channel 1 ON or OFF on the WR 3M unit.
Demonstrates how to turn channel 2 ON or OFF on the WR 3M unit.
Shows how to turn channel 3 ON or OFF on the WR 3M unit.
Demonstrates setting the standard temperature for channel 1 on the WR 3M.
Illustrates setting the standard temperature for channel 2 on the WR 3M.
Shows setting the standard temperature for channel 3 on the WR 3M.
Demonstrates selecting and saving a fixed temperature for channel 1 on the WR 3M.
Illustrates selecting and saving a fixed temperature for channel 2 on the WR 3M.
Shows selecting and saving a fixed temperature for channel 3 on the WR 3M.
Illustrates the process of selecting channel 1 on the WR 3M unit.
Demonstrates how to select channel 2 on the WR 3M unit.
Shows how to select channel 3 on the WR 3M unit.
Illustrates switching between channels 1, 2, and 3 on the WR 3M unit.
Lists and identifies internal components of the WR 2 unit with part numbers.
Identifies external parts and accessories of the WR 2 unit with part numbers.
Lists and identifies internal components of the WR 3M unit with part numbers.
Identifies external parts and accessories of the WR 3M unit with part numbers.
Lists part numbers for power cords specific to USA, DK, CH, GB, F, D regions.
Information on how to register a Weller product online for support and warranty.
Provides contact details for Weller support in Germany, USA, China, and Great Britain.
| Brand | Weller |
|---|---|
| Model | WR 3M |
| Category | Soldering Gun |
| Language | English |