9
UNPACKING
With the help of a friend or trustworthy foe, carefully remove the engraver from the packag-
ing. Do not discard the packaging until all of the parts below are accounted for. If any part is
damaged or missing, please contact our customer service at (800) 232-1195, M-F 8-5 CST
or email us at techsupport@wenproducts.com.
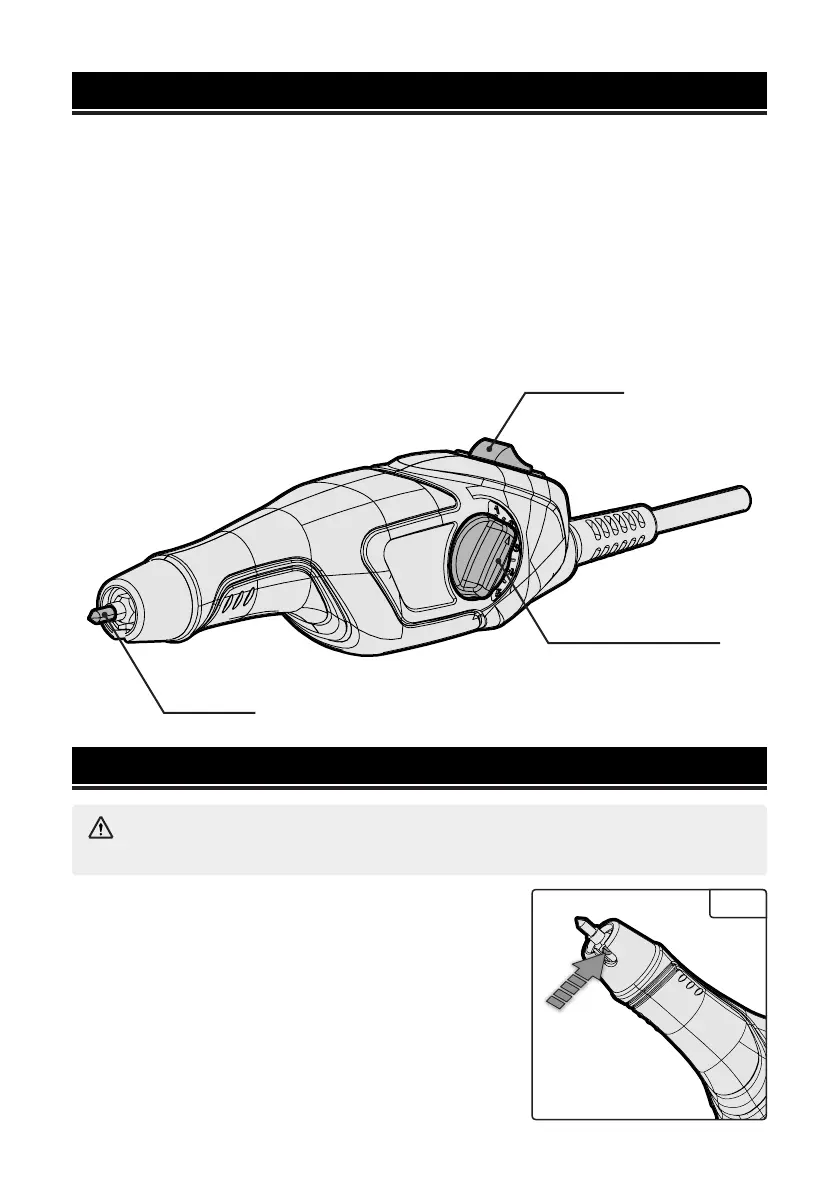
TOOL PURPOSE
The engraver can be used to permanently mark metal, glass, plastic, wood, leather, ceram-
ics and much more. Refer to the diagram below to become familiarized with the parts and
controls of your engraver.
INCLUDED ACCESSORIES
• Carbide Tip (1)
• 1.5 mm Hex Wrench (1)
• Stencil (2)
Carbide Tip
Power Switch
Depth Adjustment Knob
KNOW YOUR ENGRAVER
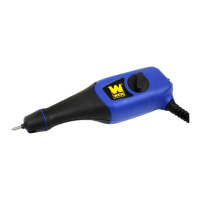
INSTALLING AN ENGRAVER TIP
1. Loosen the tip locking screw (Fig. 1) by turning it coun-
terclockwise with the included hex wrench.
2. To fit the new engraving tip, insert the tip into the chuck
ensuring the tip fully enters the chuck. A new tip should
protrude from the end of the housing by approximately 8.5
mm (~3/8 inch).
3. Tighten the tip locking screw fully by rotating in a clock-
wise direction.
Fig. 1
ASSEMBLY
WARNING: Disconnect the engraver from the power supply before making any adjust-
ments or maintenance procedures.