ASSEMBLY & ADJUSTMENTS
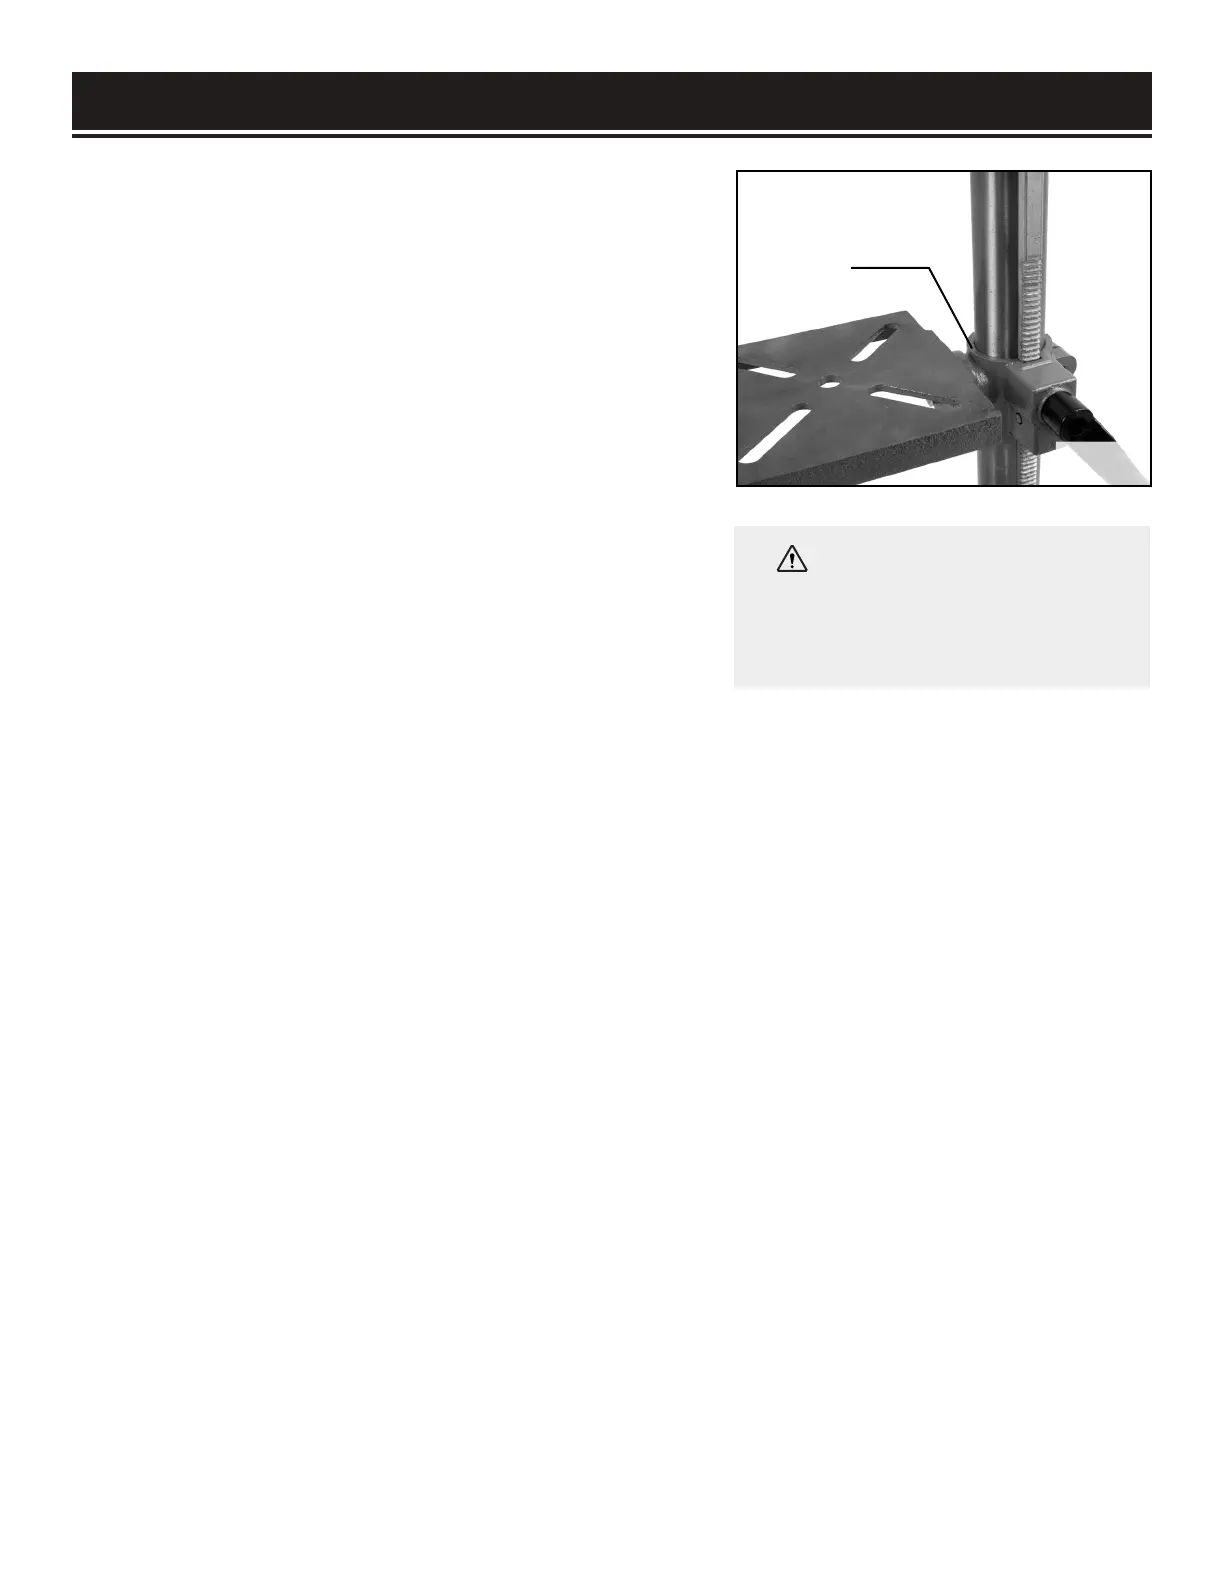
TILT THE TABLE (FIG. 13)
1. Loosen the bevel lock bolt (under table) with a suitable
socket or wrench (not included).
2. Tilt the table to the desired angle, using the bevel scale (1)
as a basic guide.
3. Re-tighten the bevel lock bolt.
4. To return the table to its original horizontal position, loosen
the bevel lock bolt.
5. Realign the table to the 0
° setting on the bevel scale.
6. Tighten the bevel lock bolt with the wrench.
ASSEMBLY & ADJUSTMENTS
1
INSTALLING A DRILL BIT
1. Place the chuck key into the side keyhole of the chuck, meshing the key with the gear teeth.
2. Turn the chuck key counterclockwise to open the chuck jaws on the bit shank.
3. Insert a drill bit into the chuck far enough to obtain the maximum grip of the chuck jaws.
4. Center the drill bit in the chuck jaws before the final tightening of the chuck.
5. Tighten the chuck jaws using the chuck key to ensure that the drill bit will not slip while drilling. Tighten
all three holes on the chuck to ensure maximum grip on the bit.
6. Remove the chuck key.
14
Fig. 13
WARNING: Make sure the
chuck key is removed from the
chuck before starting any drilling
operation.

 Loading...


