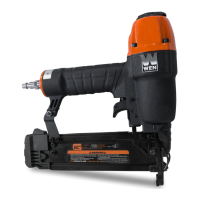
Fig. 3
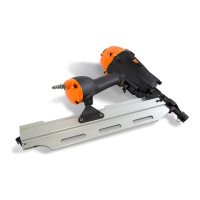
Fig. 4
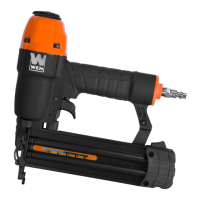
Fig. 5 Fig. 6
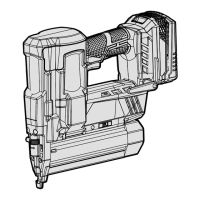
Fig. 7
1
PREPARATION AND ADJUSTMENTS
LOADING THE FASTENERS (Figs. 3 to 6)
WARNING: Always load the fasteners
after connecting the tool to its air supply.
Otherwise, unwanted misfires may occur
during connection. Never aim the tip towards your-
self or others.
1. Depress the magazine lock and pull out the mov-
able magazine fully (Fig 3).
2. Hold the nailer with the magazine to your side.
Make sure the firing tip is directed away from your-
self or others.
3. Your nailer accepts either 18 gauge brad nails 5/8˝
- 2˝ in length or 18 gauge 1/4˝ narrow crown staples
5/8˝- 1-5/8˝ in length (Fig. 4). A maximum of 100
fasteners may be loaded in the magazine.
A. Loading Staples: Place a clip of staples over the
fixed magazine track as shown (Fig. 5).
B. Loading Nails: Place a clip of nails into the
grooves of the fixed magazine with the nail tips
pointing downwards (Fig. 6). Make sure the heads
of the nails rest on the appropriate groove and that
the base of the nails are against the bottom of the
magazine.
4. Push the movable magazine forward until it is
locked. NOTE: Some force may be required to fully
close the magazine when fasteners are loaded.
NOTE: Regularly check the nail gauge window and
make sure to refill before the fasteners run out. Blank
ADJUSTING THE AIR OUTLET (Fig. 7)
Air will be released from the air outlet during operation. Rotate the adjust-
able air outlet cap (Fig. 7) on the top of the nailer to direct the released air at
your preferred direction, away from you and the workpiece.
9
NON-MARRING TIP
A rubber non-marring tip is attached to your nailer’s safety bracket to reduce marring and damage to the workpiece
during operation. Make sure to disconnect the tool from air supply before adjusting, removing or installing the
non-marring tip.
shots can damage the tool and leave unwanted marks on the workpiece.