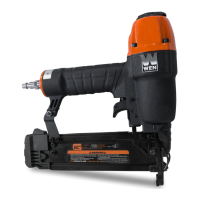
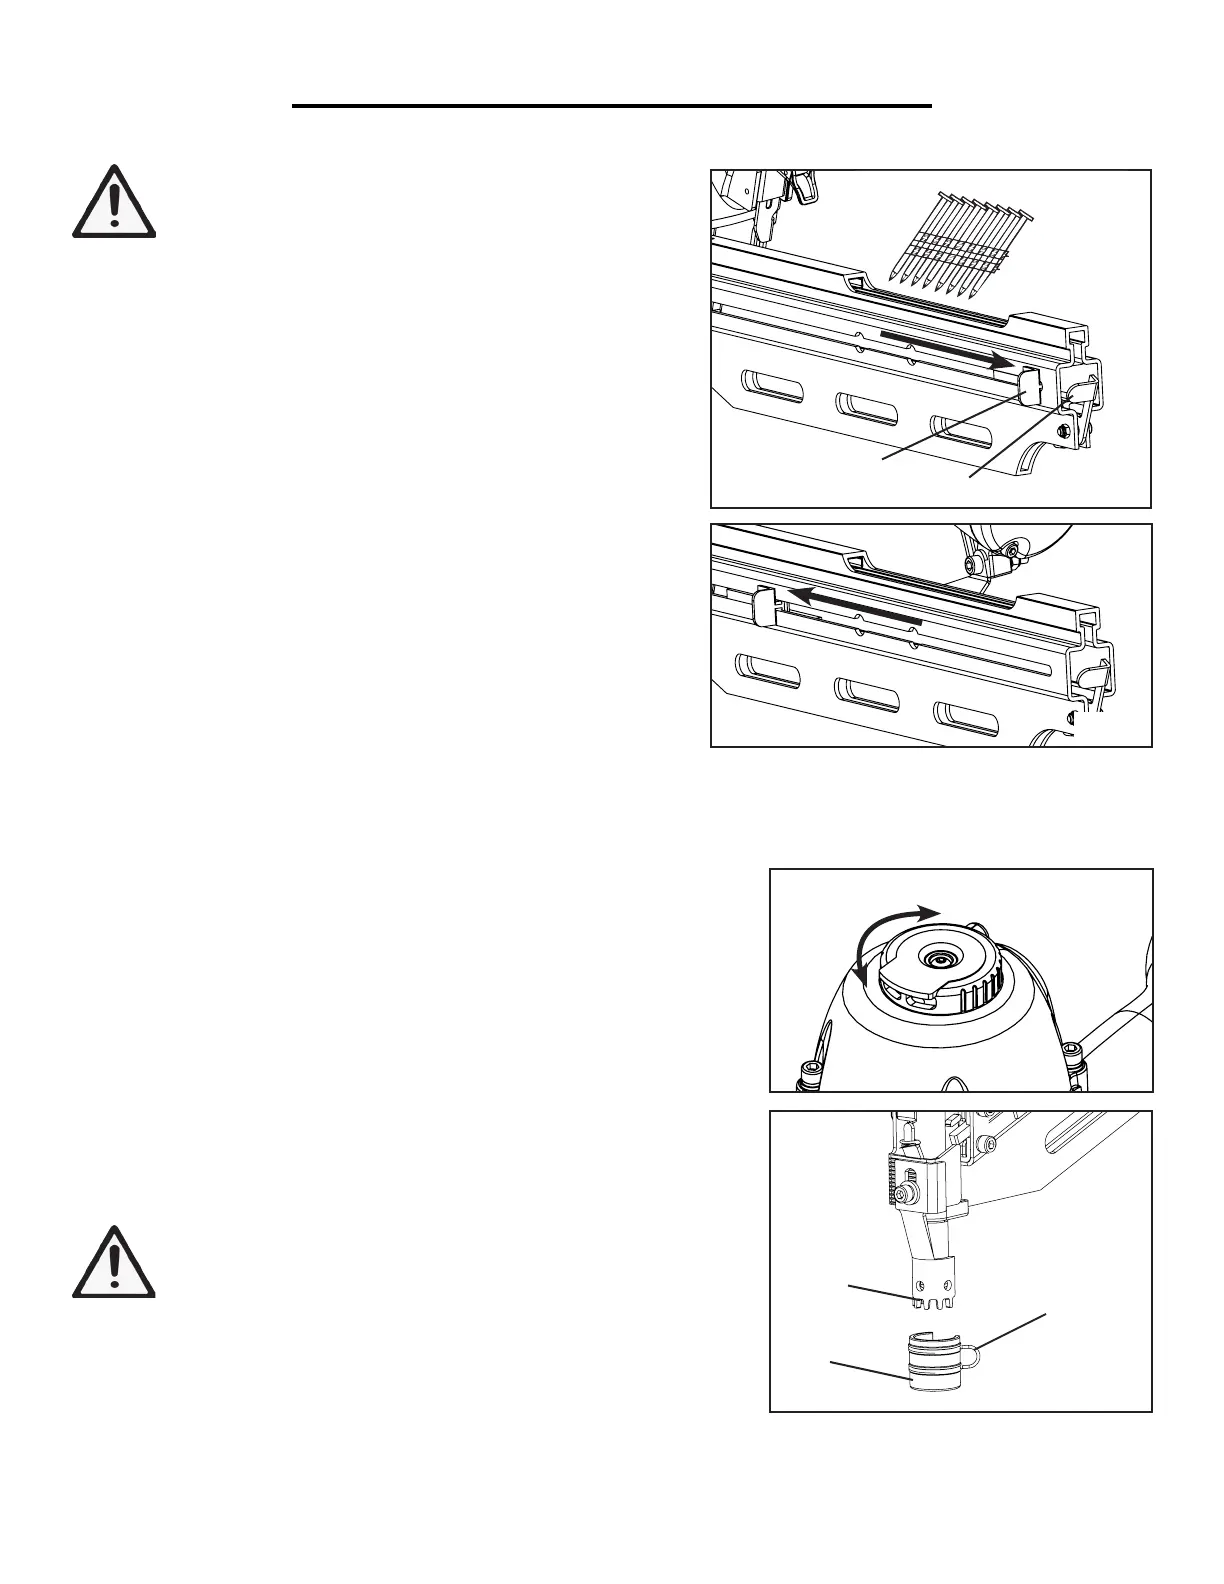
ADJUSTING THE AIR OUTLET (Fig. 5)
Air will be released from the air outlet during operation. Rotate the ad-
justable air outlet cap (Fig. 5) on the top of the nailer to direct the re-
leased air to your preferred direction, away from yourself and others.
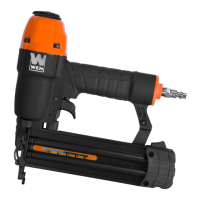
NON-MARRING TIP (Fig. 6)
The rubber non-marring tip (Fig. 6 - 1) is attached to the safety bracket
to reduce marring and damage to your workpiece during operation.
The non-marring tip can be removed from the safety bracket to increase
the driving depth and allow better grip on the surface using the no-slip
teeth (Fig. 6 - 2). However this may leave dents on your workpiece.
WARNING: Disconnect tool from air supply before remov-
ing or installing the non-marring tips.
To detach the non-marring tip, flip open the locking clip (Fig. 6 - 3) and
slide the non-mar tip off the safety bracket. To attach the non-marring
tip, slide it onto the safety bracket and secure it with the locking clip (Fig.
6 - 3).
Fig. 3
Fig. 5
Fig. 6
PREPARATION AND ADJUSTMENTS
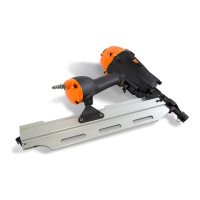
LOADING THE FASTENERS (Fig. 3 & 4)
WARNING: Always load the fasteners after connect-
ing the tool to its air supply. Never aim the tip of the
nailer at a person or animal in case of misfire.
1. Slide the feeder shoe (Fig 3 - 2) all the way to the back of the
magazine until it click into place.
2. Place the fasteners into the magazine slot with the tip pointing
downwards. Slide the fasteners forward against the front of the
magazine.
Your nailer accepts 21-degree round head framing nails with di-
ameter ranging from 0.113" - 0.131" (2.87 - 3.33 mm) and length
ranging from 2" - 3-9/16" (50 - 90 mm). A maximum of 60 fasten-
ers may be loaded.
3. Pull the feeder shoe backwards, and press the magazine lock.
Release the feed shoe, allowing it to spring forward against the
nails to secure them in position. Check that the nails have been
loaded correctly and securely.
9
NOTE: The nailer is equipped with an anti-dry-fire mechanism to protect your nailer. When the quantity of fasten-
ers in the magazine drops below five, the nailer will not fire. Reload your magazine when the nail count gets low.
1
2
1
3
2
Fig. 4
 Loading...