
M
Michael ThompsonJul 30, 2025
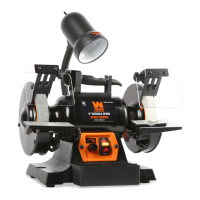
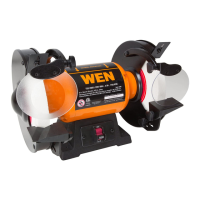
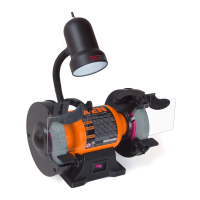
What to do if my Wen BG4260 motor does not start?
- CChristy ReynoldsJul 30, 2025
If your Wen Grinder's motor isn't starting, check the power cord, extension cord, power plug, and outlet to ensure everything is properly plugged in and undamaged. Also, verify that the circuit is providing 120V power. If the problem persists, stop using the tool and call 1-800-232-1195 for customer service, as there may be a defective power switch, motor, wiring, capacitor, short circuit, or loose connections.