Included Components
Assembly
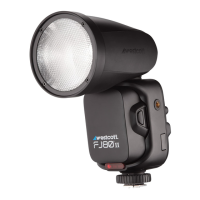
Switch Light Mount Inserts sold separately. Please visit fjwestcott.com/switch for available options.
Opening the Switch Lantern
1. Slide the collapsed Lantern frame into the opening of the fabric softbox with the Switch
Insert end facing out.
Note: For proper fabric fitment, while pressing down on the Switch Lantern adapter ring,
ensure the seams of the fabric are aligned with the frame’s ribs.
2. While holding the fabric in place, stand the Switch Lantern on the floor or a table so that
the Switch Insert is facing upwards.
Note: The Switch Lantern comes with a fabric dot equipped with a hook-and-loop
fastener. This dot can be axed to the front of the modifier to help maintain a clean
diusion fabric during assembly. It can also be used to help reduce hot spots during use.
3. Continue holding the fabric with one hand. Place your palms on both sides of the
adapter ring and slowly push down until the internal horizontal bar is secured in place by
the two wide hooks at the base of the frame.
Note: The ribs of the lantern should bow outwards to create a ball shape. If a rib bends
inwards, gently reduce the downward pressure until the rib self adjusts to bend outward.
4. Once the horizontal bar is securely in place, close the collar of the Switch Lantern by
utilizing the hook-and-loop fasteners.
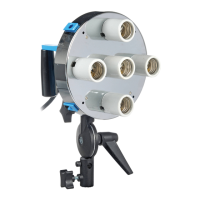
Attaching a Switch Insert to the Lantern
On the edge of the Switch Lantern ring, locate the three
metal tabs and the thumb lock. Slide the Switch Insert (sold
separately) under the three tabs while shifting the thumb lock
outwards. Once in place, release the thumb lock to secure.
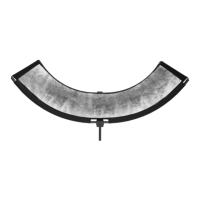
(1) Lantern Frame
(1) Lantern Softbox
(1) Lantern Dot
(1) Travel Case