Disassembly
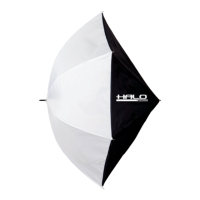
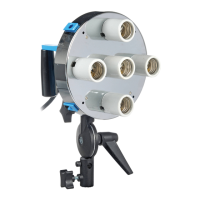
Mounting a Strobe or Constant Light
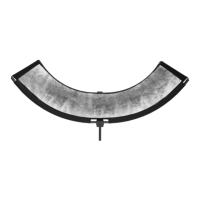
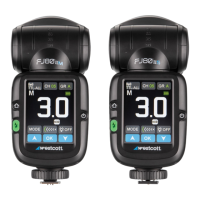
Mounting a Speedlite
1. After attaching the Switch FJ80 Insert #2544 or Speedlite
Insert #2541 (both sold separately) to the Switch Lantern,
locate the two pins on the Insert. While pressing the
longer pin, rotate the adapter mount counterclockwise
until it locks into place.
2. Locate the shoe mount tilter bracket included with the
Switch Insert. Align the bracket’s screw to the channel
located on the Insert. Tighten the screw to secure the
bracket at the height required for your light.
3. Loosen the tension knob on the base of the tilter bracket
and place it on a light stand. Tighten the tension knob to secure.
4. Loosen the tension screw on the side of the cold shoe bracket and slide your speedlight
into place. Tighten screw to secure.
5. Utilize the cold shoe’s lower tension knob to adjust the speedlite’s distance from the
Switch Lantern.
1. Place your light source onto a light stand, boom, or
mounting arm.
2. After axing your light source’s compatible Switch Insert
(sold separately) to the Switch Lantern, align the insert
with the face of your light.
3. Secure the Switch Lantern to your light source. Refer to
your light source manual for proper mounting methods.
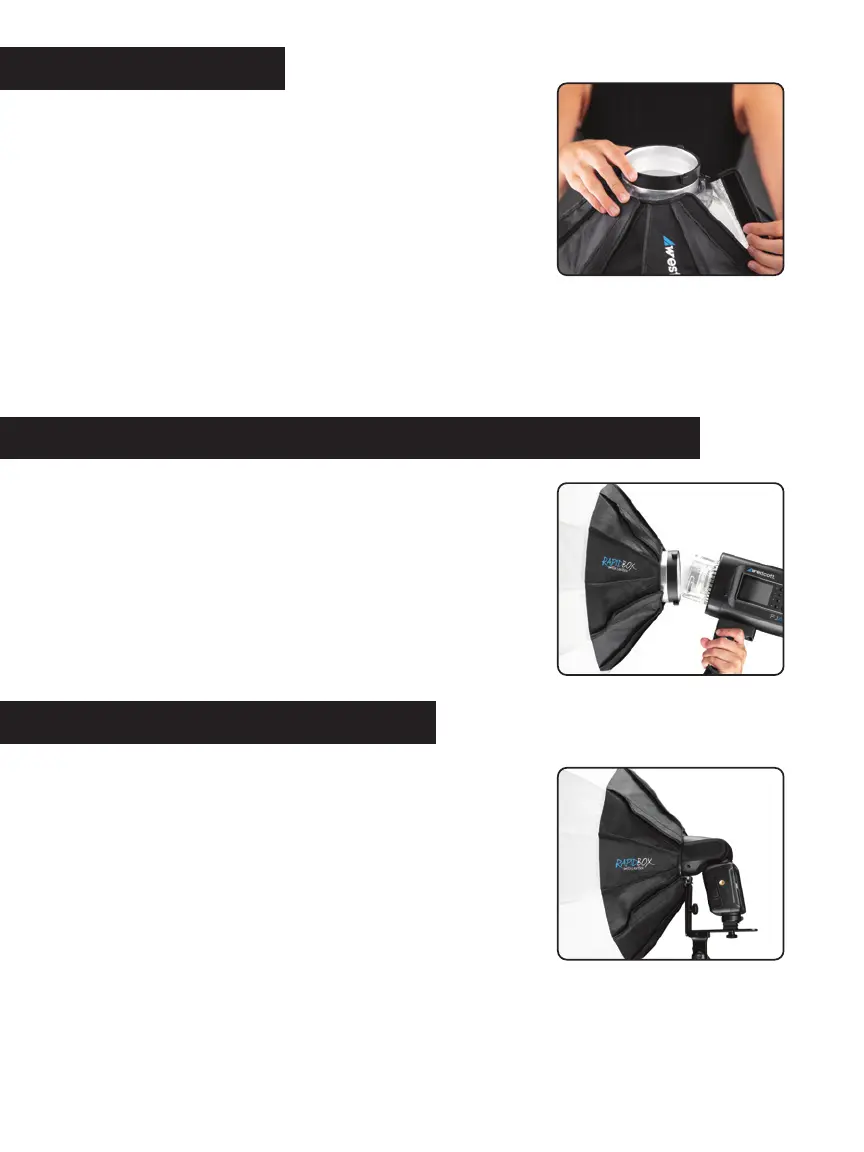
1. Undo the collar’s hook-and-loop fasteners.
2. With your hands on each side of the adapter ring, push
down until the internal horizontal bar is below the hooks
located at the base of the Lantern frame.
3. Maneuver the bar so that it’s clear of the hooks and slowly
reduce the pressure on the adapter ring until the Lantern
reaches the fully collapsed position.
Important: Do not remove your hands from the adapter ring until the Lantern returns to
the collapsed position. Failure to do so may result in the Lantern springing upwards and
causing personal injury or property damage.