7
12. PLUMBING
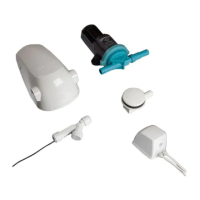
STEP 5. Place the housing through the hole (Fig. 9). Install by tightening the 2 screws
in the front face until the fl ange is securely mounted to the bulkhead (See
Fig.10) i.e. touching at all points around the circumference. Ensure that the
screw holes are on a horizontal plane.
CAUTION: Do not over-tighten.
STEP 6. Press the plastic covers into screw holes by hand. (See Fig. 11)
STEP 7.
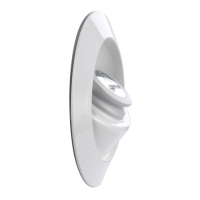
Feed the hose down through the housing until the handset is in place. (See Fig. 12)
Please refer to section 8 for plumbing details.
PLUMBING PREPARATION
STEP 1 Turn off electrics, open all faucets and showers (hot and cold) to depressurize
the system and remove the existing shower.
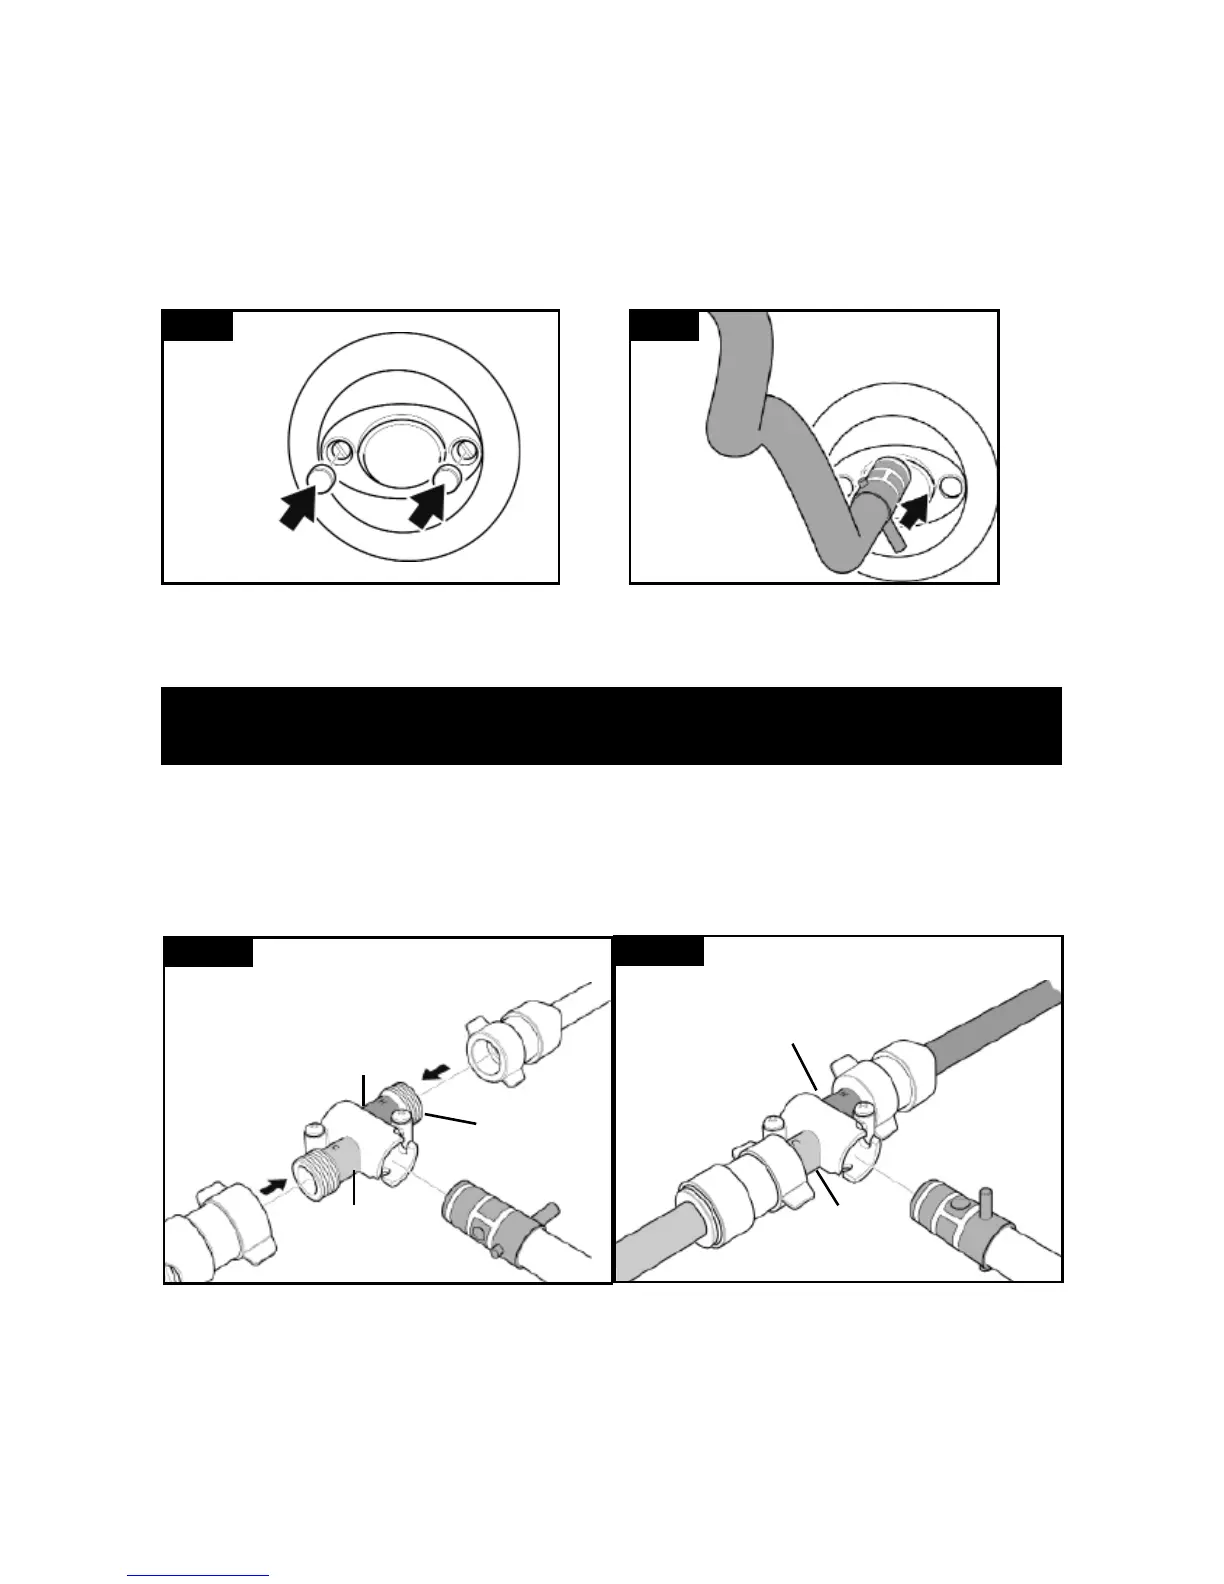
STEP 2 Prepare hot and cold plumbing lines to have appropriate connections to 1/2”
threaded valve housing ports (See Fig. 13a).
Fig. 11
Fig. 13a
Fig. 13b
In Front
of the
Bulkhead
Behind the
Bulkhead
Behind the
Bulkhead
In Front of
the Bulkhead
Fig. 12
PLUMBING - MIXER MODELS
Models DS0003B, DS0004B, DS0013B, DS0014B, DS0413B, DS0414B DS0006).
STEP 1 Secure the valve housing using a number 2 pozi screwdriver to tighten the
screws provided.
Cold Cold
Hot
Hot
1/2”
threaded
ports
 Loading...