The appliance must be
installed in accordance with the installation instructions and comply with any relevant
regulations in the country where the appliance is installed.
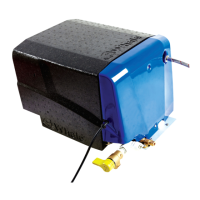
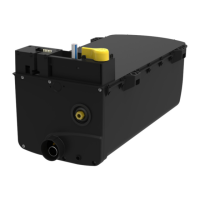
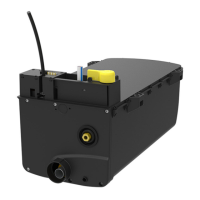
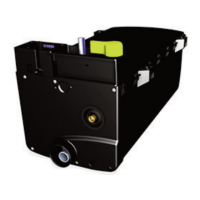
The gas pipe, the Water Heater and the mains supply gas pipe must be
checked to ensure that they are free from
dirt or other particles before connection to the 8mm gas inlet pipe on the Water Heater with a compression joint. The
supply pipe must be routed so that the appliance can be removed for servicing.
The gas shut off valve must be
located in the vicinity of the Water Heater and all connections must be kept to a
minimum.
WARNING: The operating pressure for the gas supply must be either 28-30mBar Butane or 30mBar-37mBar
Propane.
Step 9 Installing Control Panel
Option 1 - Installing Whale Water Heater Control Panel (see Figs. 17-19)
Option 2 - Installing Whale Duo Control Panel
Option 3 - Installing Vehicle Manufacturer Control Panel
When mounting the Whale® Control Panel find a suitable convenient and accessible position. Ensure suitable access
for wiring loom connection and cable. Note that the cable supplied to connect the Control Panel to the Water Heater
is 3.5m long. The minimum depth behind the Panel for wiring must be
50mm. If using a Control Panel specific to the
vehicle manufacturer or the vehicle, the electrical connections must be
made in accordance with Step 10.
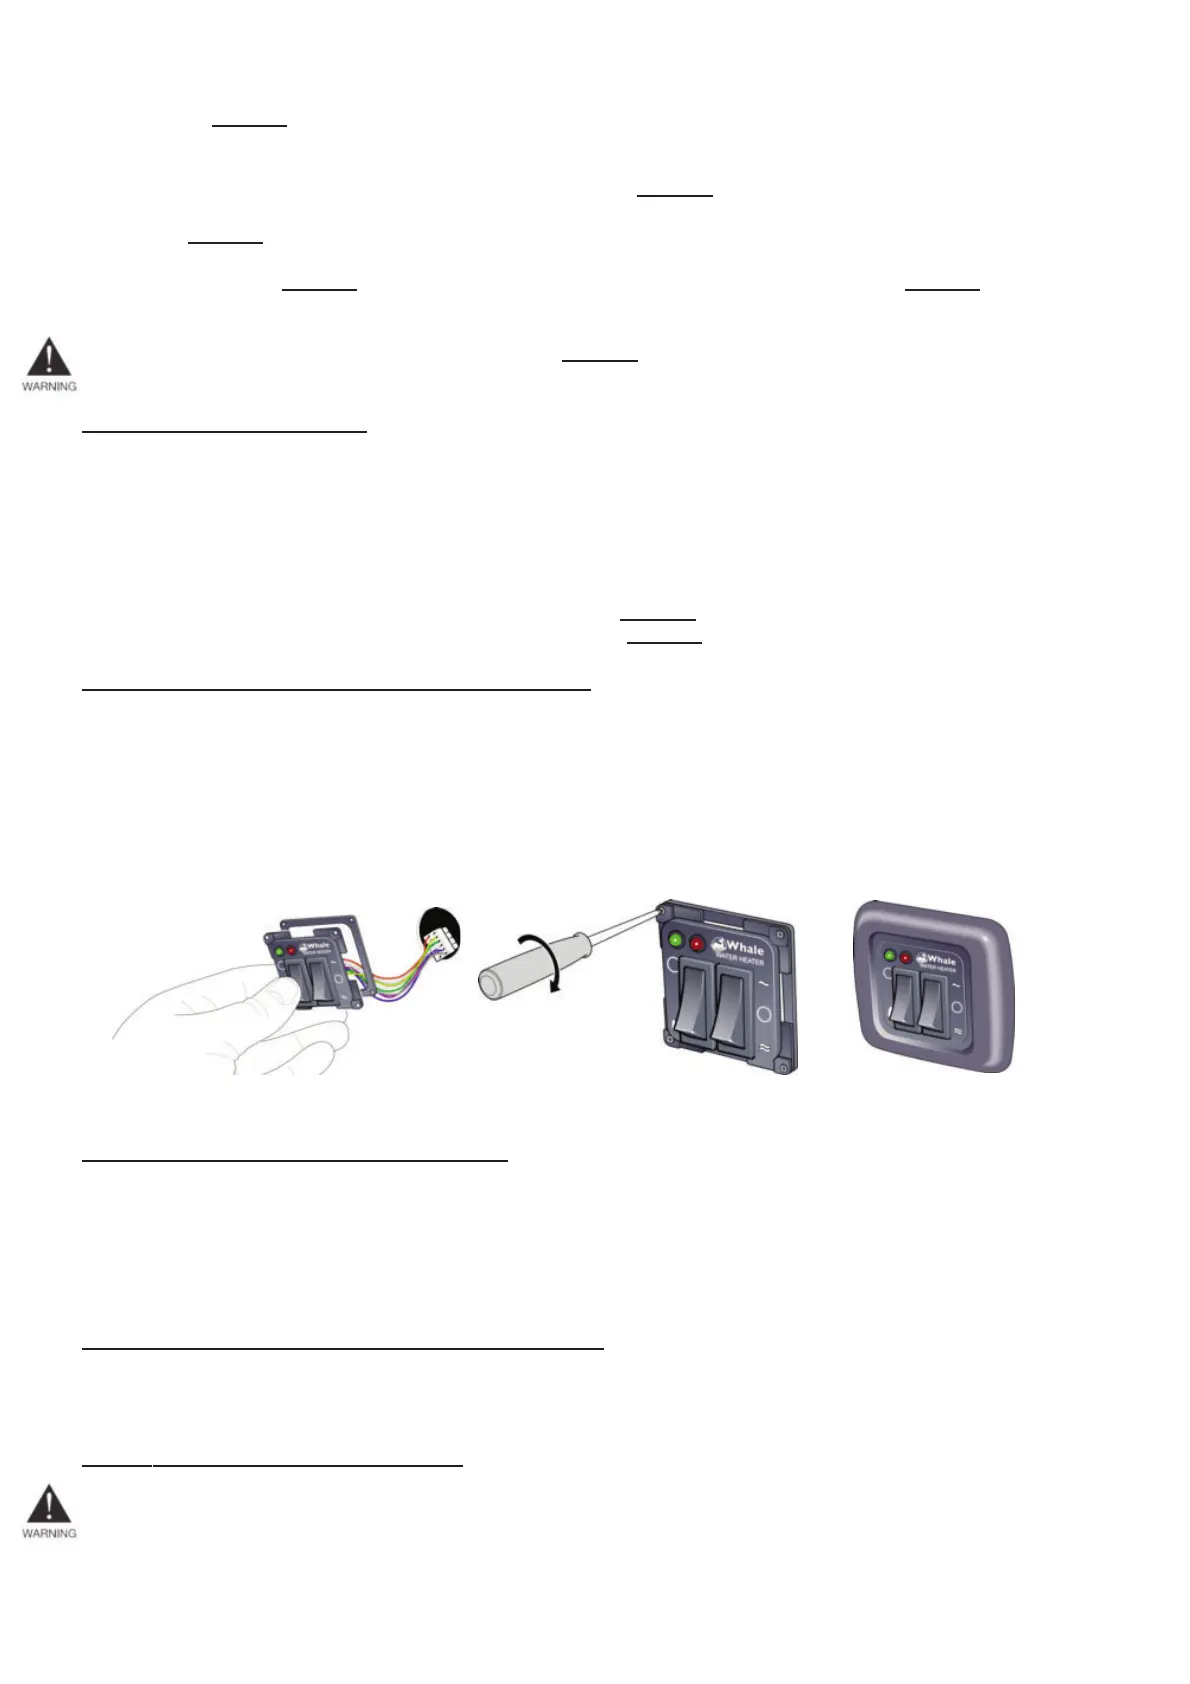
Option 1 - Installing Whale Water Heater Control Panel
The Whale Water Heater Control Panel requires a cut out 45mm high x 35mm wide. Feed the wires through the
Control Panel mounting frame (see Fig.17) and line up the holes with the Control Panel. Feed the wires through the
cut out in the wall and locate into desired position. Secure with 2 screws (No.4 x
3
⁄4) provided, then clip on the
surround frame.
In some instances, it may be necessary to make the wiring connections in Step 9 before securing the control panel to
the wall. Please note: It may be possible to retrofit the Whale® Control Panel into existing frames.
Fig. 17 Insert Control Panel Fig. 18 Secure Control Panel Fig. 19 Installed Control Panel
Option 2 - Installing Duo Whale Control Panel
The Whale Duo Control Panel requires a cut out 118mm wide x 64mm high. Feed the wires through the cut out in the
wall and locate into desired position. Secure with 2 screws (No.4 x
3
⁄4) provided, then clip on the surround frame.
In some instances, it may be necessary to make the wiring connections in Step 11 before securing the Whale Duo
Control Panel to the wall.
Option 3 - Installing Vehicle Manufacturer Control Panel
If your vehicle is fitted with an alternative control panel, please refer to the control panel manufacturer’s instructions
or your vehicle handbook.
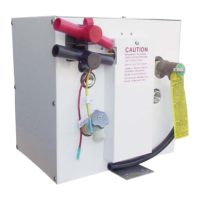
Step 10
Electrical Connections 12V d.c.
WARNING: Always disconnect the appliance from the power supply prior to working on electrical components.
The Whale Water Heater and Control Panel come complete with electrical connectors fitted.
9
 Loading...