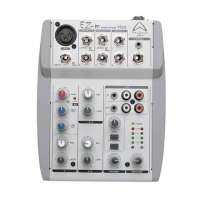
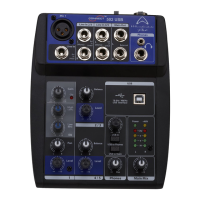
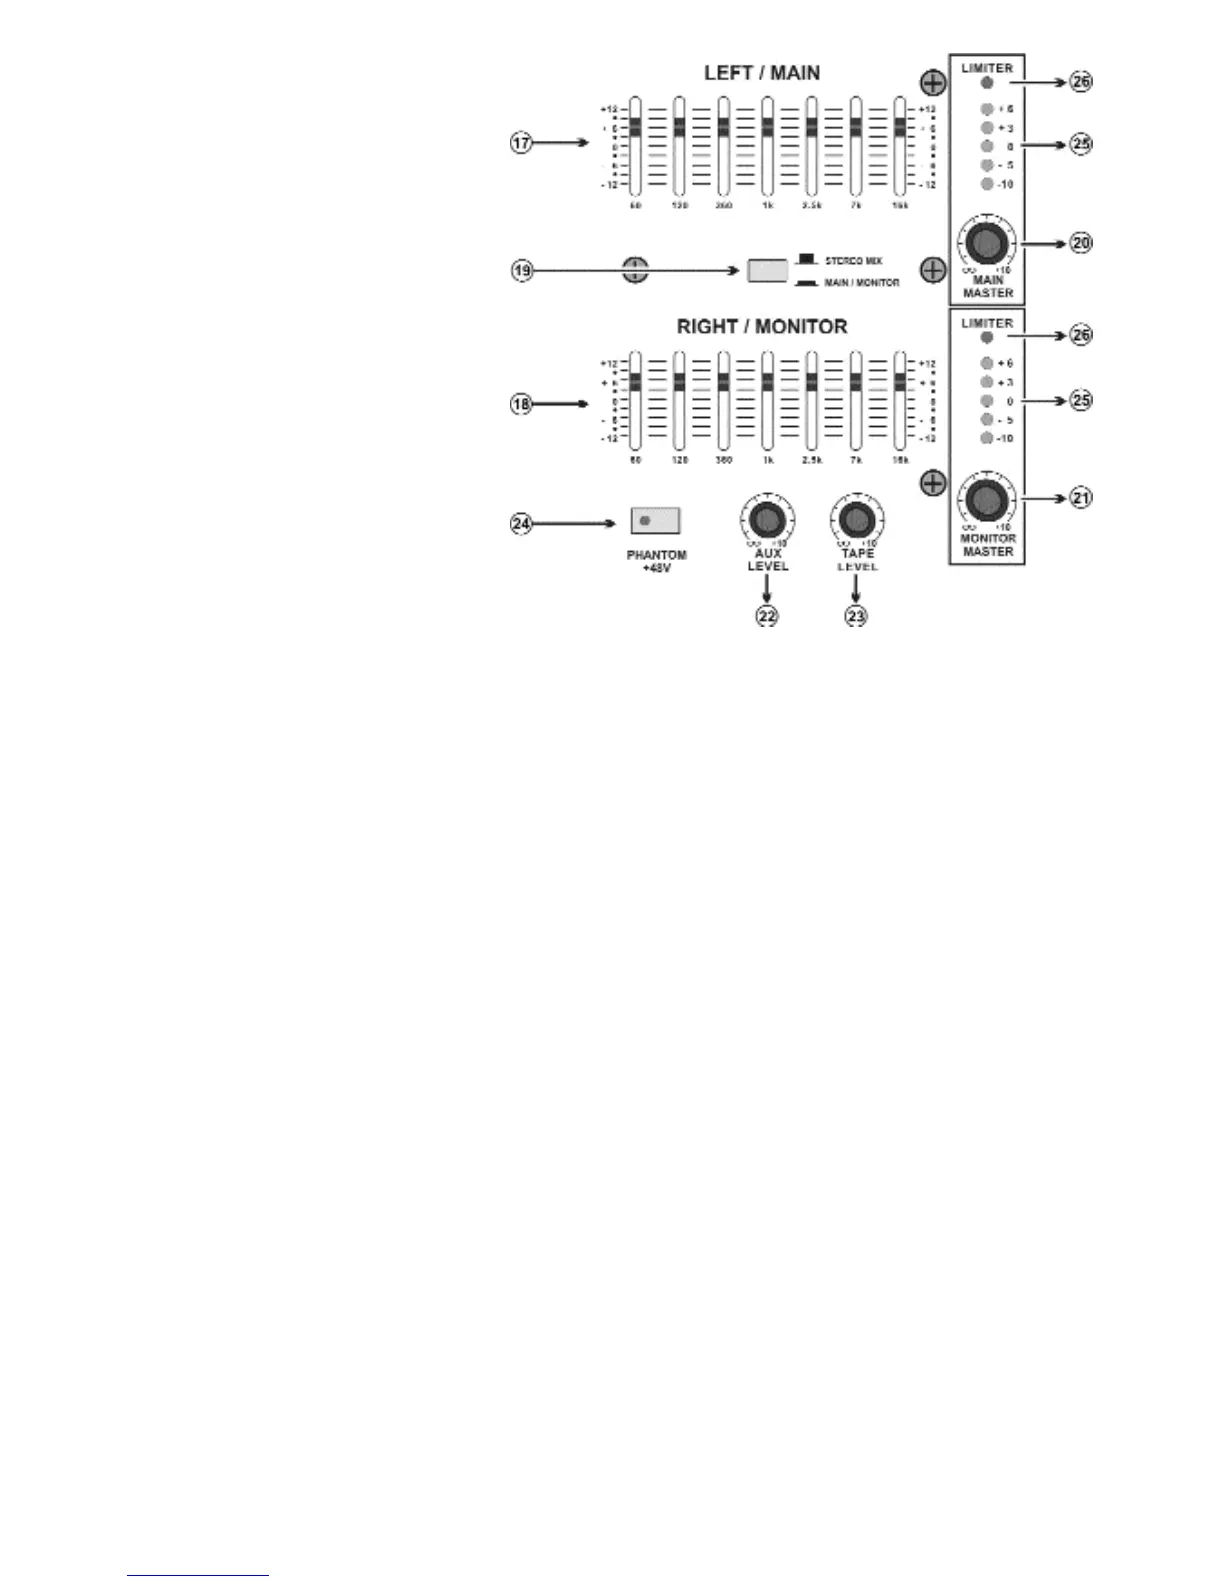
17. Main /Left Equalizer:
The graphic equalizer is used to
shape the overall frequency response
for the main output signal by up
to+12dB. It affects the MAIN OUT-
PUT signal and the speaker output.
Frequency response is flat when a
slider is in the center position. Moving
a slider in the positive/up direction will
boost, and in the negative/down
direction will cut.
18. Monitor/Right Equalizer:
The equalizer is used to shape the
overall frequency response for the
monitor speaker on stage. You can
use these sliders to reduce the level
of frequency bands at which feedback
easily occurs.
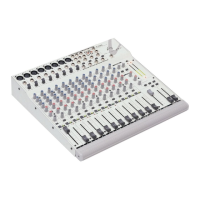
19. Stereo Mix/Main Monitor switch:
This switch gives the option of using
the internal amplifier to power both main and monitor outputs OR to power two main speakers with the
internal amplifiers and use separate power amplifier to power the monitors. Pushing the switch in will acti-
vate this.
20. Main Master Level: This control adjusts the stereo (MAIN L,R) bus signal output level and speaker
output level.
21. Monitor Master Level: This control adjusts the monitor bus signal output level and speaker output
level.
22. AUX level: Adjust the level of signal from the AUX in to the Main bus. The control ranges from OFF to
+15dB of extra gain.
23. TAPE level: Adjust the level of signal from the TAPE in to the Main bus. The control ranges from OFF
to +15dB of extra gain.
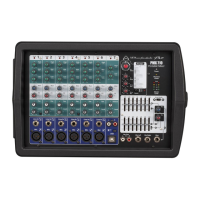
24. PHANTOM power on/off switch: If you are using a condenser microphone you will need to press the
Phantom Power switch on. This switch turns the phantom power supply on and off for the Low-Z/ XLR
type Mic input jacket.
25. Level Meter: This 5-segment LED meters indicate the signal level at the MAIN and MONITOR output
signal.
26. Limiter LED: This indicator lights up when the level of the signal output from the power amplifier sec-
tion reaches the maximum and the limiter is activated.
Page 4
 Loading...