Installation Manual: GM LT1_A1R13E
Last Updated: February 12th, 2019
Page 23 of 36
www.whipplesuperchargers.com
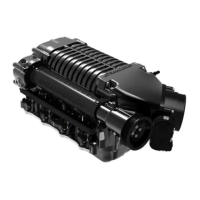
68. Install the passenger side PCV/Vent hose to the quick connect fitting on the passenger side of the air inlet tube and
connect to the passenger side valve cover. Push until it locks in place.
69. Install the plastic jackshaft cover by using the supplied (4) 5mm BHCS, 4 rubber grommets and 4 stainless steel
bushings, use a 3mm allen socket.
70. Refill the Engine coolant. Verify that your coolant drain is closed, and use a filter/strainer to pour the recycled
coolant/water mixture that you drained from the radiator. If necessary top off with a GM approved engine
coolant. Whipple also recommends running 2 bottles of Redline Water Wetter which can be found at most
automotive parts stores. WARNING!! DO NOT USE TAP WATER OR ANY NON GM APPROVED ENGINE
COOLANT, THIS WILL CAUSE CORRISION IN THE SYSTEM. Start engine to completely fill system.
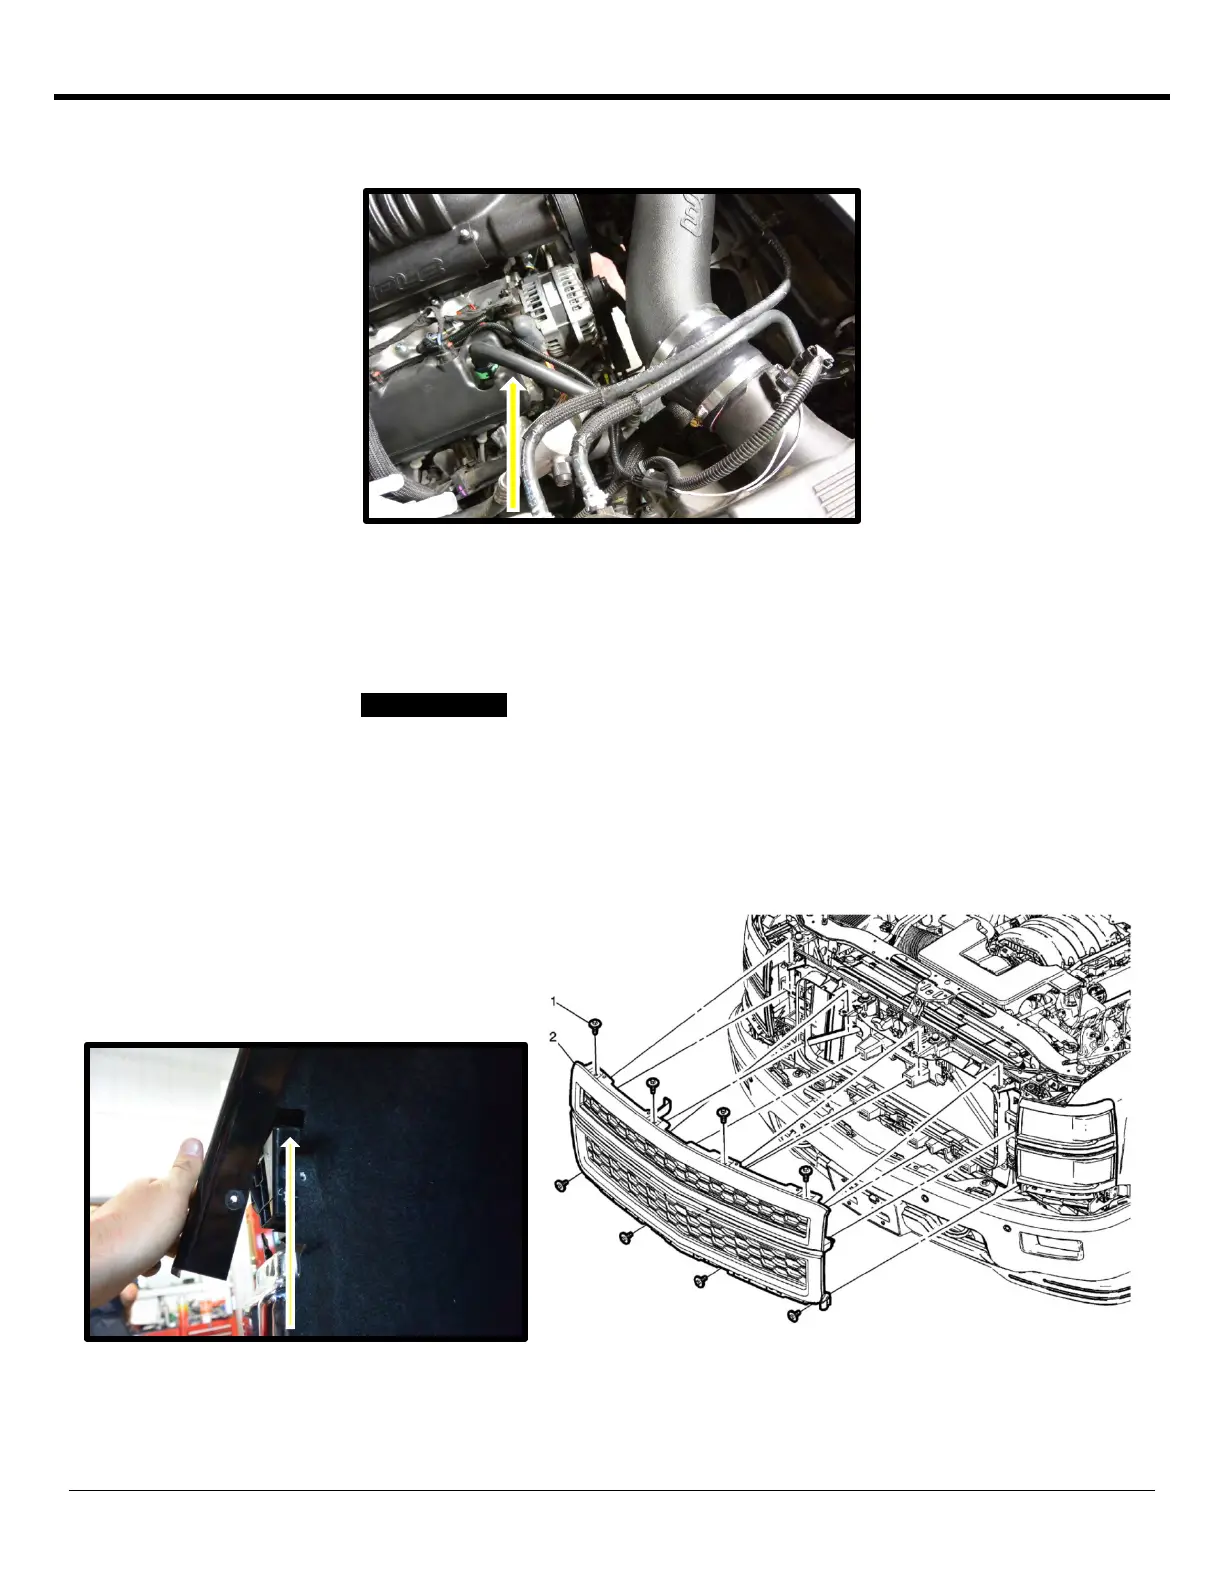
71. Remove the factory top plastic radiator shroud by removing the factory plastic pins.
72. Remove the front fascia and grille (together) by removing the (10) factory fasteners and pulling forward. Locate
the 8 factory bolts holding the assembly to the vehicle (the 4 lower bolts can be accessed from bottom of vehicle.
Locate the last 2 on both driver and passenger inner fender (T15 torx).
 Loading...