Installation Manual: GM LT1_A1R13E
Last Updated: February 12th, 2019
Page 27 of 36
www.whipplesuperchargers.com
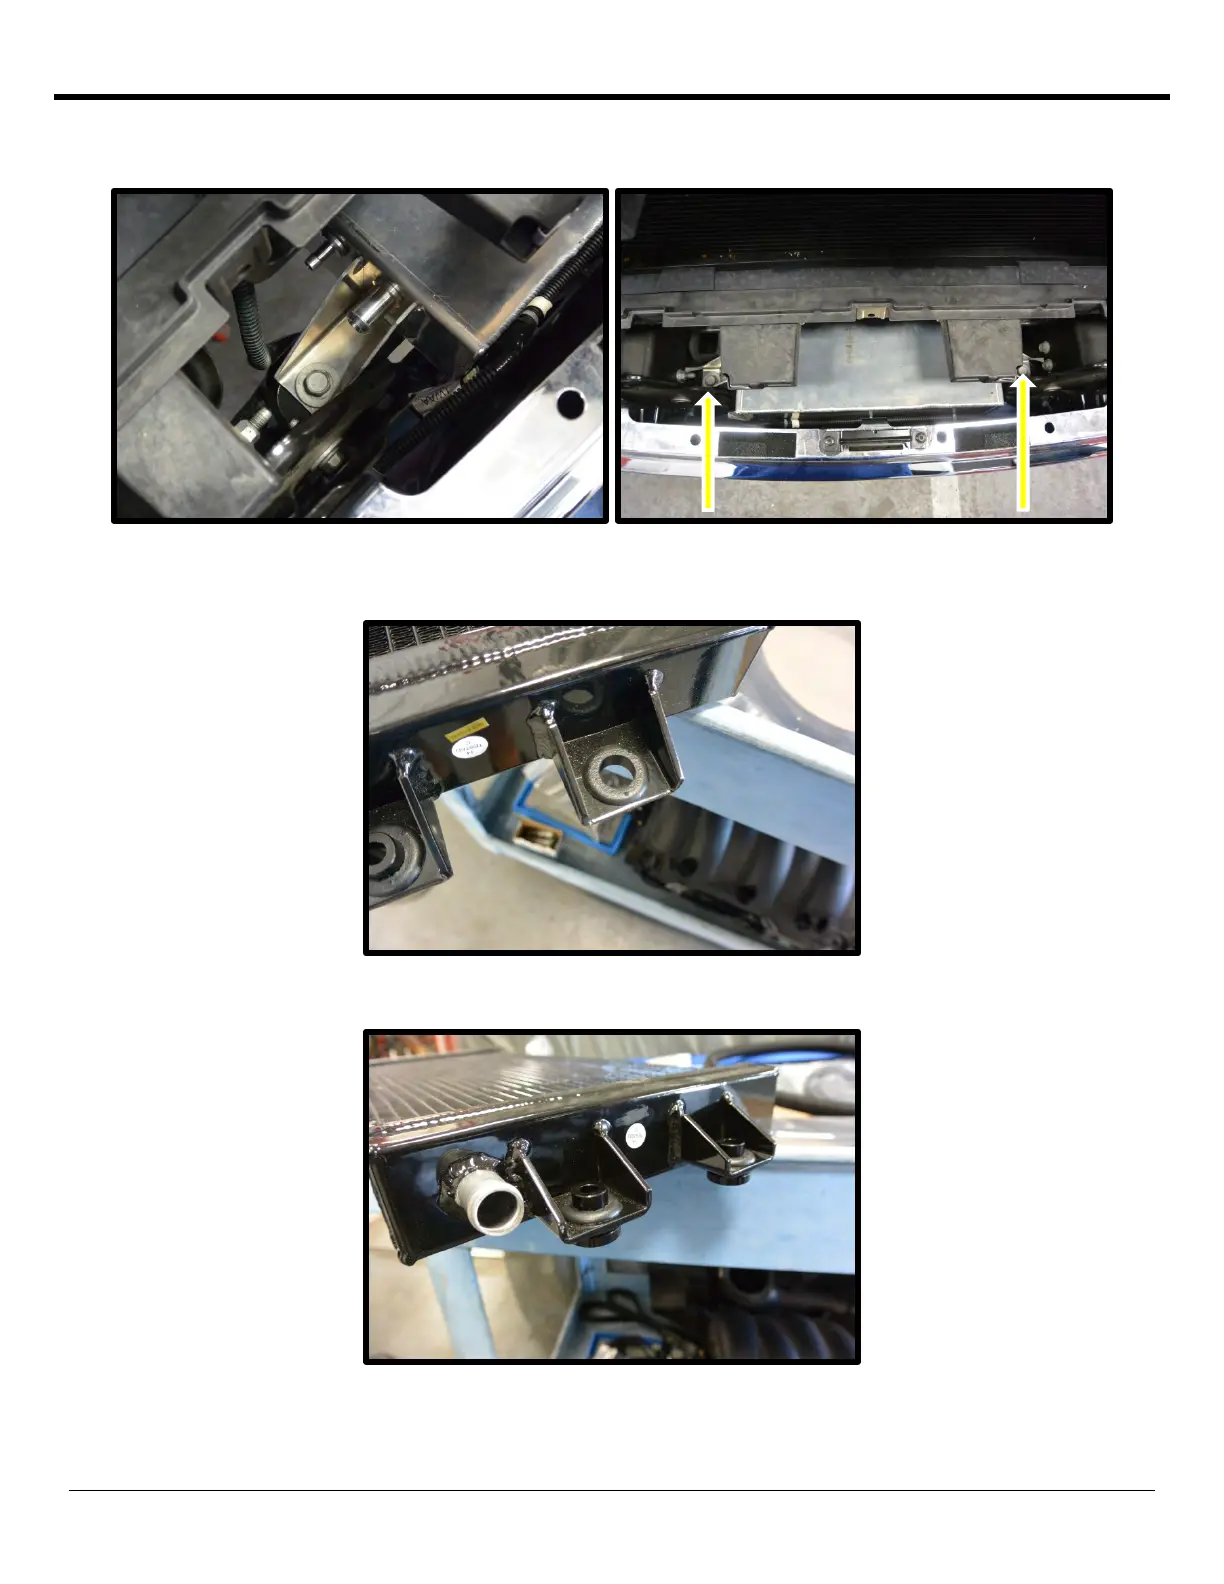
82. Install the IC reservoir by sliding up from the bottom of the bumper and resting on the frame/bumper mount.
Secure using the factory fasteners (2) using an 18mm socket, torque to 74 ft/lbs.
83. Install the supplied heat exchanger rubber grommets (4) into the heat exchanger 7/8” holes.
84. Install the supplied aluminum spuds (4) into the heat exchanger rubber grommets.
85. (2016 and up with air shutters) Remove the air shutters to install the LTR. This will be put back in the stock
location once the LTR is installed.
 Loading...