Changing the bin door
and lower panel
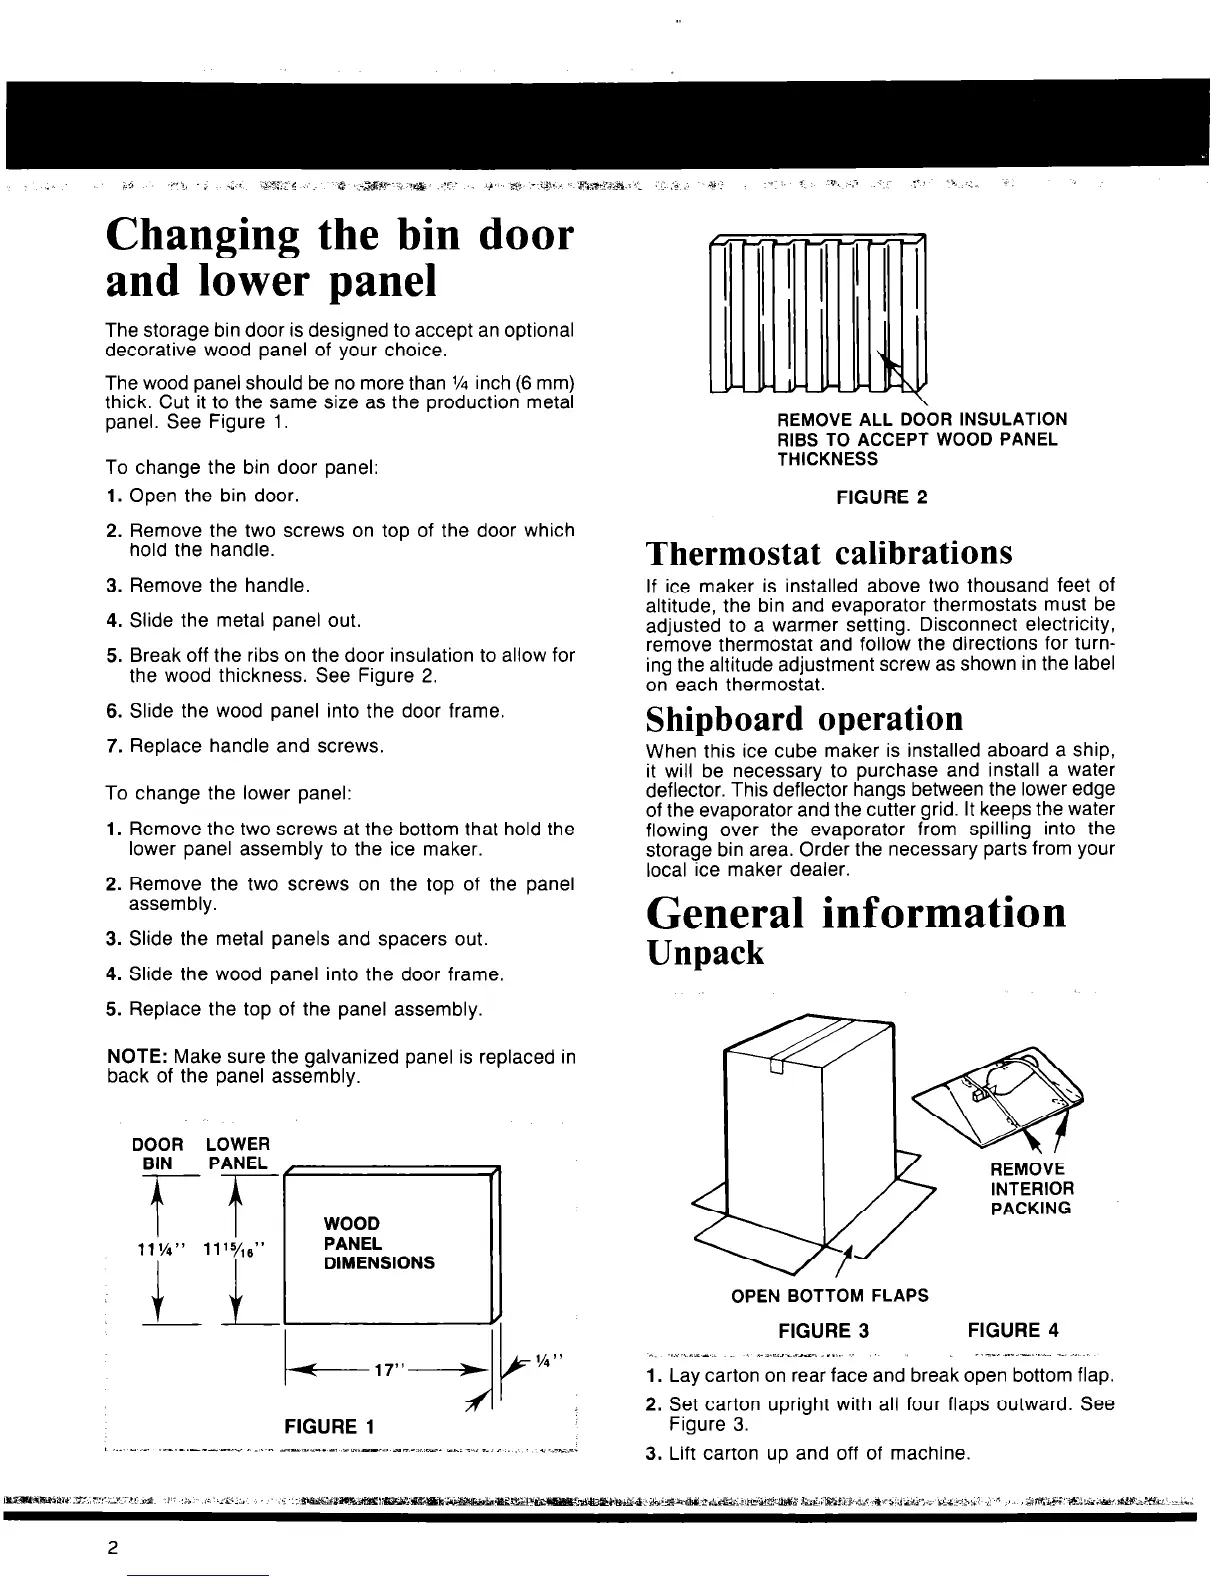
The storage bin door is designed to accept an optional
decorative wood panel of your choice.
The wood panel should be no more than VI inch (6 mm)
thick. Cut it to the same size as the production metal
panel. See Figure 1.
To change the bin door panel:
1. Open the bin door.
2. Remove the two screws on top of the door which
hold the handle.
3. Remove the handle.
4. Slide the metal panel out.
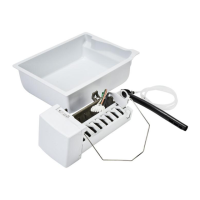
5. Break off the ribs on the door insulation to allow for
the wood thickness. See Figure 2.
6. Slide the wood panel into the door frame.
7. Replace handle and screws.
To change the lower panel:
1.
2.
3.
4.
5.
Remove the two screws at the bottom that hold the
lower panel assembly to the ice maker.
Remove the two screws on the top of the panel
assembly.
Slide the metal panels and spacers out.
Slide the wood panel into the door frame.
Replace the top of the panel assembly.
NOTE: Make sure the galvanized panel is replaced in
back of the panel assembly.
DOOR LOWER
BIN
T
DIMENSIONS
REMOVE ALL DOOR INSULATION
RIBS TO ACCEPT WOOD PANEL
THICKNESS
FIGURE 2
Thermostat calibrations
If ice maker is installed above two thousand feet of
altitude, the bin and evaporator thermostats must be
adjusted to a warmer setting. Disconnect electricity,
remove thermostat and follow the directions for turn-
ing the altitude adjustment screw as shown in the label
on each thermostat.
Shipboard operation
When this ice cube maker is installed aboard a ship,
it will be necessary to purchase and install a water
deflector. This deflector hangs between the lower edge
of the evaporator and the cutter grid. It keeps the water
flowing over the evaporator from spilling into the
storage bin area. Order the necessary parts from your
local ice maker dealer.
General information
Unpack
REMOVE
INTERIOR
OPEN BOTTOM FLAPS
FIGURE 3
FIGURE 4
,. ,...,ilbLi ~ *.JILIII.v-%,I...
_ se-s a.lil.,lI 72 ,... ;i
1. Lay carton on rear face and break open bottom flap.
2. Set carton upright with all four flaps outward. See
Figure 3.
3. Lift carton up and off of machine.