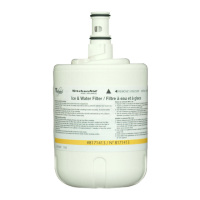
Water Filter Installation Instructions
Follow these simple instructions for your lter type.
Phone:
US: 1-866-698-2538
Hours of operation:
Monday – Friday 8:00 AM – 8:00 PM EST
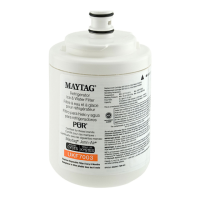
1. Locate the lter in the upper right hand side of the refrigerator compartment.
2. If replacing a lter, twist the used lter ¼ turn to the left. The install mark will be
lined up with the indicator mark located on the lter head.
3. Gently pull down on the lter cartridge to remove it from the lter head. Note:
there may be some water in the lter and some spilling may occur. To reduce
the amount of spillage keep the lter upright and do not tip.
4. Remove the lter from the packaging. Remove the lter cap.
5. Apply the month sticker to the lter cartridge as a reminder to replace the lter
every six months.
6. Life up the install mark located on the lter label with the indicator line that is
molded into the lter head.
7. Twist the lter cartridge ¼ turn to the right to lock it into place. The remove mark
should be lined up with the indicator line on the lter label.
8. Reduce water spurts by ushing air from the system. Run water continuously
for 4 gallons (approximately 5 minutes) through the dispenser until water runs
steady. Additional ushing may be required in some households where water is
of poor quality.
Part 8171413 & 8171414
Refrigerator Water Filter 8