EasyManua.ls Logo

Whirlpool WHES Series User Manual

Whirlpool WHES Series
24 pages
To Next Page IconTo Next Page
Page #1 background imageLoading...
Page #1 background image
1
7345485 (Rev. A 9/30/14)
Do not return water softener to store
If you have any questions or concerns when
installing, operating or maintaining your water
softener, call our toll free number:
1-866-986-3223
Monday- Friday, 8 AM - 7 PM EST or visit
www.whirlpoolwatersofteners.com
When you call, please be prepared to provide
the model and serial number of your product,
found on the rating decal, typically located on
the rim below the salt lid hinges.
Manufactured and warranted by
Ecodyne Water Systems
1890 Woodlane Drive
Woodbury, MN 55125
For a detailed owners manual,
including specifications,
programming and parts list, go to:
www.whirlpoolwatersofteners.com
or call 1-866-986-3223
Installation Instructions
Systems tested and certified by the Water Quality
Association against CSA B483.1.
English
WHES Series
Demand Controlled
Water Softener
Systems tested and certified by NSF International
against NSF/ANSI Standard 44
for hardness reduction and efficiency,
and certified to NSF/ANSI Standard 372.
Question and Answer IconNeed help?

Do you have a question about the Whirlpool WHES Series and is the answer not in the manual?

Whirlpool WHES Series Specifications

General IconGeneral
BrandWhirlpool
ModelWHES Series
CategoryWater Dispenser
LanguageEnglish

Summary

Installation Instructions

Water Softener Safety

Before You Start

Location Requirements

Consider site requirements for installation, avoiding freezing and excessive heat.

Plumbing Codes

Ensure all plumbing work adheres to national, state, and local codes.

Air Gap and Drain Hose Requirements

Air Gap Requirements

Maintain a 1-1/2" air gap between the drain hose and the drain to prevent backflow.

Valve Drain Requirements

Use flexible or rigid drain hose according to local codes, ensuring it's short and direct.

Inlet / Outlet Plumbing Options

Install a single or 3-valve bypass system, ensuring 3/4" minimum pipe fittings.

Typical Installation and Plumbing

Order of Water Treatment Equipment

Illustrates the correct sequence for installing water treatment equipment.

Typical Installation Diagram

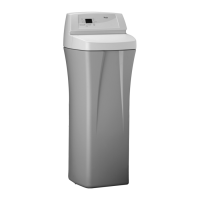
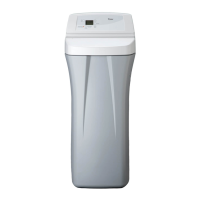
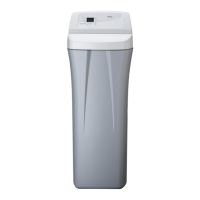
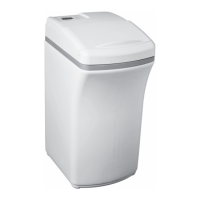
Shows the general layout and connection points for the water softener.

Pre-Installation Steps

Turn Off Water Supply

Close main valve and open faucets to drain pipes before installation.

Install Brine Tank Overflow Elbow

Connect the overflow elbow and grommet to the brine tank sidewall.

Move Water Softener Into Place

Position the unit on a solid, level surface, avoiding shims under the tank.

Plumbing and Leak Testing

Grounding Information

Instructions for grounding on metallic pipe to prevent electrical shock.

Complete Inlet and Outlet Plumbing

Connect main water pipe to softener valve, ensuring correct inlet/outlet flow.

Install Valve Drain Hose

Connect and route the drain hose securely to prevent whipping.

Install Salt Storage Tank Overflow Hose

Connect overflow hose to a suitable drain point, separate from the valve drain.

Test for Leaks

Procedure to check for leaks and purge air after connecting plumbing.

Post-Installation Steps

Add Water and Salt

Add water to the brine tank, then add recommended salt types.

Plug In Power Supply

Connect the power supply to an outlet not controlled by a switch.

Programming the Softener

Set current time, water hardness, recharge times, and salt type.

Sanitize the Water Softener

Clean the system with bleach after installation or service.

Adding Salt

Check salt level frequently and refill to prevent hard water.

Water Softener Warranty

Extend Your Warranty

Information on extending the warranty by using specific cleanser.

Warranty Provisions

Details on warranty coverage, limitations, and disclaimers.

Related product manuals