EasyManua.ls Logo

Whirlpool AWM 8000/PRO - User Manual

Whirlpool AWM 8000/PRO
6 pages
Print Icon
To Next Page IconTo Next Page
Loading...
1
GB INSTALLATION GUIDE
Noise, excessive vibrations and water leakages can be caused
by incorrect installation.
Never move the appliance by carrying it at the worktop.
Installation of the washing machine requires at least 2
persons.
Read this “INSTALLATION GUIDE” before operating.
Keep this “INSTALLATION GUIDE” for future reference.
Read the general recommendations about disposing of packaging in the Instructions for Use.
Question and Answer IconNeed help?

Do you have a question about the Whirlpool AWM 8000/PRO and is the answer not in the manual?

Overview

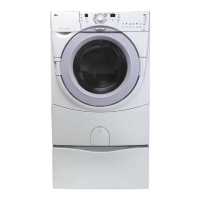
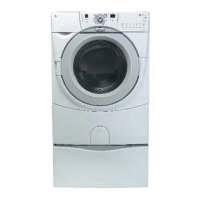
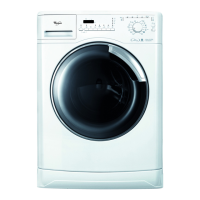
This document is an installation guide for a washing machine, providing essential information for setting up the appliance correctly and safely.

Function Description:

The primary function of this appliance is to wash clothes. The installation guide focuses on the initial setup steps necessary to ensure the washing machine operates efficiently and without issues like excessive noise, vibrations, or water leakages. It covers unpacking, leveling, connecting to water supply, and electrical connection.

Important Technical Specifications:

  • Installation Personnel: Requires at least 2 persons for installation due to the appliance's weight and size.
  • Transport Bolts: The machine is secured with 4 transport bolts that must be removed before operation. These bolts should be kept for future transport.
  • Floor Requirements: Must be installed on a solid and level floor surface. For wooden or floating floors, a plywood sheet (at least 60 x 60 cm and 3 cm thick) screwed to the floor is recommended to distribute weight.
  • Leveling Feet: The appliance has 4 adjustable leveling feet to compensate for uneven floors.
  • Water Inlet Hose:
    • Can be connected to either one or two inlet valves depending on the model.
    • If two valves are present, they can be connected to hot and cold taps, or both to a cold water tap using a Y-adapter (supplied with certain models).
    • Connections must be hand-tightened; no tools should be used for fixing the inlet hose.
    • Pressure resistant hose (1000 kPa min, EN 50084 approved type) is required for extensions.
    • Recommended to renew the inlet hose every 3 years.
    • Can be connected without a non-return valve.
  • Water Stop Hose (for specific models): If too short, it must be replaced by an expert with a longer Water Stop hose available from After-Sales Service or dealer.
  • Drain Hose:
    • Maximum overall drain hose length: 2.50 m.
    • Connections for extensions should use the same type of hose and be secured with clips.
  • Electrical Connection:
    • Requires a socket with an earth connection.
    • Extension leads or multi-sockets are not to be used.
    • Electrical power cable replacement must be done by a licensed electrician.
    • All electrical connections must comply with local regulations.
  • Pre-Operation Check: Users are instructed to read the "INSTALLATION GUIDE" before operating the machine.
  • Future Reference: The guide should be kept for future reference.
  • Packaging Disposal: Users are advised to read general recommendations about disposing of packaging in the "Instructions for Use" (a separate document).
  • Transporting the Appliance: Never move the appliance by carrying it at the worktop. If the machine needs to be transported again, the transport bolts must be refitted in reverse order.
  • Leveling: The leveling feet allow users to adjust the machine's height to ensure stability and reduce vibrations. The locknuts must be tightened anti-clockwise towards the appliance casing after adjustment.
  • Water Connection Options: Models with two inlet valves offer flexibility in connecting to hot and cold water supplies or using a Y-adapter for a cold-only connection.
  • Transport Bolt Management: The transport bolts and wrench should be kept for future transportation, indicating a design for easy re-securing.
  • Hose Inspection: The inlet hose should be checked regularly for brittleness and cracks and replaced if necessary, with a recommendation for renewal every 3 years. This promotes proactive maintenance to prevent leaks.
  • Water-Tightness Check: After connecting the inlet hose, users are instructed to turn the tap completely on to check for water-tightness, ensuring no leaks from the connections.
  • Drain Hose Integrity: Users are reminded to ensure there are no kinks in the drain hose and that it is firmly connected to the siphon or standpipe, which is crucial for effective drainage and preventing blockages or leaks.

Whirlpool AWM 8000/PRO Specifications

General IconGeneral
BrandWhirlpool
ModelAWM 8000/PRO
CategoryWasher
LanguageEnglish

Related product manuals