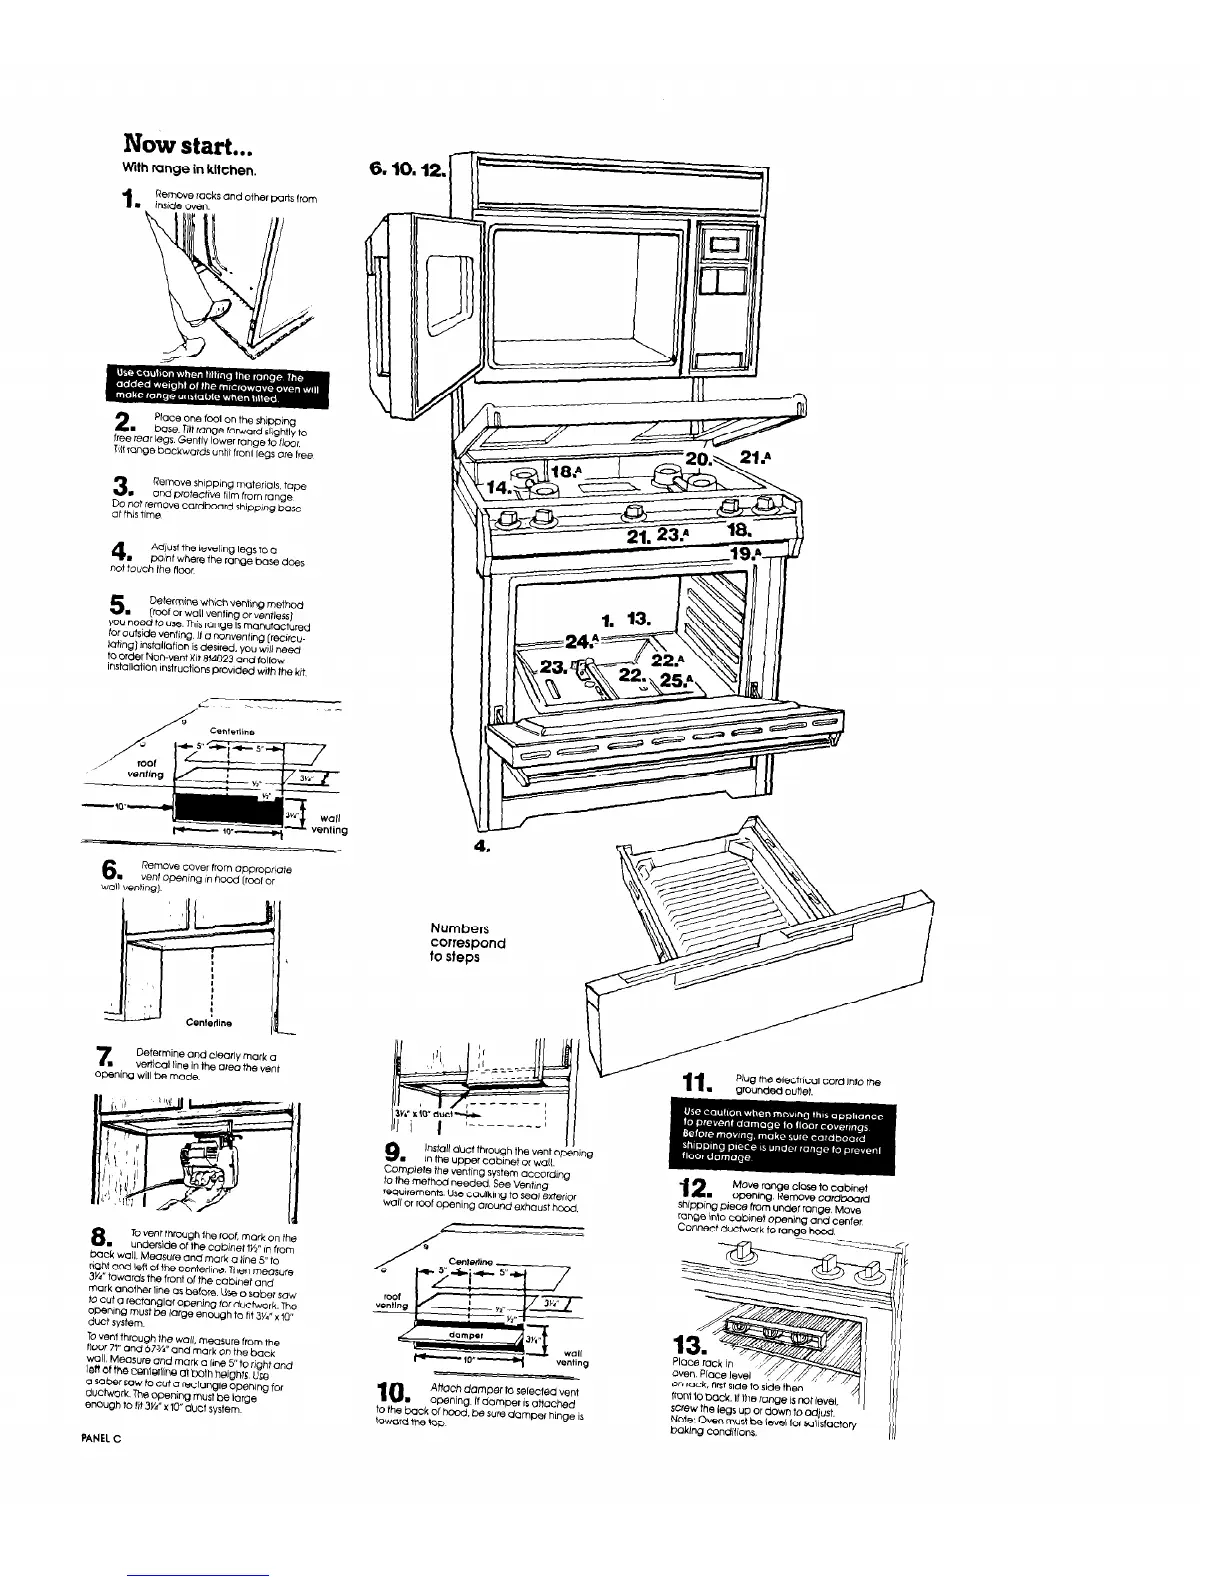
Now start...
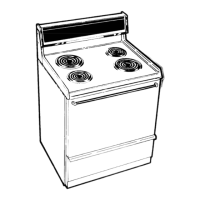
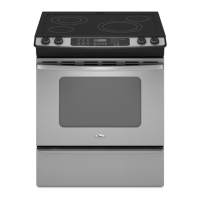
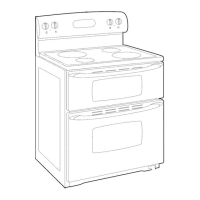
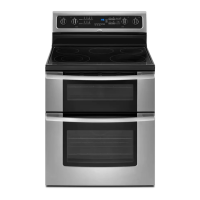
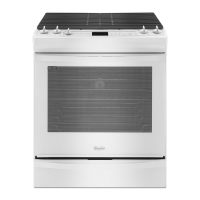
Wrth range in kitchen.
2.
place one fool on the sh,w,ng
base. Tilt range forward slightly to
free rear legs. Gentlv lower range to floor
T!lt range backwards unhl fronl legs are free
3.
Remove ShIPping moteriols. tape
and protectwe film from range
Do not remove cardboard shipprng hose
at this time
4.
Adwsl the leveling leQSt0 o
Wf”t where ihe ,cr”Qe base does
not louch the Roor
5.
b3terml”e whichventng methw
(roof or wall venting or
ventless)
VW “e$ t0 use. This range IS manufactured
loroutsa3 w”tlng. II c) “onventng [,er&u-
lotlng) ,“st~~latio” is deswd. you ~111 need
‘0 order Non-vent Krt 814023 and follow
Installdon i”St,UCtiO”s provrded with the kit,
8.
To w”t through fhe root, mark on the
undenide of the cabinet 1K” I” from
back wall. Measure and mark o line 5” to
r!Qht and lefl of ihe centerline. Then measure
3’2 towards the front of the cabinet and
TO “e”f through the wall. meosure from ,he
fbcv 71” and 67%” and mark on the back
~011 MWSU,~ and mark o line 5” to right o”d
IOft Of the Cc49,li”e at both helghis “m
a sbw sow to cut a rectangle openrng for
dwhak. The opmng must be large
enough t0 fit 3W’rlU” duct system.
PANEL C
6.10.12.
Numbers
correspond
to steps
9.
’ ’
l”StQll duct fhrough the vent opening
in the upper cabinet or wall.
Comprete the venting system occordrng
to the method needed. See Ventrng
rwnrements Use caulkrng to seal exterior
wall or roof opening around exhaust hood.
IO.
Alioch damper lo selected vent
opening. It damper IS attached
to the bock Of hood. be sure damper hinge is
toward tlw top
11.
PkJg the electrical cord into the
,o”Qe intO cabinet opening and center
CO”“& ductwork to range hood
 Loading...