J
John RobertsSep 7, 2025
Why is my Whirlpool WED6600VW0 Dryer heating in the air cycle?
- Sshannon97Sep 7, 2025
If your Whirlpool Dryer is heating in the air cycle, the heater may be the cause. See TEST #4, page 6.
Why is my Whirlpool WED6600VW0 Dryer heating in the air cycle?
If your Whirlpool Dryer is heating in the air cycle, the heater may be the cause. See TEST #4, page 6.
What does error code F-22 mean on a Whirlpool WED6600VW0?
If your Whirlpool Dryer displays the error code F-22, it indicates that the exhaust thermistor is open. See TEST #4a, page 6.
What does error code F-23 mean on a Whirlpool WED6600VW0 Dryer?
If your Whirlpool Dryer displays the error code F-23, it indicates that the exhaust thermistor has shorted. See TEST #4a, page 6.
What does error code F-24 mean on a Whirlpool WED6600VW0?
The F-24 error code on your Whirlpool Dryer indicates that the inlet thermistor is open. This fault code will ONLY appear when in the diagnostic test mode. See TEST #4a, page 6.
What does error code F-25 mean on a Whirlpool WED6600VW0 Dryer?
The F-25 error code on your Whirlpool Dryer indicates that the inlet thermistor is shorted. This fault code will ONLY appear when in the diagnostic test mode. See TEST #4a, page 6.
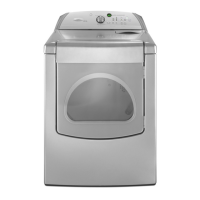
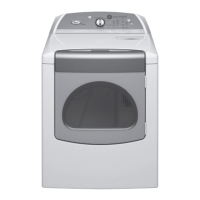
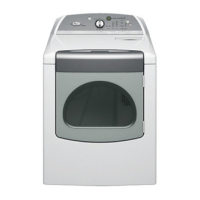
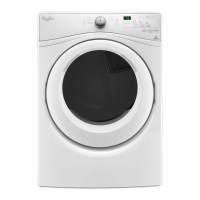
| Brand | Whirlpool |
|---|---|
| Model Number | WED6600VW0 |
| Appliance Category | Dryer |
| Fuel Type | Electric |
| Capacity (cu. ft.) | 7.0 |
| Color | White |
| Width (in.) | 27 |
| Weight (lbs) | 120 |
| Wrinkle Control Option | Yes |
| Energy Star Certified | No |
| Steam Cycle | No |
| Dryer Venting | Vented |
Essential checks before starting any dryer service or troubleshooting.
Steps to enter and initiate the dryer's diagnostic test mode.
Procedures to follow if the diagnostic mode cannot be activated.
How to access and interpret stored fault codes for diagnostics.
Testing the function of console buttons and indicator lights.
Verifying the operation of the dryer's door switch.
Procedure to test the dryer's moisture sensing capability.
Testing motor, heater, and identifying console type within diagnostics.
Checking and displaying the dryer's inlet air flow rate.
Measuring and displaying the incoming line voltage to the dryer.
Steps to activate and run manual load tests on dryer components.
Specific manual load test steps for steam dryer models.
Explanations of error codes displayed on the dryer console.
Guidance for diagnosing and resolving common dryer operational issues.
Verifying the dryer's electrical supply connections.
Checking for power at the machine control electronics.
Testing the dryer's drive motor and its associated wiring.
Diagnosing issues related to the dryer's heating element.
Procedures for testing exhaust and inlet thermistors.
Checking the continuity of the thermal fuse.
Verifying the operation of the thermal cut-off component.
Comprehensive test for the dryer's moisture sensor system.
Testing console buttons and indicator lights for proper function.
Verifying the functionality of the door switch.
Testing the water valve operation on steam models.
Customizing drying cycle intensity for user preference.
Step-by-step guide to removing the front panel and drum assembly.
Procedures for accessing machine control and user interface electronics.
Instructions for reassembling electronic components after service.
Steps to remove the rear access panel for servicing.
Electrical schematic for single-element dryer models.
Electrical schematic for dual-element dryer models.
Electrical schematic for steam-equipped dryer models.
Diagrams illustrating centrifugal and pluggable drive motor switch functions.