OPERATIONS
6
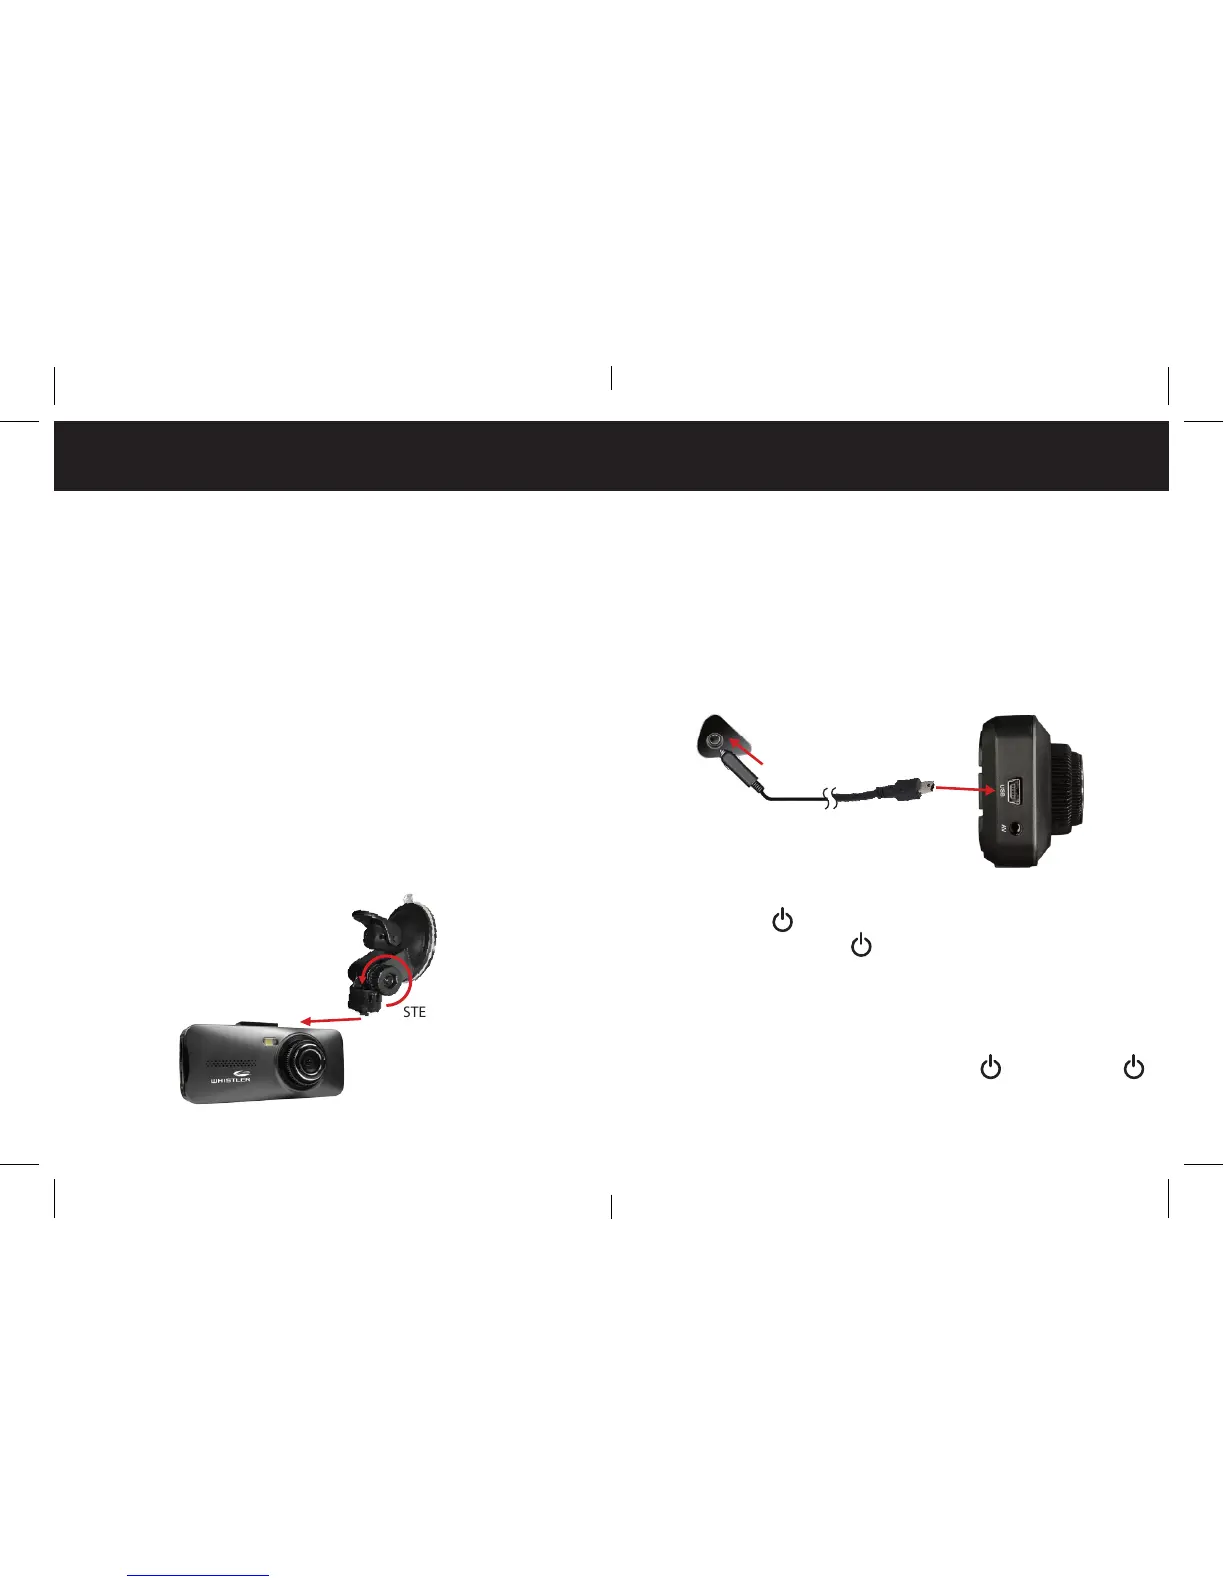
Installing the Windshield Bracket
The included windshield bracket securely places the DVR
onto the vehicle’s windshield.
Follow the procedure below to secure the bracket:
1. Slide the BRACKET into the rail on the top of the DVR.
2. If applicable, remove protective lm from the suction cup.
3. Clean the selected area of the windshield for mounting
using a quality glass cleaner.
4. Press the bracket onto the windshield. To secure the
suction cup press the locking tab toward the windshield.
5. Loosen the knob on the bracket to adjust the angle of the
DVR. Tighten knob securely to secure the DVR’s position.
OPERATIONS
7
Power Connection in Vehicle
1. Plug the USB end of the vehicle power cord into the USB
jack of the DVR.
2. Insert the other end of the power cord into the vehicle’s
lighter socket/power port.
NOTE: Unit will automatically turn on and start recording
when power is applied. It will turn o when power is removed.
Power ON/OFF
Power On: Press to turn on DVR. Blue Status LED illuminates.
Power O: Press and hold until the Whistler screen appears.
NOTE: The D11VR will automatically power OFF after the
low battery warning is displayed.
LED Light On/O
LED On/O: With DVR turned on, press button. Press
again to turn o.
STEP 1
STEP 2
STEP 1
STEP 5
STEP 4
 Loading...