FEATURE DESCRIPTION
4
Button and Function
1. Camera Lens – 170 wide-angle lens.
2. Power Button – Press to power ON/OFF.
3. UP Button – Press UP to zoom in. In Menu allows
scrolling of menu items.
4. OK/Record Button – Press and hold to start recording.
Press again to stop. In menu, selects highlighted items.
5. MENU Button – Press button to display menu settings.
6. Down/Mute Button - Press DOWN to zoom out. In
Menu, allows scrolling of menu items. When zoomed
out, mutes audio.
7. LCD Display – View photo and video.
8. Mode Button - Press and hold to switch modes: Video,
Camera, Play back.
9. HDMI Jack – Provides connection to a HDMI monitor.
10. MicroSD Card Slot – Slot for memory card.
11. USB Jack – Allows PC interface to access microSD
card, PC camera and charge the battery.
12. Bracket Mount – windshield bracket attachment.
13. AV Output Jack - Provides Audio and Video output to
an external monitor.
14. GPS Jack – Provides GPS information with the optional
GPS antenna module.
15. Reset Button – Using a small pin, push in to reset
the device.
FEATURE DESCRIPTION / OPERATIONS
5
16. Speaker – Provides audio for playback and device tones.
17. Microphone – Allows audio recordings.
18. Status LED – Blue = power on, Red = charging.
Operations
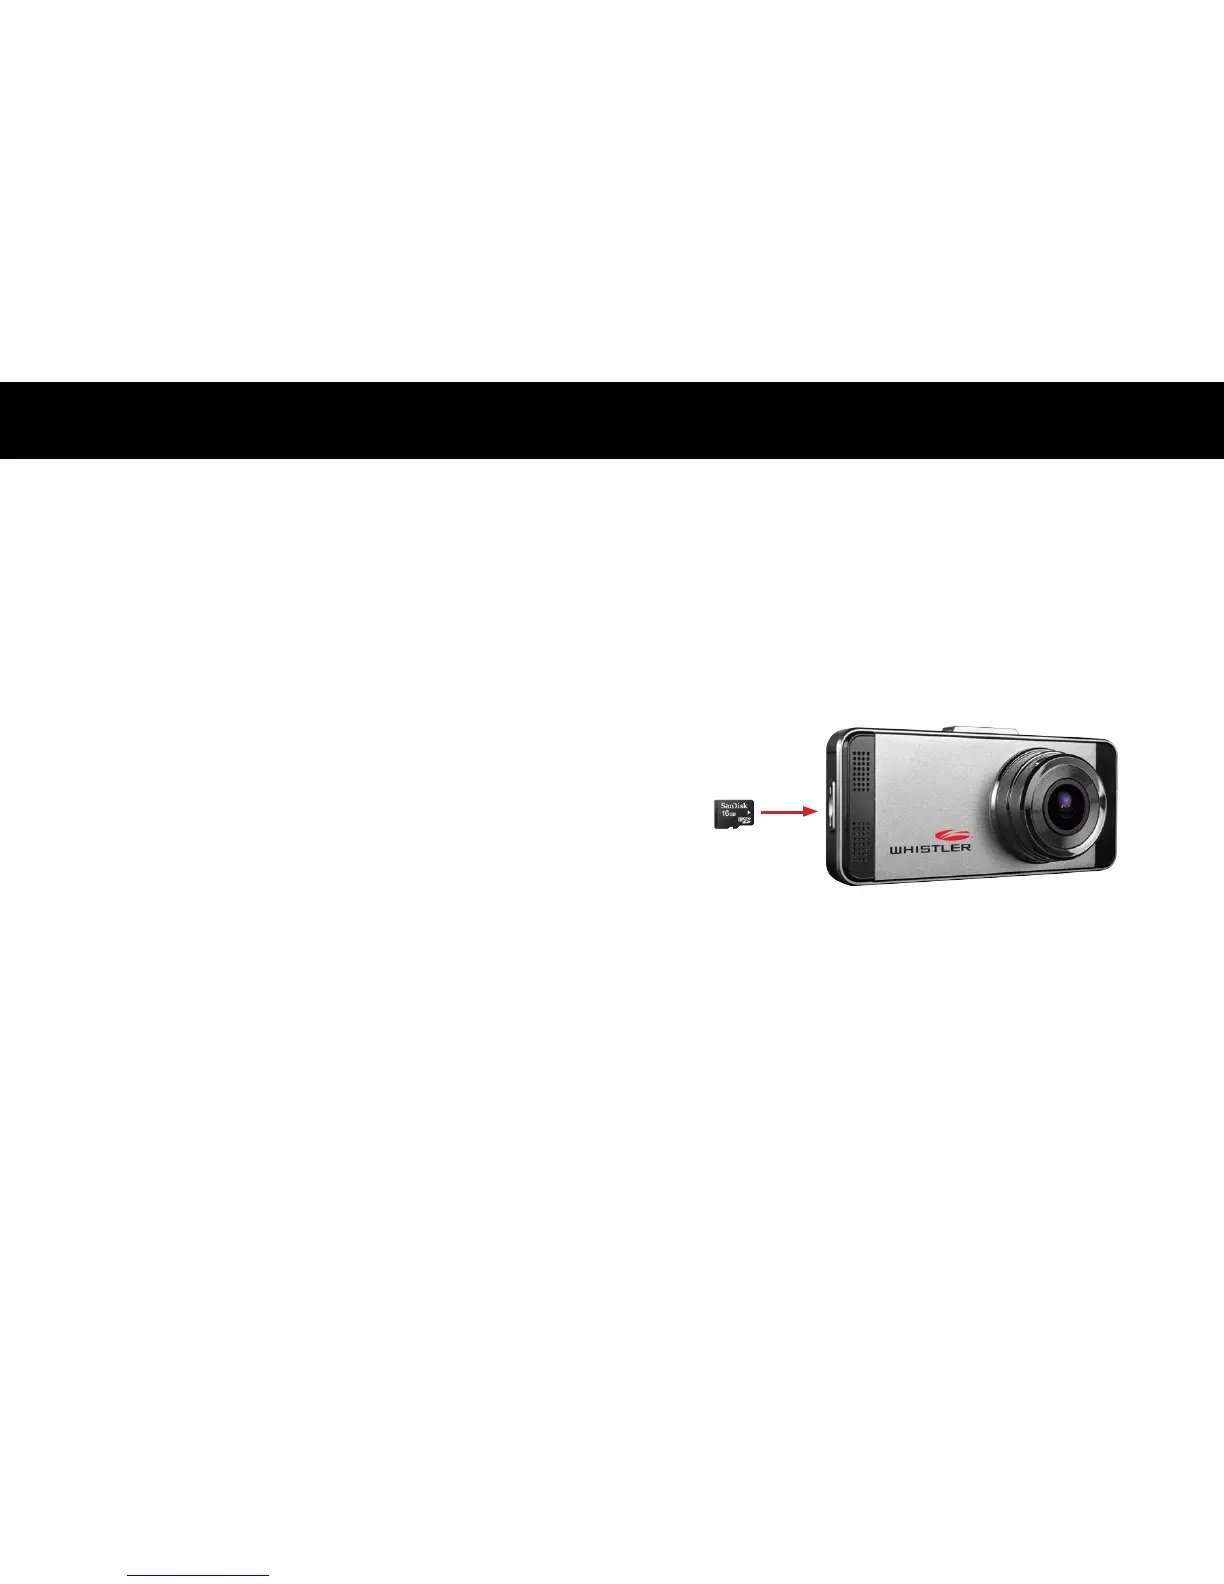
Inserting a microSD Card
Before initial use, insert a microSD card. (Suggest at least a
4GB card High Capacity, up to 32GB)
Charging the Unit
Fully charge DVR for initial use by:
• 12 volt Car charger
• PC USB port
The status LED is red during charging.
NOTE: Turn DVR o before inserting or removing the
microSD card.
 Loading...