10
OPERATING INSTRUCTIONS
NOTE: Before using the tool, read the instruction book carefully.
Intended Use
The power tool is intended for driving in and loosening screws
BEFORE PUTTING INTO OPERATION
The battery charger supplied is only for the Li-ion battery installed in the tool. Do not use another battery charger.
The Li-ion battery is protected against deep discharging. When the battery is empty, the tool is switched off by
means of a protective circuit: The tool will not turn on when the trigger is engaged. When the Battery is charged for
thersttimeorafterprolongedstorage,theBatteryPackwillaccepta100%chargeonlyafterseveralchargeand
discharge cycles.
A) CHARGING THE BATTERY
CHARGING PROCEDURE
Plug the charger plug into a suitable power outlet. Next,
connect the charger (9) to the charging socket (10) on
the tool. The light will turn to red to indicate the charging
process has started. Let the battery charge for 1 hours.
The light will go off to show the tool is fully charged. After
the battery is fully charged, then unplug the charger.
Disconnect the charger from the tool. The tool is ready
to be used.
NOTE:Ifthetoolistoohot,thelightwillashredwhen
charging. Please cool the tool before charging.
Important: When charging, the charger and tool may
become warm to the touch, this is normal and does not
indicate a problem.
Your tool is equipped with battery capacity indicator.
Press the battery capacity indicator button (7) to show
the amount of charge left in the battery.
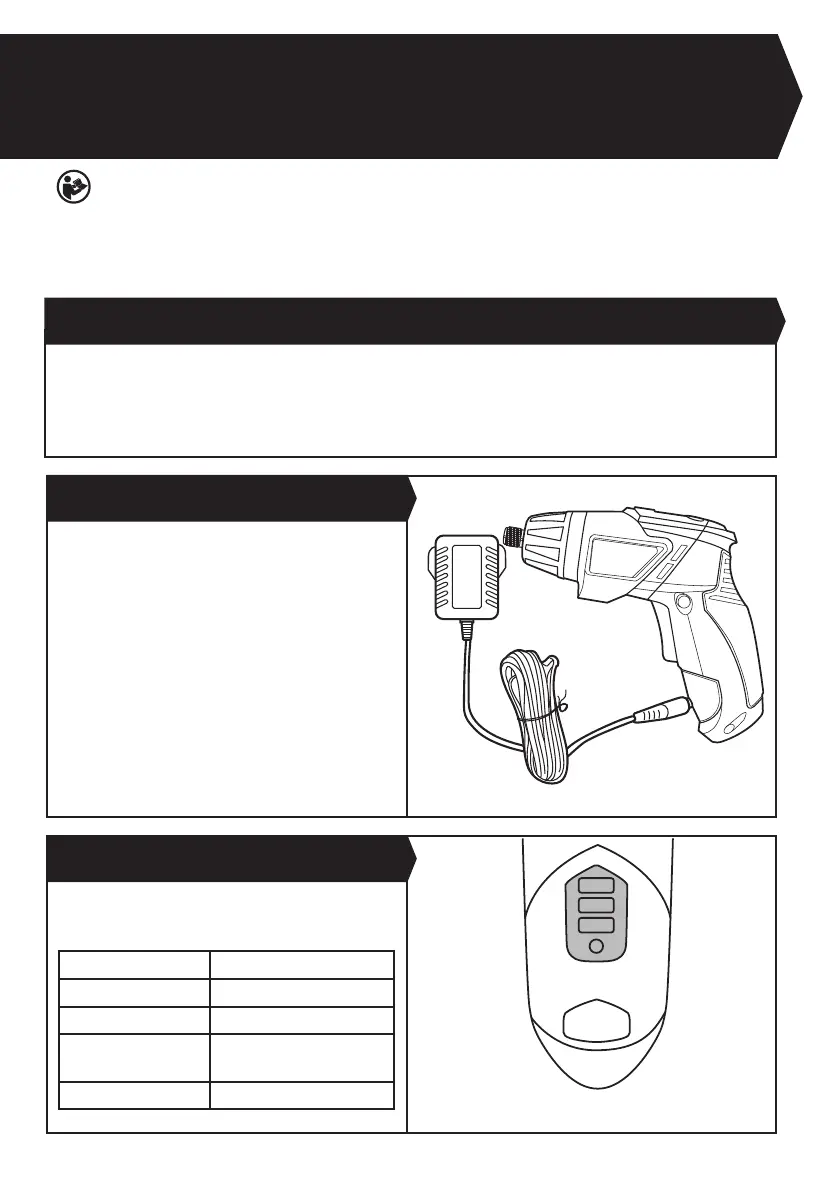
Light Status
Red on 0-33%
Red on +Yellow on 33%-66%
Red on +Yellow on +
Green on
66%-100%
Green on Fully Charged
B) HOW TO CHARGE YOUR BATTERY PACK (
See Fig.
A)
C) BATTERY CAPACITY INDICATOR (
See Fig.
B)
Fig. A
Fig. B