11
To Sanitize the Disassembled Parts:
Wear rubber gloves for protection.
1.Placethecleanedpartsintoasink.
2. ImmersethemincommercialBarTabs/Sani-TabssanitizingsolutionThesolutionmustbewarm(75°F.)Allowthepartssoakinthesanitizerforat
least one minute.
3. Removethepartsfromthesanitizerandairdry.
4.Aftercleaning,sanitizinganddrying,assemblethepartstakenfromtheteacontainer.
Cleaning Airpots:
1. Inacontainer,mixamilddetergentsolutionforcleaningyourairpots.
2. Discardanyoldcoffeefromtheairpot.
2. Wipetheexteriorsurfaceswithaspongemoistenedwiththedetergentsolution,removingwater
spots and coffee.
3. Removeandcleanthesyphontube/funnelwithadetergentsolution.
3. Cleaninsidetheairpotswithaspongebrushsoakedindetergentsolution.
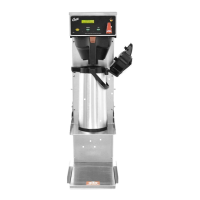
4. Aneasywaytocleanremovemineraldepositsfromthebrewconeandairpot,istousecoffee
equipmentcleaningtablets.
a.Placeatabletintothebrewcone.
b.Placetheairpotontothebrewdeckandopenthelid.
c.StartacoffeebrewcyclebypressingtheBrewbuttononthecontrolpanel.
d.Oncethebrewcyclehasnished,allowthecleaningsolutiontositintheairpotfora
minute.Discardtheusedcleanerfromtheairpot.
e.Rinsetheairpotandbrewconewithrunningwater.Boththebrewconeandairpotshouldbe
clean and ready to use.
Airpot Precautions:
Donotimmerseairpotsinwater.
Donotplaceindishwasher.
Donotuseharshpowdersorcleanserscontainingchlorine.
Donotuseawirebrushorpotscourtocleaninsideliner.
Liquid Level Probe
Cleaningintervalsfortheprobearetobedeterminedbytheuserortheservicetech,basedonwaterconditions.Theuseofwaterlters,orthetype
ofwaterlterthatisbeingusedcanimpacttheserviceinterval.Intervalscanbefromonemonthtoseveralyears,however,replacingratherthan
cleaning the probe is preferable.
WARNING:Electricshockhazard.Disconnectelectricalpowerbeforeremovingaccesspanels.
CAUTION: ScaldingandBurnhazard.Hotwaterandhotsurfaces.Allowunittocoolbeforeworking.
1. Unplugthepowercordandshutoffthewaterline.
2. Removethetopcoveroftheteabrewer.Locatetheheatingtankandremovethetopcover.
3. Drainthetanktoalevelabout3”belowthetipoftheprobe.
4. Allowsometimefortheheatingtankandliquidlevelprobetocooldownbeforeproceeding.
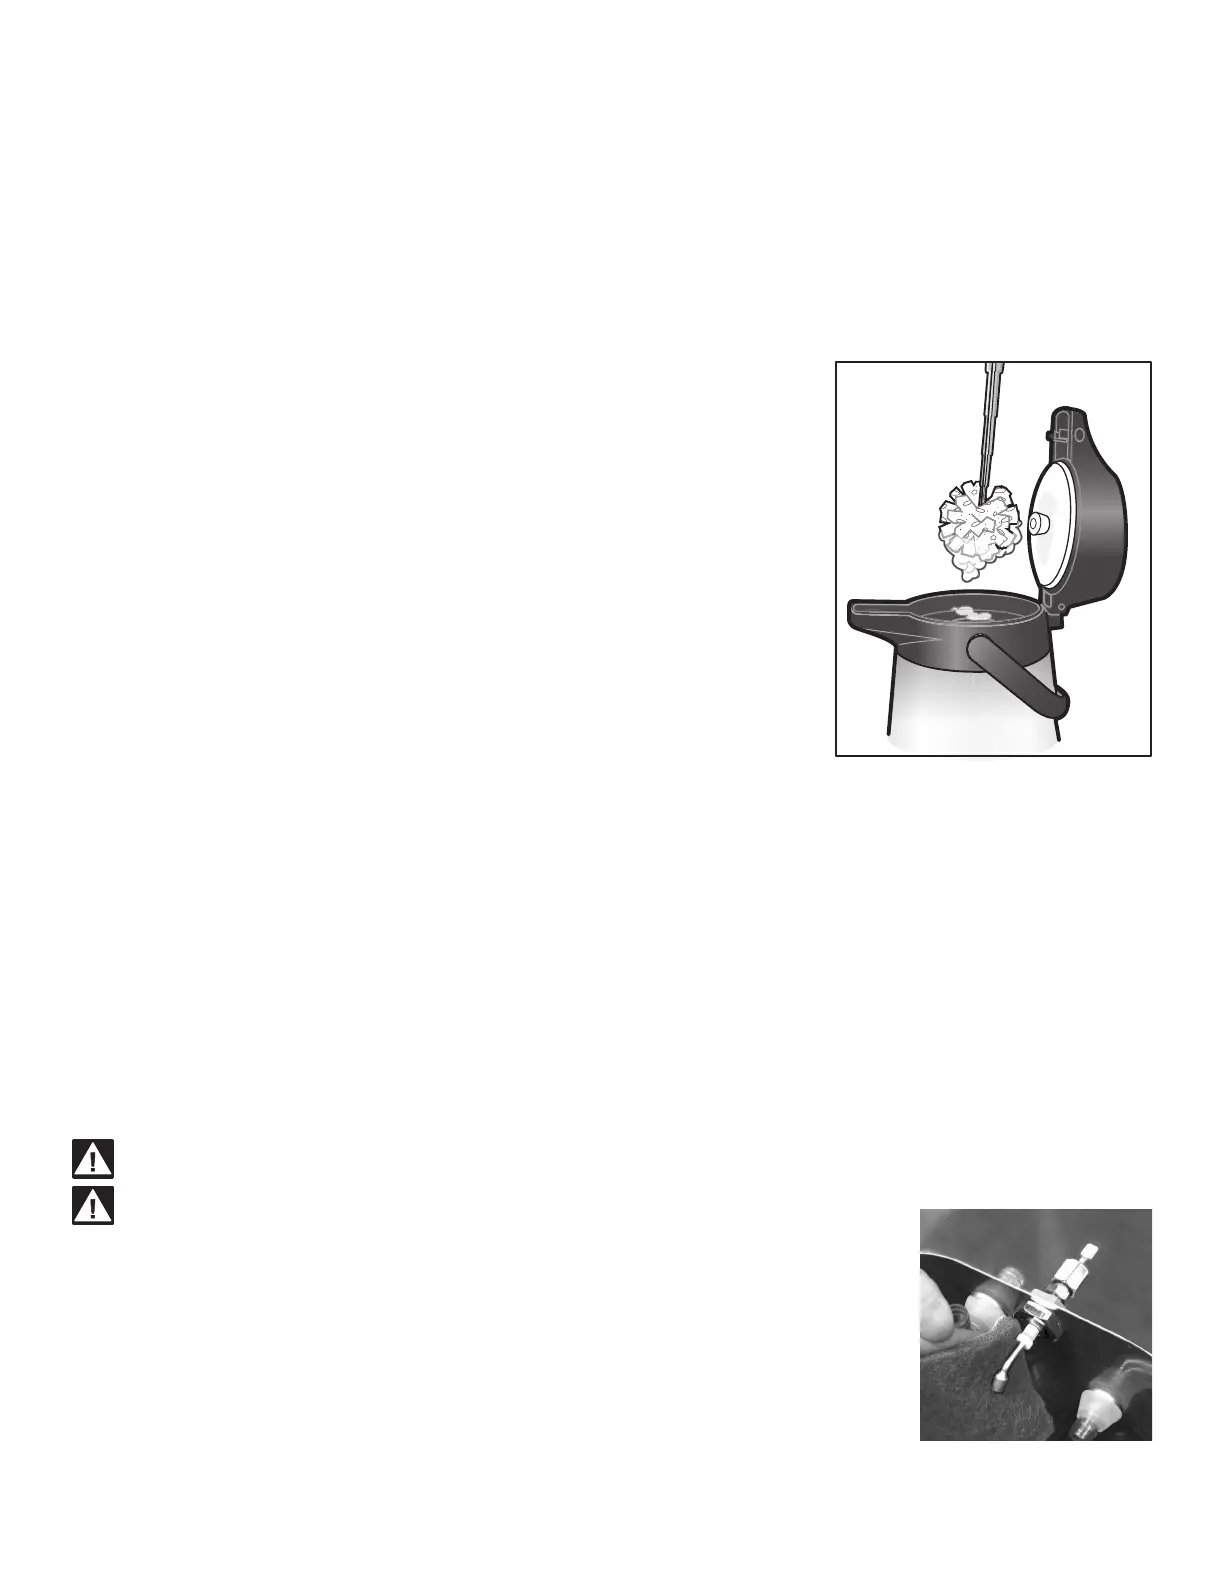
5. CleanthetipoftheprobeusingaScotch-Brite
™
scuff pad.
6. Ifawhiteresidueisstillvisibleontheprobe,removetheprobeandsoakitinvinegarorascaleremoving
chemical. Repeat this step until the probe is clean.
 Loading...