en
Installation and operating instructions • Wilo-Control EC-L • Ed.04/2022-09 11
6.4.1 Basic advice on fixing the
switchgear in place
Various structures can be used for installation (concrete wall, mounting rail, etc.). For this
reason, the fixation material for the relevant construction must be provided by the cus-
tomer and the following information must be observed:
• To prevent cracks in the masonry and chipping of the construction material, ensure suf-
ficient clearance to the edge of the structure.
• The depth of the borehole depends on the length of the screws. Drill the borehole ap-
prox. 5mm deeper than the screw length.
• Drilling dust impairs retention force. Always blow the borehole clean or vacuum it out.
• Do not damage the housing during installation.
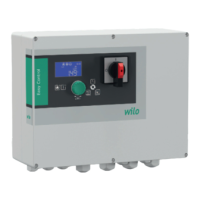
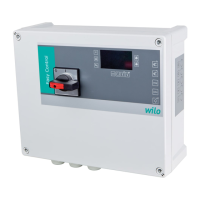
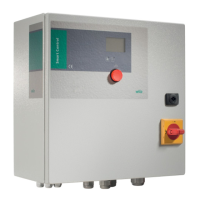
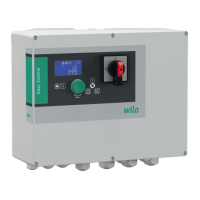
6.4.2 Installation of switchgear
Attach the switchgear to the wall with the four screws and wall plugs.
• Max. screw diameter:
– Control EC-L1x.../EC-L2x...: 4mm
– Control EC-L3x...: 6mm
• Max. screw head diameter:
– Control EC-L1x.../EC-L2x...: 7mm
– Control EC-L3x...: 11mm
✓ Switchgear is disconnected from the mains and voltage-free.
1. Align the drill template at the installation location and attach.
2. Drill and clean the mounting holes in accordance with the specifications of the fixation
material.
3. Remove the drill template.
4. Loosen the screws on the cover and remove the cover to the side.
5. Attach the lower part to the wall with the fixation material.
Check the lower part for deformations! Realign deformed housing covers (e.g. by pla-
cing alignment plates below them) to ensure the housing cover closes precisely.NO-
TICE!If the cover does not close correctly, the protection class is compromised!
6. Close the cover and fasten it with the screws.
▶ The switchgear is installed. Now connect the mains, pumps and signal transmitter.
6.4.3 Level control
For automatic control of the pumps, a level control device must be installed. To this end,
the following signal transmitters can be connected:
• Level sensor
Change the switching points via the menu.
• Dynamic pressure bell
Only “IPS” version! Change the switching points via the menu.
• Float switch
• Electrode
– Only Control EC-L1... and EC-L2...
– Hardware version 2 or higher
• Level monitor
The signal transmitters must be installed according to the system's installation plan. Please
observe the following points:
• Float switch: Float switches must be able to move freely in the operating space (pump
chamber, tank)!
• Dynamic pressure bell: Install a bubbling-through system to optimally vent the dynamic
pressure bell.
• Do not undercut the minimum water level of the pumps!
• Do not exceed the switching frequency of the pumps!
6.4.4 Dry-running protection
The level can be measured via the following signal transmitters:
• Level sensor
Set the switching point in the menu.
• Dynamic pressure bell
Only “IPS” version! Set the switching point in the menu.
• Separate float switch
• Separate electrode
– Only Control EC-L1... and EC-L2...
– Hardware version 2 or higher
 Loading...