Step 1
Carefully remove the turntable from the
packaging,takingcaretoremovetheprotecve
card and dressing which has been placed under
the suspension and around the bearing to
protect the product during transport.
Placetheupperandlowerplinthonaclean,at
surfacethatisfreefromvibraon.
Ideally this would be a pre-leveled audio table
such as the Circle stand that has been designed
forhighlysensivesourceequipment.
Runningyourngersaroundtheoutsideofthe
Circle ensure that the upper and lower plinth
are concentric.
Step 2
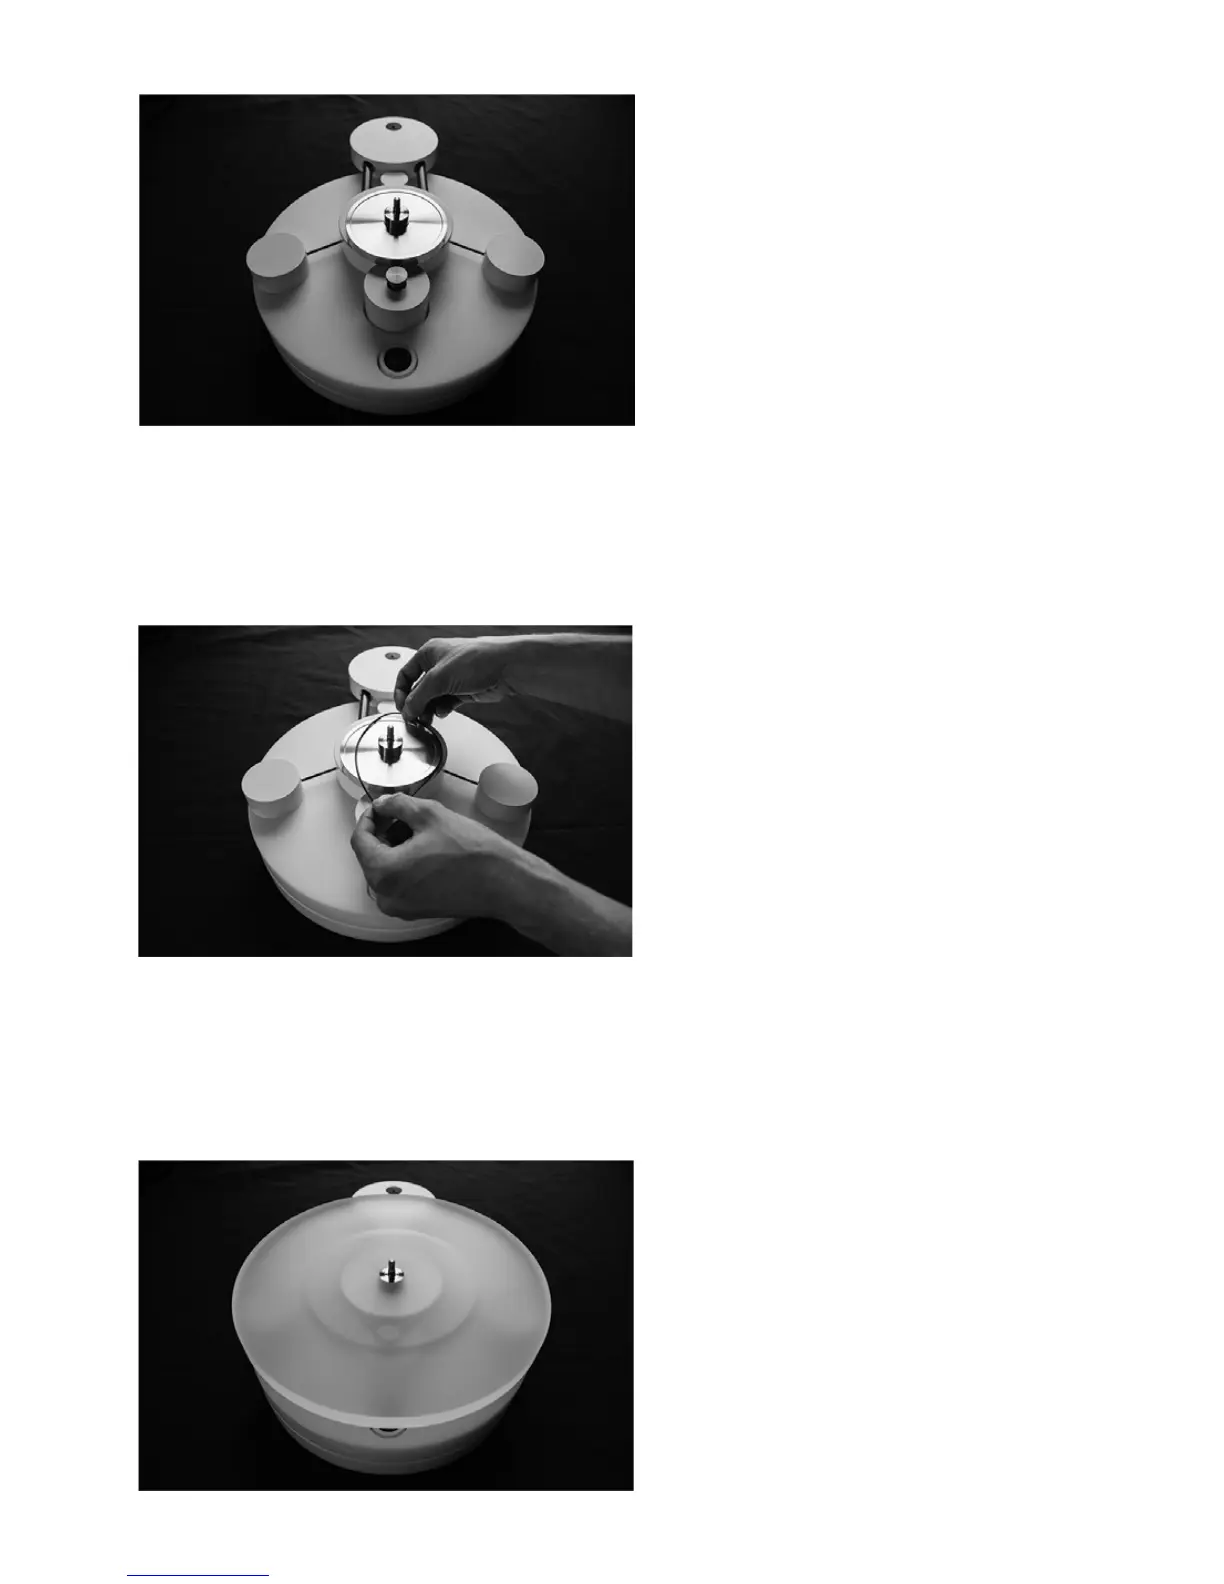
Remove the belt from the packaging, being
carefulnottostretchthissensiveelement.
Aachthebeltbyholdingitinthepulleygroove
rst.Thenusingtheotherhand,wrapthebelt
aroundtheoutsideedgeofthesub-plaer.
Itisessenalthatthebeltremainfreefrom
greaseanddirtatallmes.
The smaller groove on the pulley should be
used for 33RPM and the larger groove 45RPM.
Step 3
Gentlyplacetheplaerontopoftheturntable
ensuring that it sits correctly and level on top of
thesub-plaer.
At this stage it can be useful to insert the
supplied power lead and ensure that everything
is running smoothly before installing the
tonearm.
 Loading...