WindRider 17 Trimaran Assembly
(NOTE: The first several steps are generally completed by the dealer before delivery. Skip
forward as necessary.)
WARNING!
Make sure there are no electrical power lines overhead or between you and the
launch site before raising the mast.
Mount rear beam loosely to main hull (“rear” identified by 2” square jib brackets welded to top of
inner beam) using ¼ -20 truss head screws provided with fender washers and nuts. DO NOT tighten
nuts yet and do not remove aka lock pins from beam assembly.
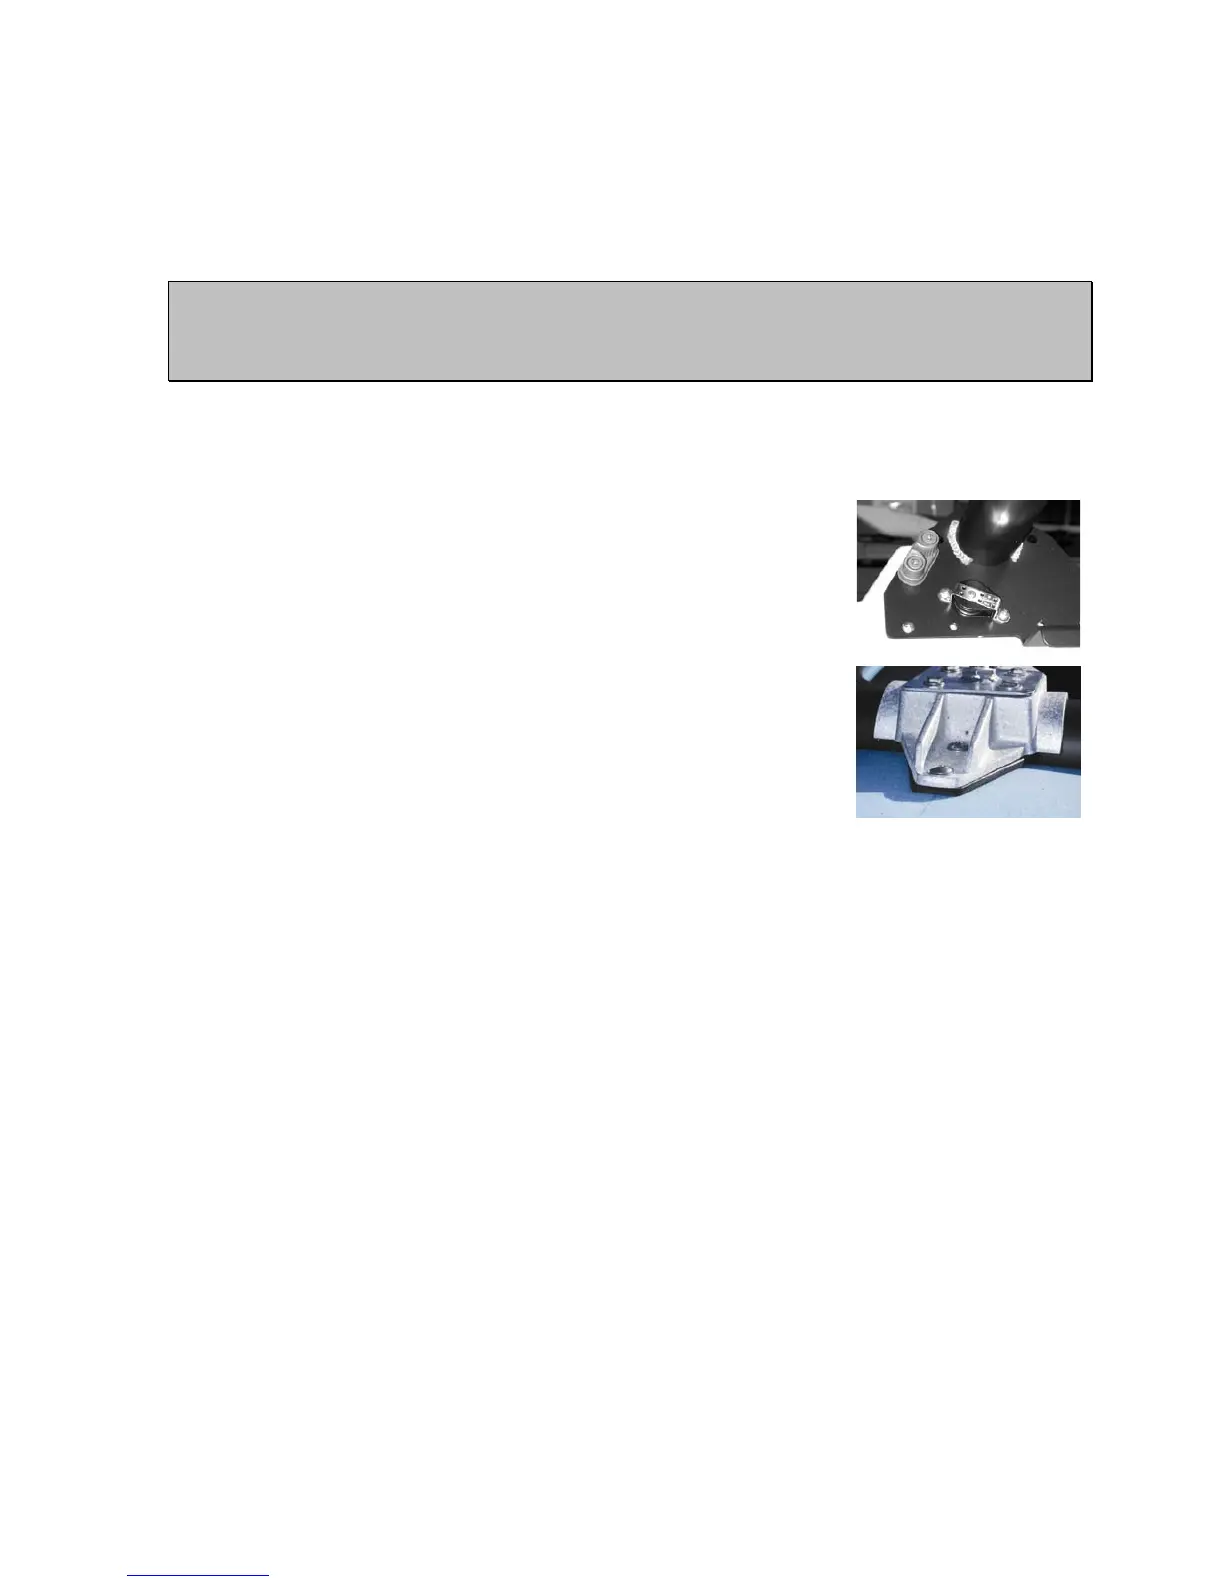
Mount mainsheet cleat and cheek block loosely to starboard rear
beam plate as seen in photo at right. Do not tighten yet. (For boats with
jib, mount small aluminum clam cleat for furling line in similar location on
the port side using holes and fasters provided.)
Mount front beam assembly, again leaving nuts hand tight.
Mount mast step assembly over center portion of front beam. Front
bolts will pass through foredeck support tube and 4” rear screw will use a
red cover above deck and fender washer below deck. Tighten as much as
needed to keep flat top of mast step casting horizontal.
Mount starboard outrigger
1. Remove hex head bolts from outrigger, noting location of chain plates (forward outboard
hole on rear beam, aft outboard hole on front beam). Leave flathead screws in place to
hold backing plates.
2. Use blocks or horses to support the hull while you line it up with beam ends.
3. Test fit bolts on both beams, with chain plates in place on proper bolts.
4. Loosen bolts from rear beam and lower outrigger enough to make a ring of clear silicone
caulk around each bolt hole in the outrigger, before loosely reattaching with bolts.
Repeat on front beam.
Mount port outrigger by repeating process used on starboard side.
Tighten all 16 beam end outrigger bolts on starboard and port side, keeping front chain plates
angled approximately 20 degrees inboard of straight aft and back chain plates angled 20 degrees
inboard of straight ahead.
Tighten midbeam bolts inserted earlier, which fasten mid beam and harken gear to the main
hull. Tighten snugly, but there is no need to pull plastic hull out to make complete contact with
mounting plate.
Remove aka lock pins and slide outriggers out. It is best if outriggers are slid completely out at
this point to assure there is no construction debris within the tube and to lubricate the tubes with a dry
lube such as McLube Sailkote™. This will assure smooth sliding. Put beams back together and pin
with aka locks in extended position.
 Loading...