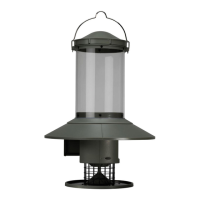
Assemble AutoFeeder
1. Join the (2) rain bae parts
D
by snapping
them together.
2. Attach the assembled rain bae to the bottom
of the seed hopper
C
. Insert 4 posts on the
hopper into 4 holes in the rain bae, and rotate
until they “snap” into place.
3. Attach the AutoFeeder Assembly
E
to the bottom of the seed hopper. Align 4 posts in
the AutoFeeder Assembly with the 4 holes in the bottom of the seed hopper. Rotate until
they “snap” into place.
4. Attach the seed cage
F
and seed tray
G
to the bottom of the AutoFeeder assembly
using the large thumb screw
H
. Finger tighten the thumb screw. Do not over tighten.
Installation Video: visit
www.wingscapes.com/
autofeederassembly or
scan the QR tag at right
with your smart phone
to watch a video about
assembly.
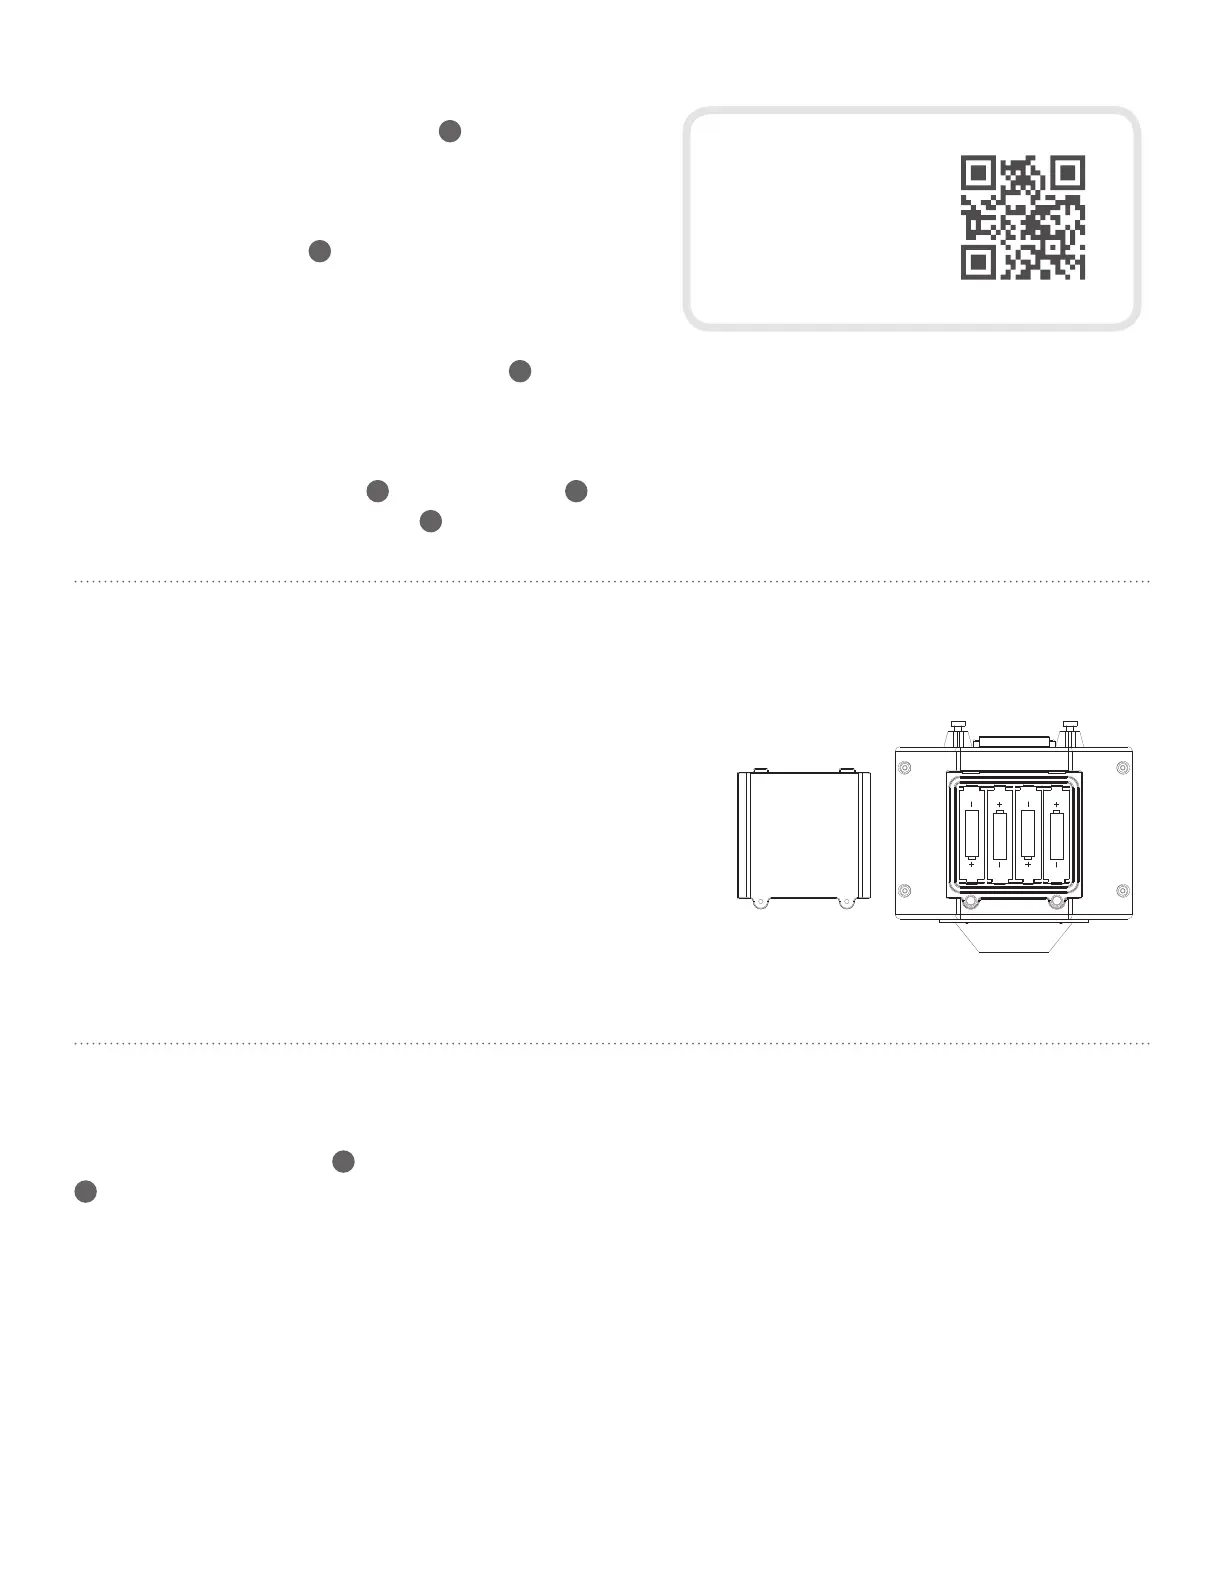
Install Batteries
5. Loosen the metal thumb screws on the battery
compartment door and temporarily remove the
door. Install 4 AA alkaline or lithium batteries (not
included) in the proper direction shown in each of
the battery positions. Do not mix alkaline batteries
with lithium or other rechargeable batteries (fig.1).
6. Replace the battery door. Finger tighten the 2
thumb screws to secure the battery door. Do not
over tighten.
Fill Your Feeder
7. Move metal handle
A
to the down position and remove the metal top.
B
Fill the seed hopper with your seed of choice and replace metal top.
Move metal handle to the up position.
1.5V SIZE AA
UM3 OR LR6
MADE IN CHINA
1.5V SIZE AA
UM3 OR LR6
1.5V SIZE AA
UM3 OR LR6
1.5V SIZE AA
UM3 OR LR6
PATENT PENDING
fig. 1