- 14 -
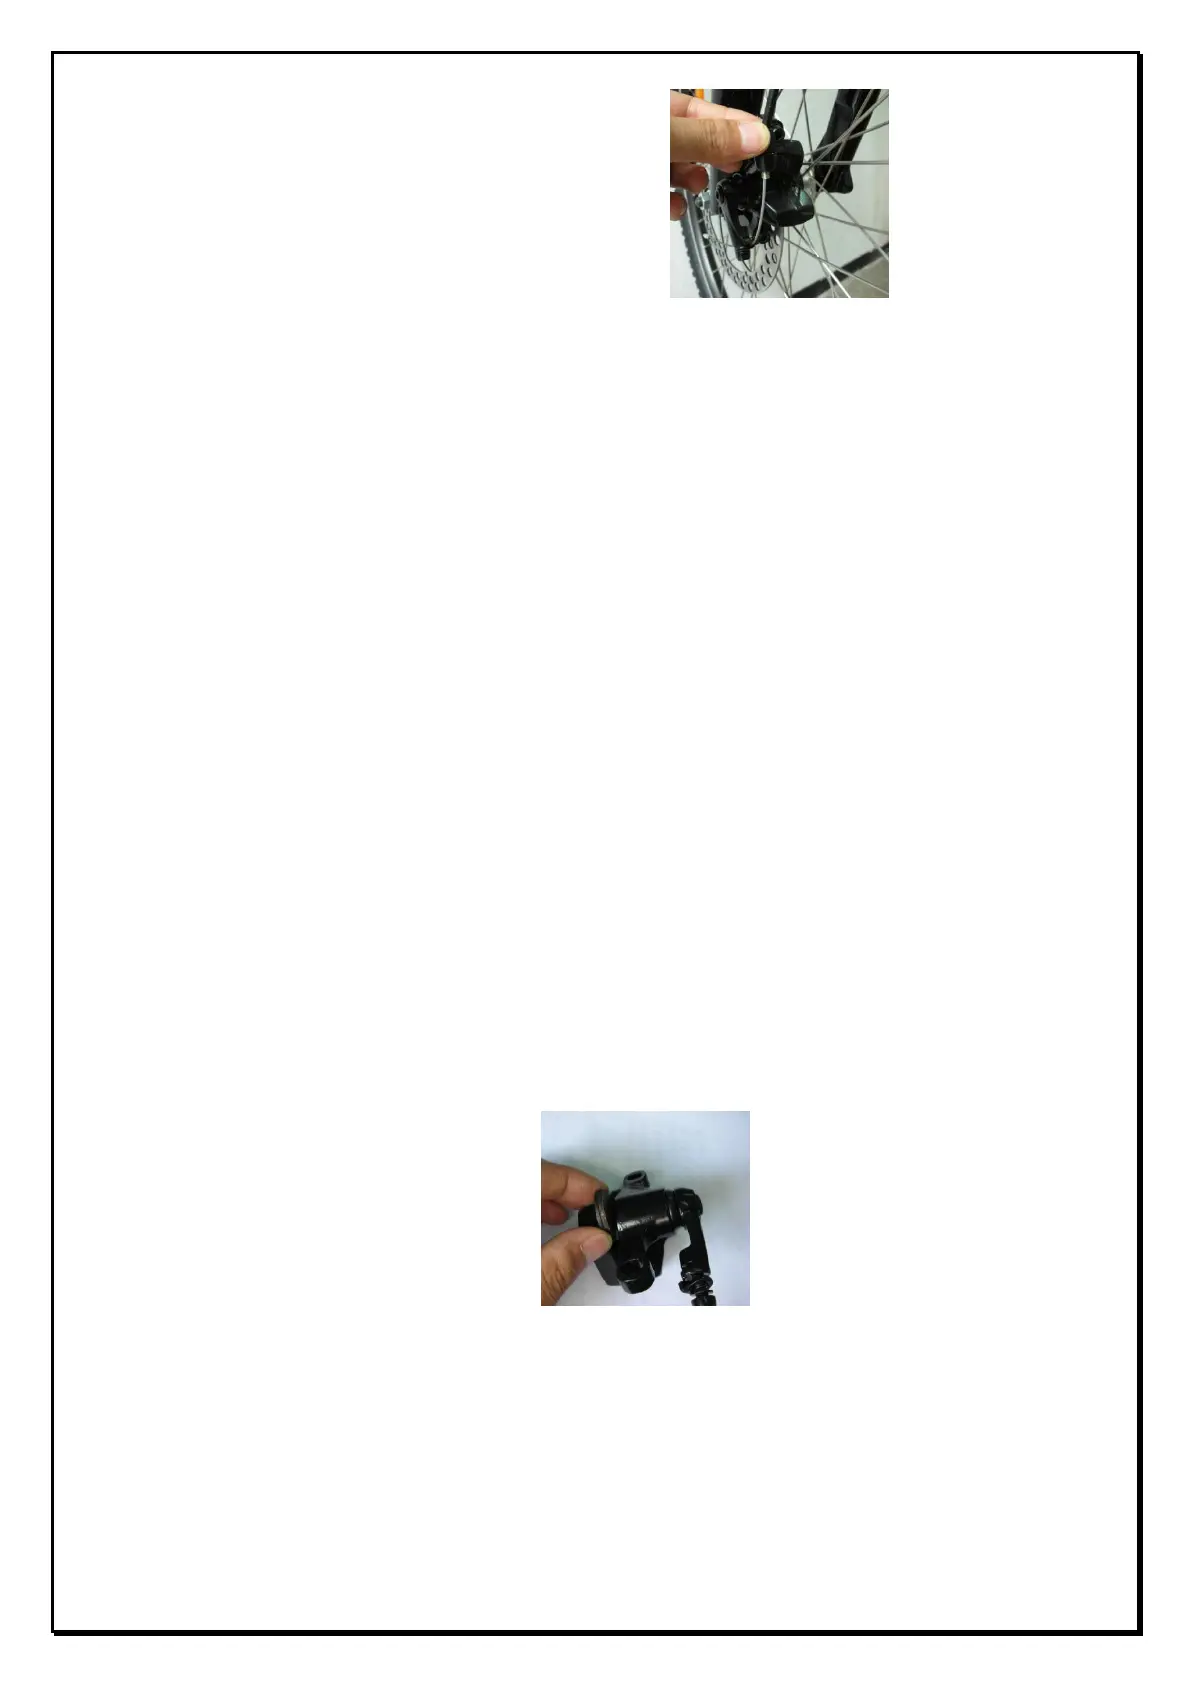
14.3.1.2. Adjust the cable adjuster bolt on the caliper so that there is
0.3mm clearance between
the outside pad and the rotor.
(see picture below)
14.3.2. Installing and removing pads.
Caution: The pads and rotor must be kept clean and free from oil or grease
based contamination. If the pads become contaminated you must discard
them and replace them with a new set. A contaminated disc should be
cleaned with a proprietary brake cleaning solution.
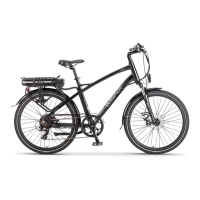
14.3.2.1. Remove the caliper from the fork leg complete with the mount
adapter by removing the two 6mm Allen caliper fixing screws. The
pads can then be removed by grasping the pad end-tab, lifting the
pad clear of the piston pin and then manoeuvering it out of the
rotor slot in the caliper body.
14.3.2.2. To refit the pads hold the pad end-tab, insert it into caliper
slot with its metal backing towards the piston. Make sure the hole in
the metal backing goes over the piston pins. When correctly
inserted, the pad will be held in place magnetically. Repeat the
procedure for the other pad. Refit the caliper complete with adapter
to the front forks using the two 5mm Allen screws and tighten
securely to 5 to 6 N.M and repeat the adjustment procedure
described above. (note 1 – use of a thread locking compound is
recommended on the calliper fixing screws)
Note 2: Disc brake pads are held in the caliper magnetically. No tools are
required to install or remove them. As the left and right pads are the same
they may be inserted on either the left or right of the caliper.
Warning: If you are unsure about any part of the installation process you
should seek advice from Wisper service center or qualified mechanic.