- 16 -
16 Front suspension forks
16.1 Your bike has been fitted with RST Vita adjustable front suspension forks
16.2 Adjustment can be made by turning the preload adjuster located on the left
hand side of the fork crown. Turn the adjuster clockwise to increase the suspension
preload and anticlockwise to reduce. The damping adjustment is located on the right
hand side of the fork crown. Turn the adjuster clockwise to make the damping softer and
anticlockwise to make it harder. When turned fully anticlockwise the forks will be locked
with not suspension movement.
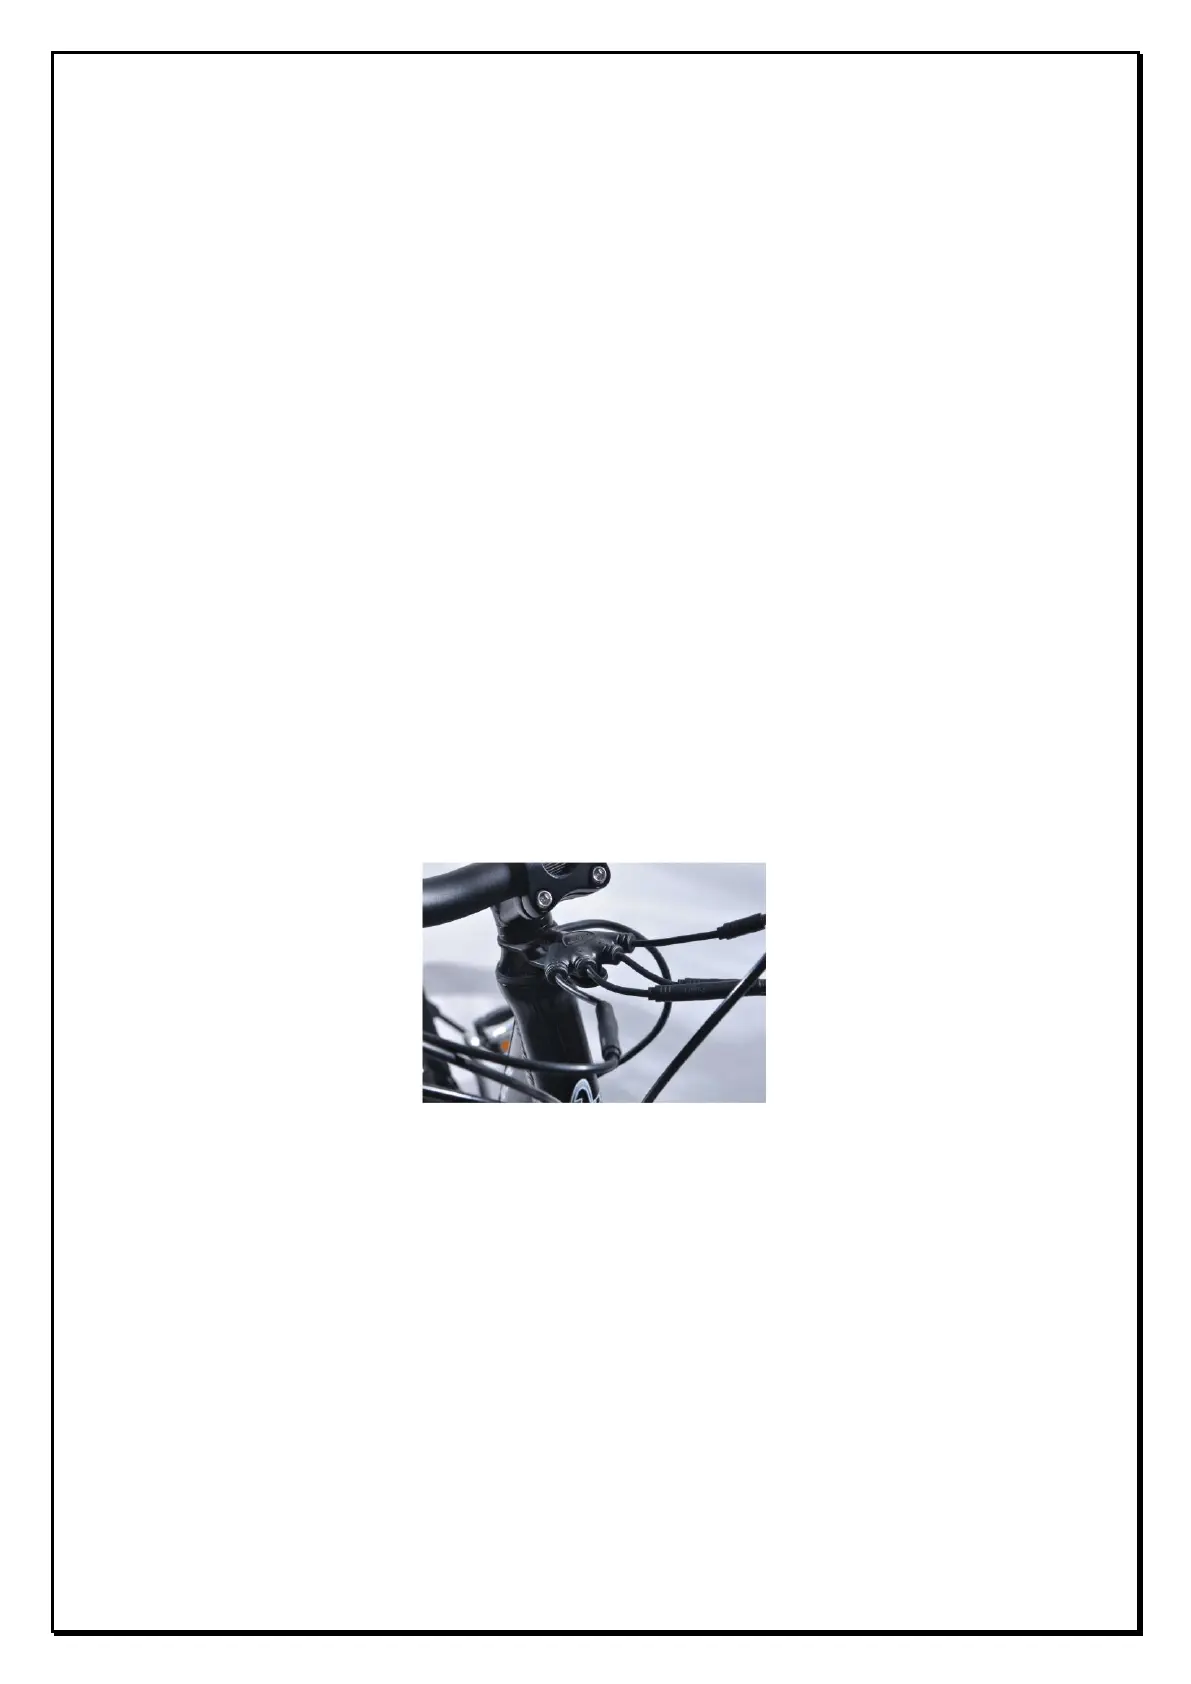
17 The front connection box (manifold)
17.1 The front connection box (manifold) allows for the easy removal for diagnosis,
repair or replacement of any of the electronic components on the handle bars.
The connections to the handlebar electronics are made through bayonet
connectors. The bayonet connectors, being a push fit are simple to disconnect or
re connect and click into position when fully engaged. Each connector has a
different number of pins so it is important to ensure the connectors are only
mated in their original positions as damage may occur to the pins if this
procedure is not followed.
18 Quick release saddle height adjustment
18.1 Your Wisper bike has been fitted with a quick release saddle post collar to
facilitate the movement of the saddle to remove the battery or to change the
riding position.
18.2 It is important that the nut on the collar is tightened so the post will not move
in the bike tube. Make this adjustment with the quick release lever in the open
position.
18.3 Adjust the seat to the correct height and close the lever. When you sit on the
saddle there should be no vertical movement at all in the saddle post. Never
apply grease to the saddle post.