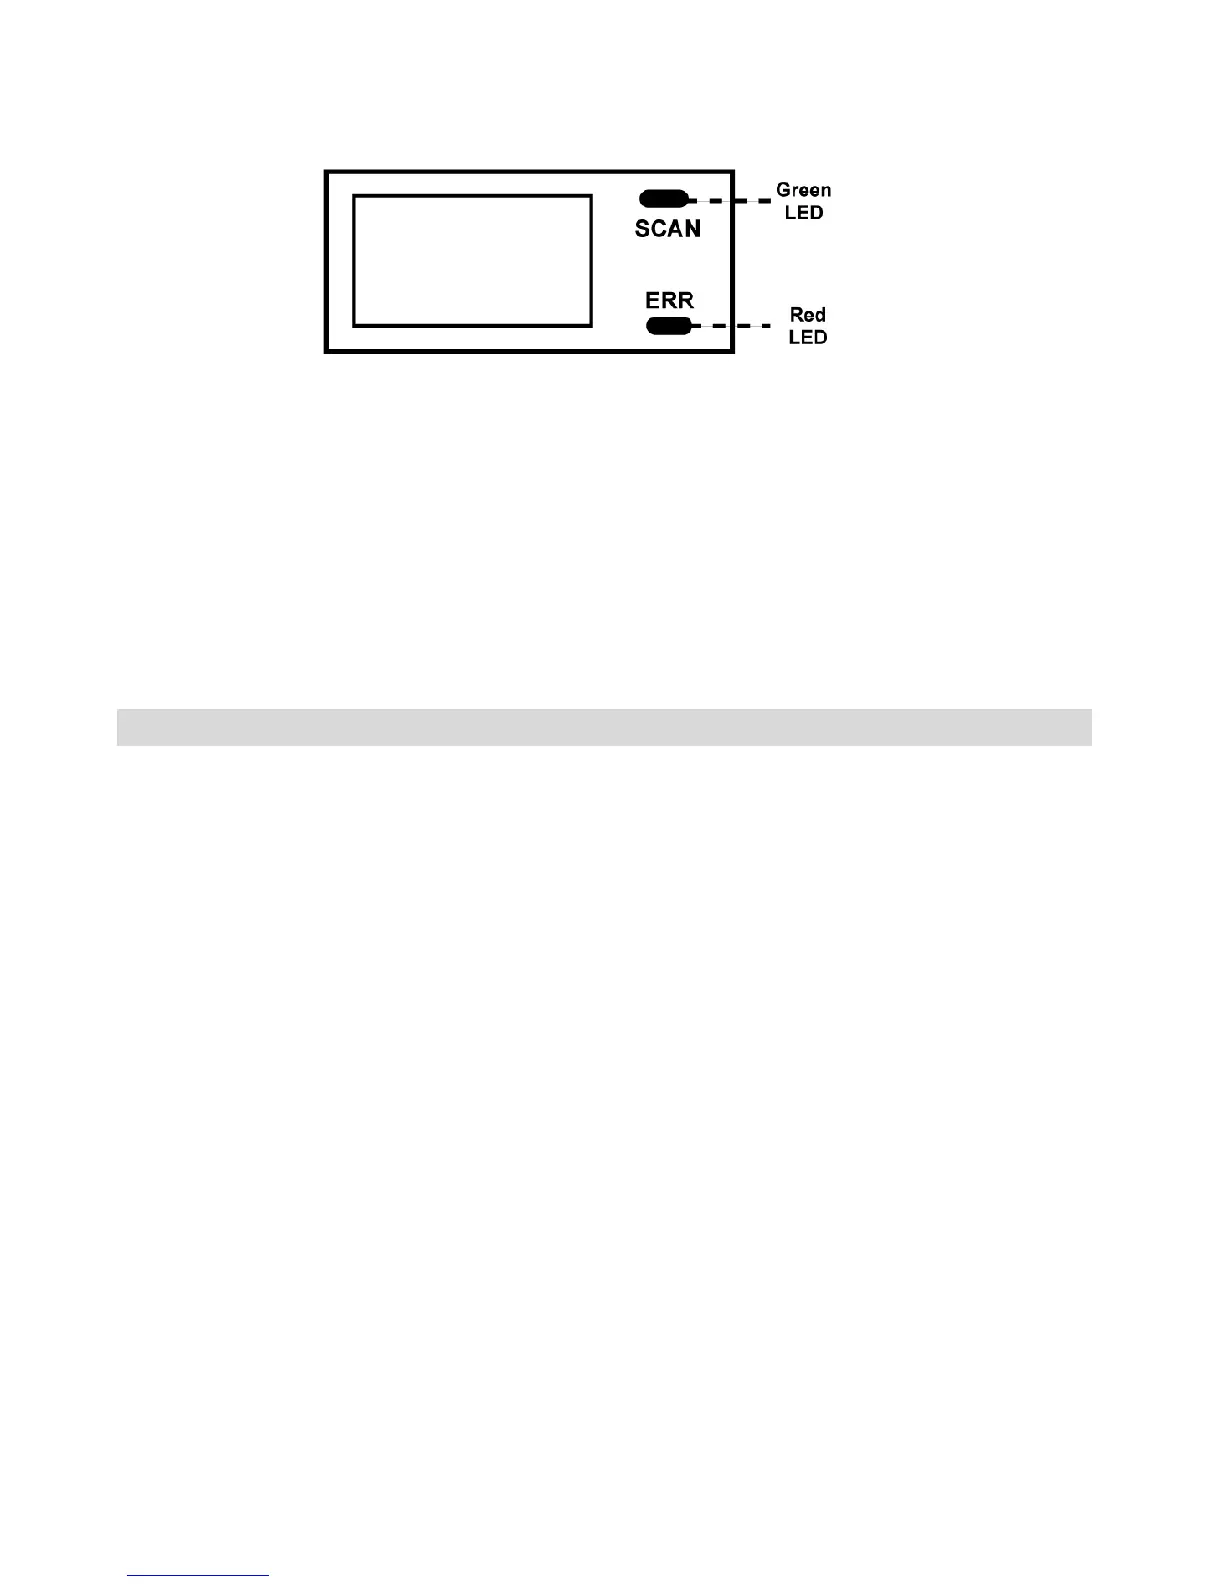
6.8 LED light indication
Both
Green
and
Red
LED off ---- Ready to scan. Press SCAN
button to start a scan.
Green
LED on ---- Scanning in process
Red
LED on ---- Scanned too fast or having distortion. Press
SCAN button once to clear error.
7. Connect to computer
You may connect the scanner to your computer to upload files in
the MicroSD or SDHC memory card.
1) Use the included USB cable to connect scanner to USB
port on your computer.
2) Turn on the scanner.
3) Check “My computer” or “Desk Top” for a removable disk
drive.
4) Open the folder “DCIM” and the folder “100DEDIA”.
Scanned files were named PTD0001 and PTD0002 and
so on.
5) After finished uploading Jpeg files from the memory card,
you can delete the files on the memory card.