6. Getting Started
6.1 Install battery
1)
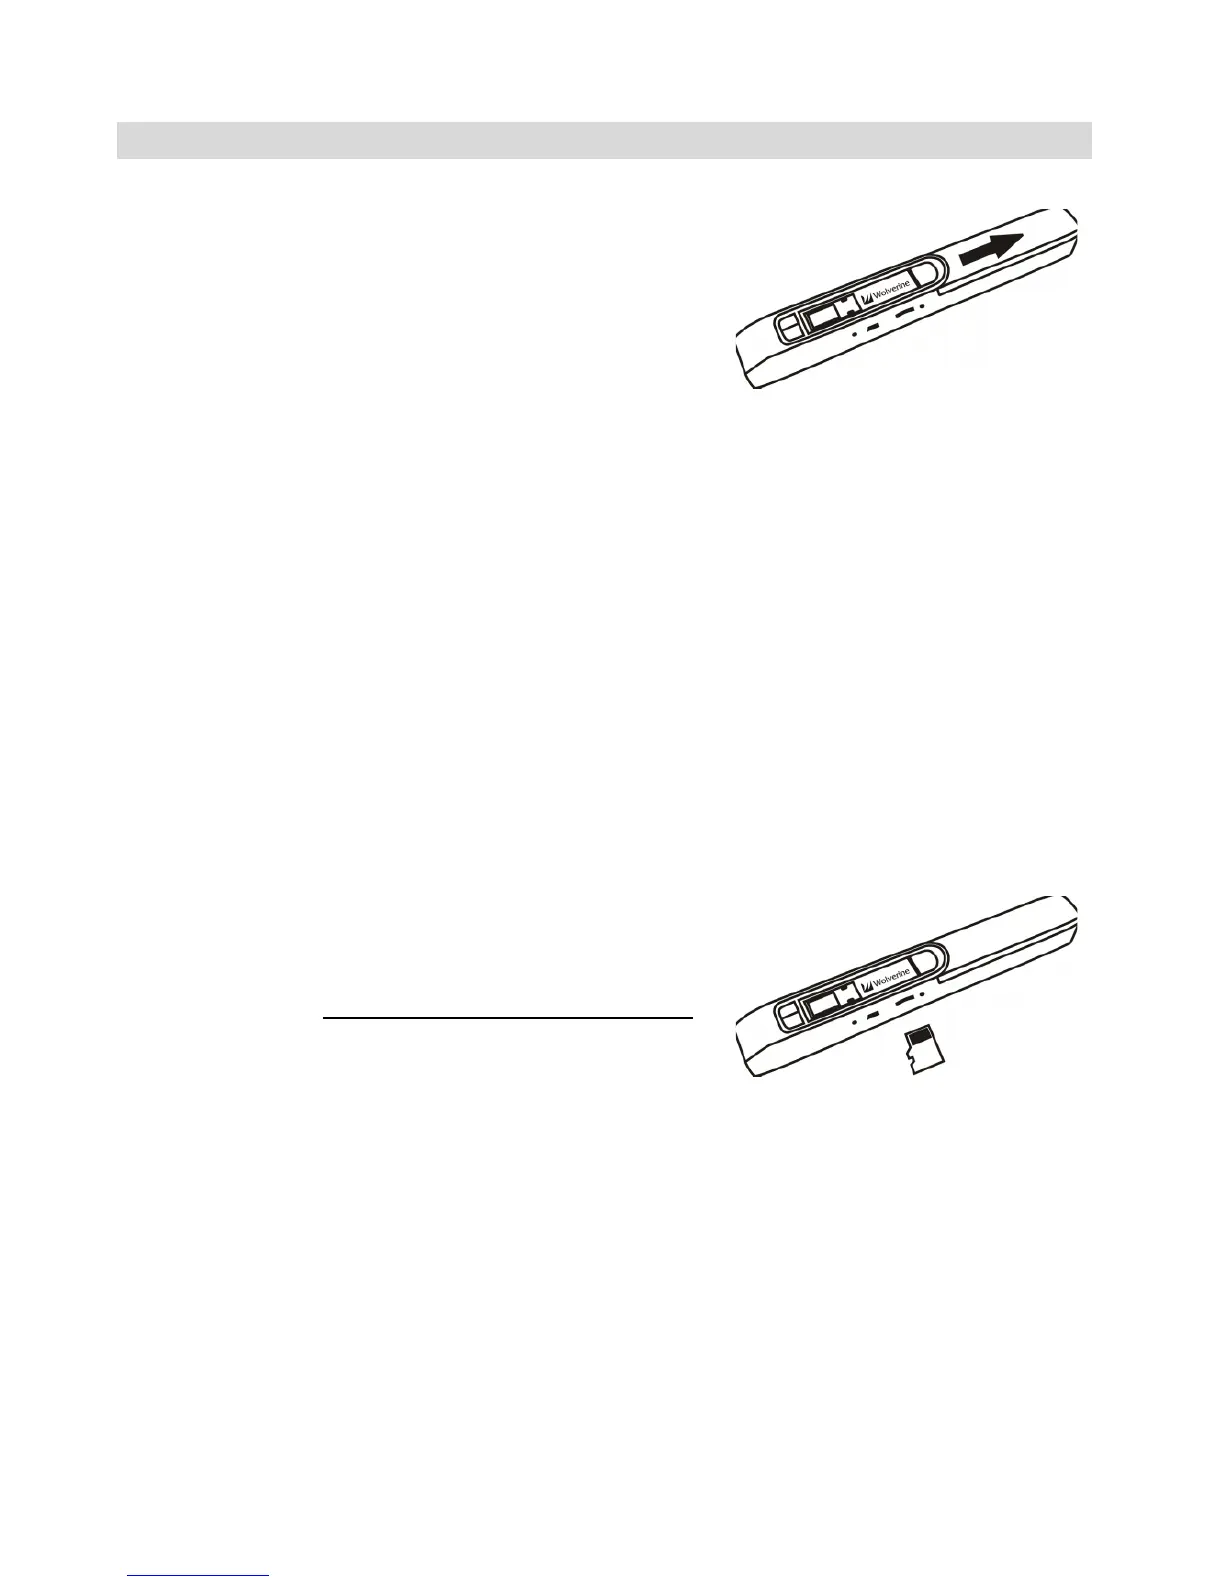
Slide battery door outward.
Please see the picture.
2) Insert 2 x AA batteries (not
supplied) into the battery
compartment according to the polarities shown in the
compartment.
6.2 Power on/off the scanner
Press and hold Power/Scan button for 2~5 seconds to turn on/off
the scanner.
6.3 Insert and format a MicroSD or SDHC memory card
You need to use a MicroSD or SDHC card to record and store the
scanned files. The scanner supports the capacity up to 32GB. The
MicroSD or SDHC card must be formatted before the first scanning.
1) Turn off the scanner.
2) Insert MicroSD or SDHC
card (not supplied) with
gold contacts facing up.
Gently push the card all the
way in until latched. Do not
force the card into the slot; forcing may damage the
scanner and the memory card. Please see the picture.
3) Power on the scanner.
4) Use the tip of a paper clip to press “FORMAT” hole. “F”
will show on the LCD.
5) Press Power/Scan button to start formatting the card.
6) SD card indicator will be blinking until formatting is
completed.