22
The USDA Dry Kiln Operators Manual describes, in
Section 5, the proper method of stacking and placing
stickers in the lumber. Wood-Mizer recommends that
these guidelines be followed carefully.
• Stickers should all be at least ¾” thick and all sticks
in any load must be the same thickness.
• Thick lumber (10/4 “ and thicker) should be dried
using double stickers.
• End stickers should be as close to the ends of the
boards as possible.
• The sticker spacing should be approximately 18”.
This spacing can be reduced to 12” if excessive
warping, cupping, and bow are a problem.
• Keep stickers in a vertical line and always support
the load under each sticker.
• If you have some wide boards, or other pieces that
you want to keep as straight as possible, pile them
on the bottom as the weight of the lumber above
will constrain the wide boards and give the best
result.
• If a less than full load is anticipated, it is better to
reduce the depth rather than the height or width.
This will obviously leave the stickers “hanging out”,
but will result in better drying.
Each species of lumber has a maximum rate of
drying (expressed as % loss/day) that can be
tolerated without damage. These rates have been
determined through experimentation by the U.S.
Dept. of Agriculture, various universities and others.
Schedules have been developed based on time, dry
bulb-wet bulb temperatures, and even automatic
moisture content devices. Due to the many
important variables that aect drying such as kiln
chamber heat loss, air velocity, ambient temperature
and humidities, vapor leaks, etc., the most important
consideration of a schedule is that you maintain a
safe drying rate.
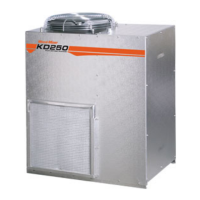
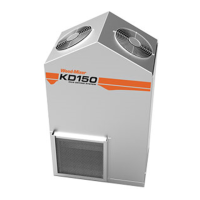
The KD150 drying system dries lumber by using the
dry bulb and wet bulb temperatures of the kiln to
control the operation of the dehumidifier. The
schedules on page 25 are based on dry bulb and wet
bulb conditions (humidity). These schedules are
starting points; you will probably change these
over time because you will find different settings
work for you. This is due to the fact that different
people saw boards differently, stack lumber
differently, build chambers differently, etc.
If the dry bulb temperature is above 80ºF., and the
wet bulb is 2°F above its set point, (factory setting)
the compressor will turn on. When the compressor
is on, moisture is being condensed on the cold coil
in the unit, and draining away. This moisture being
removed reduces the humidity, dropping the wet
bulb temperature.
• When the lumber is fully loaded, the baes should
be lowered to the top of the lumber and the side
baes should be carefully positioned. If no side
baes are installed, the space could be closed o
with plywood or boards.
• Do not use plastic sheeting as it may come loose
and become entangled in the fans.
• If the load supports are thicker than normal
stickers, the extra space should be blocked with a
narrow board or lath.
• Close o any large openings that will let air go
around the lumber. Air will always take the path of
least resistance, and you must force it through the
stickered pile.
• A small amount of time spent doing this correctly
will pay back in more even, faster, and less expensive
drying.
Drying Lumber
Loading the Drying Chamber
Placing Stickers and Loading Lumber
Drying Schedules
Insuring Proper Airow
 Loading...