32 Assembly
MAN0988 (11/5/2012)
oriented properly for readability from alongside
seeder. Install bent retainer pin with hairpin clip.
14. Install parking jack on mounting tube on tongue
and pin in place.
15. Install clevis drawbar hitch and safety chain using
5/8” x 6-1/2” cap screws and lock nuts. Install 5/8”
heavy flat washer over safety chain retainer loop.
16. Install hose holder on tongue using 5/8” x 4-1/2”
cap screw and lock nut.
17. Remove CAT 1 quick hitch sleeve from seeder a-
frame, 3/4” x 4” cap screw and lock nut. Install
ratchet jack in same a-frame hole using 3/4” x 4-
1/2” hitch pin and sleeve. Attach ratchet jack to
tongue using standard ratchet jack pin and
retainer.
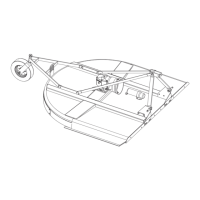
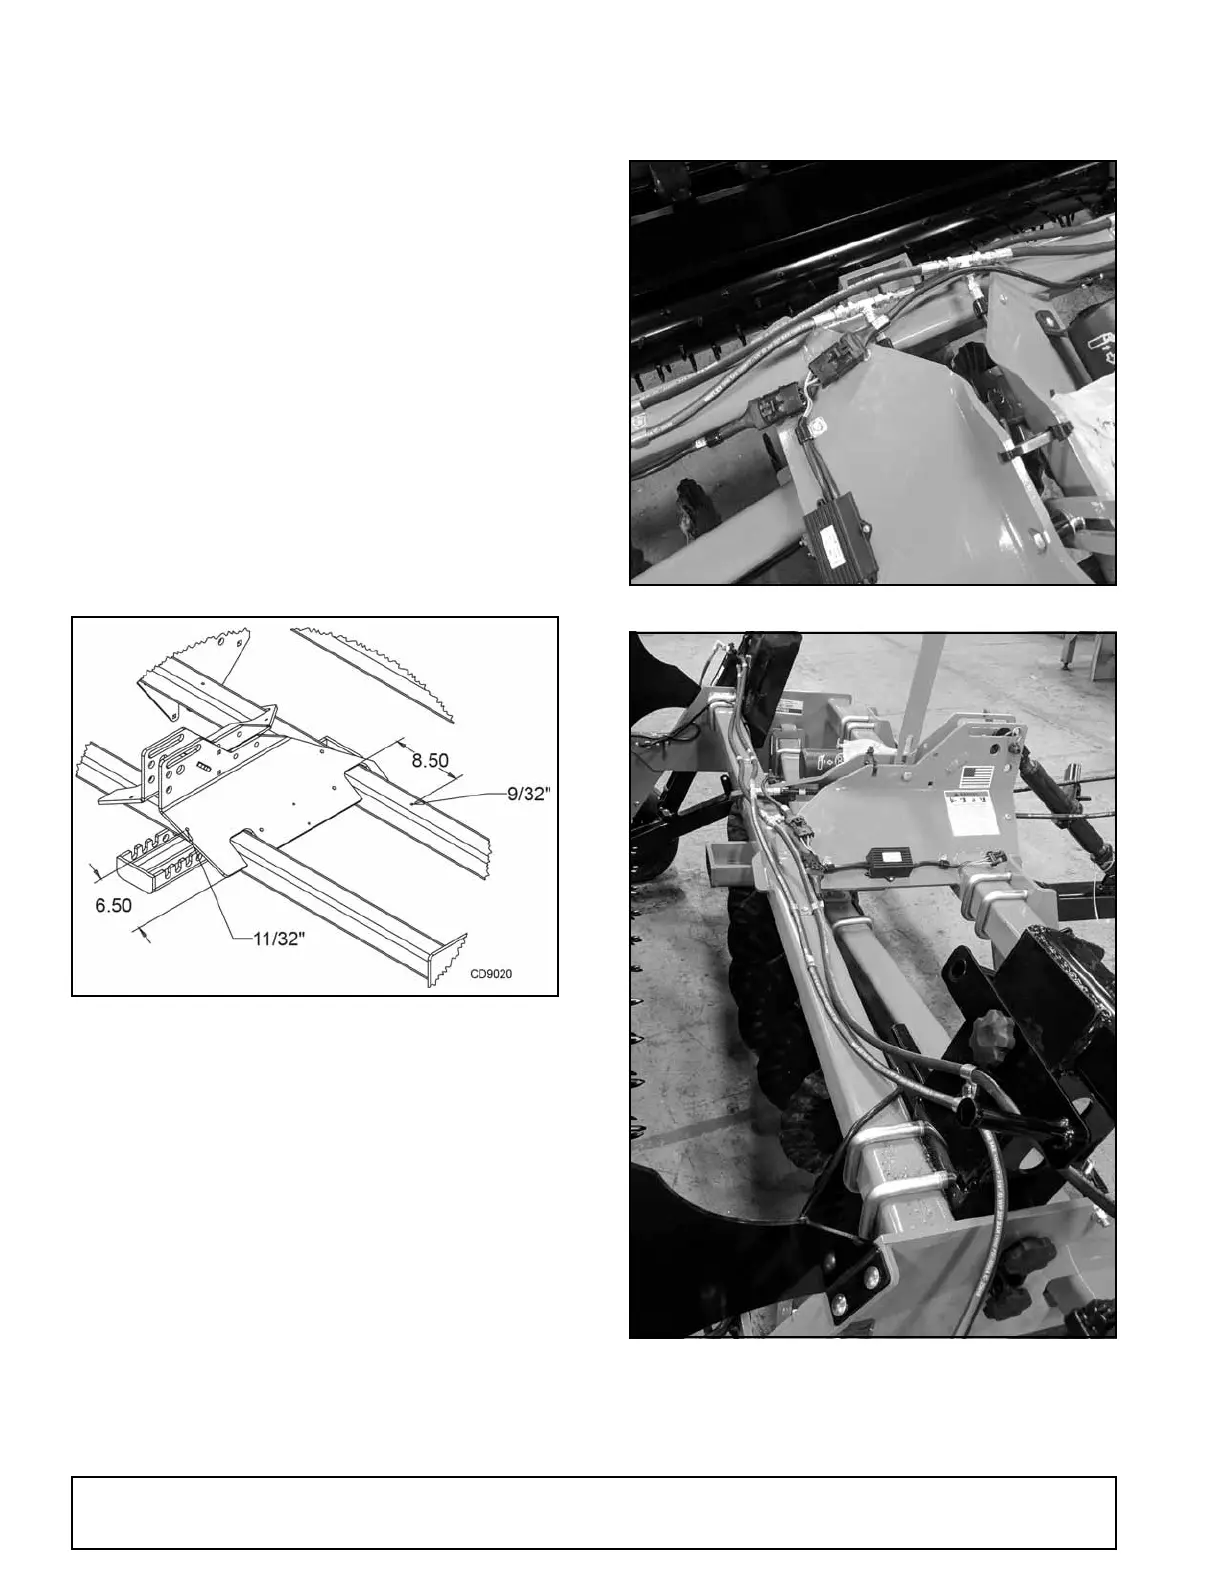
18. Drill two 9/32” holes into seeder frame
approximately 8.5” from mast plates. Drill two
11/32” holes into mast plate at the front of seeder
6.5” from the bottom edge, if applicable (see Figure
36.)
Figure 36. P-clip Hole Locations
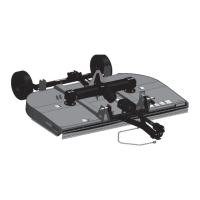
19. Install hydraulic fittings into double-acting cylinders
and run hydraulic hoses across middle frame tube
and under a-frame mast plates. P-clips and
butterfly clips are included to securely hold hoses
to prevent rubbing on the frame edges (see Figure
35B). Use self-tap screws to secure butterfly clips
to frame tube. Cylinder hoses should be tee’d
together with provided union fittings. The long
tractor connect hoses should be routed through the
hose holder on the tongue. Install 1/2” NPT ISO
couplers on ends of hoses and lay them in the
hose holder.
NOTICE: Clamping the long hose by the ferrule will
provide additional support to the routing. See Figure
37A.
Figure 37A. Hose Routing
Figure 35B. Hose Routing
(Rev. 7/12/2019)

 Loading...