Assembly 31
MAN0988 (11/5/2012)
19. Install left hand shield with 1/4” hardware to
primary box shield.
20. Install right hand shields.
Legume Seed Box (For Illustration, see page 42)
1. Place seeder on level surface.
2. Stop engine and set parking brake.
3. Open primary seed box shield.
4. Remove seed box braces from rear of primary
seed box.
5. Remove SMV sign from primary seed box saving
1/4” hardware.
6. Install legume seed box on primary seed box
frame.
7. Install 3/16” thick legume seed box braces on
frame, primary box and legume box using 5/16”
and 3/8” hardware.
8. Remove short agitator chain from primary seed
box.
9. Install legume drive chain around primary seed cup
shaft, primary seed box agitator, underneath
legume seed cup shaft and around legume idler
sprockets.
10. Install SMV sign on legume box with 1/4”
hardware.
11. Install legume shield to primary box shield with 1/4”
hardware.
12. Install legume transition tray on rear 3 x 3 tube with
U-bolts.
13. Install seed cup PVC tubes on seed cups and
insert into legume transition tray.
Cultipacker (For Illustration, see page 48)
1. Place seeder on level surface.
2. Stop engine and set parking brake.
3. Match cultipacker mounts with holes in frame and
install 3/4” x 2 bolt, 3/4” washer and 3/4” flanged
lock nuts. Place washer between frame and
cultipacker mounts.
4. Install 1/2” bolts and flanged lock nuts in frame and
slot of cultipacker mount.
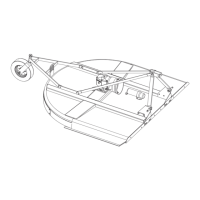
Tow Kit (for illustration, see page 59 and page 60)
1. Place seeder on level surface.
2. Loosely install right and left cylinder hangers at
ends of middle frame tube using 3/4” u-bolts and
flange lock nuts.
3. Loosely install second set of hitch brackets on the
front frame tube, outside the factory hitch brackets,
using 3/4” u-bolts and flange lock nuts.
4. Loosen 3/4” u-bolts and flanged nuts from factory-
installed hitch brackets.
5. Position tongue between factory 3-point hitch
brackets. Slide factory hitch brackets together until
tongue is centered on frame and fit tightly between
brackets. Slide lower hitch pins through tongue and
reinstall klik pins.
6. Position right and left wheel arm weldments at the
front of the seeder frame. The left wheel arm can
be identified by the jack storage tube on the top
surface.
7. Connect wheel arms to lower hitch brackets with
the hitch pins. Wheel arm ears should be centered
inside the channel of each hitch bracket. Retain
hitch pins with klik pins.
8. Tighten inner and outer set of hitch brackets to
front frame tube.
9. Install wheel hubs into sleeves at ends of wheel
arms. Retain with 1/2” x 3-1/4” cap screw and
flange lock nuts.
10. Install 20.5 x 6.5-10 aircraft tires to wheel hubs.
11. Remove 3/8” knob and calibration crank from
seeder frame. Relocate calibration crank to right
side cylinder hanger in square hole using existing
carriage bolt and push on washer.
12. Install right and left cylinder assemblies between
appropriate cylinder hangers and wheel arms with
cylinder barrel to the top. Use standard cylinder pin
to connect cylinder to frame hanger. Use 1.00” x
4.08” pin for connection to wheel arm; orient rod
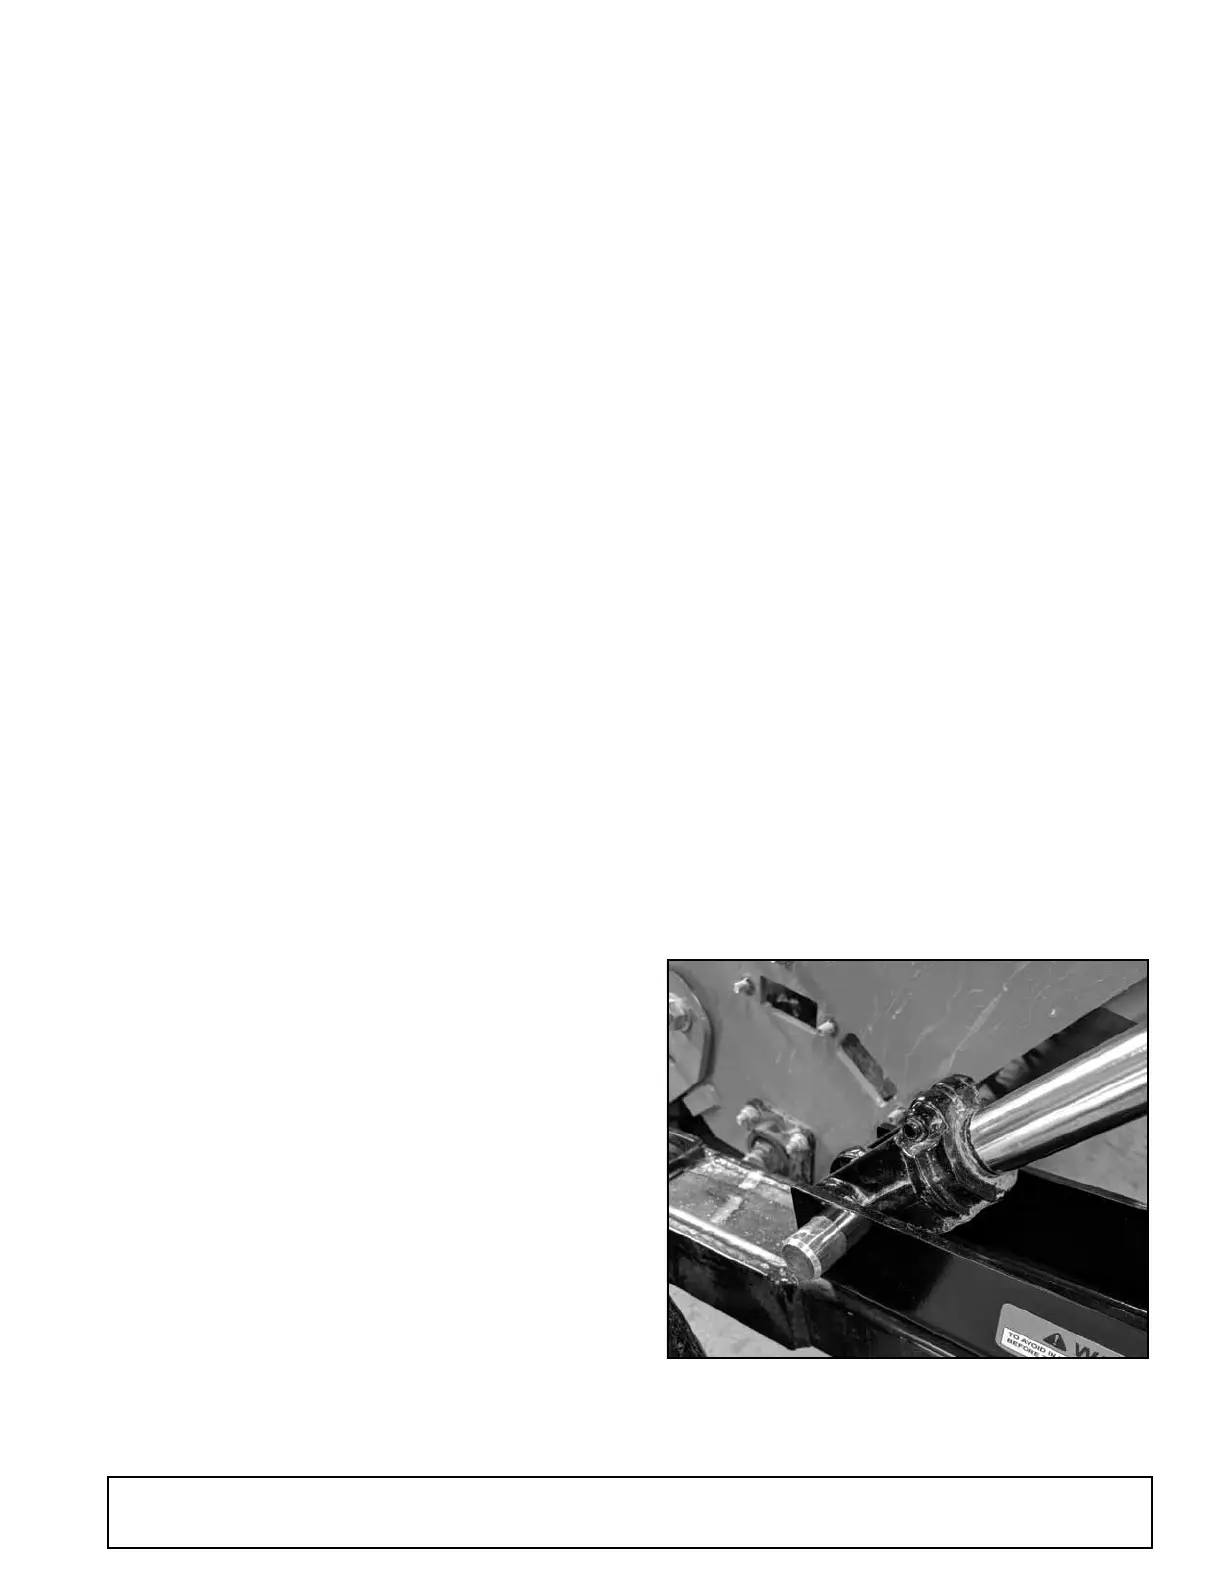
end as shown in Figure 33. Retain with cotter pins.
Safety decals should be readable from alongside
seeder, facing away from wheel arms.
Figure 35. Cylinder Rod End Installed
13. Install right and left cylinder transport locks over
cylinder rod-end clevis connection to wheel arm.
The channel should be facing up and safety decal
(Rev. 7/12/2019)

 Loading...