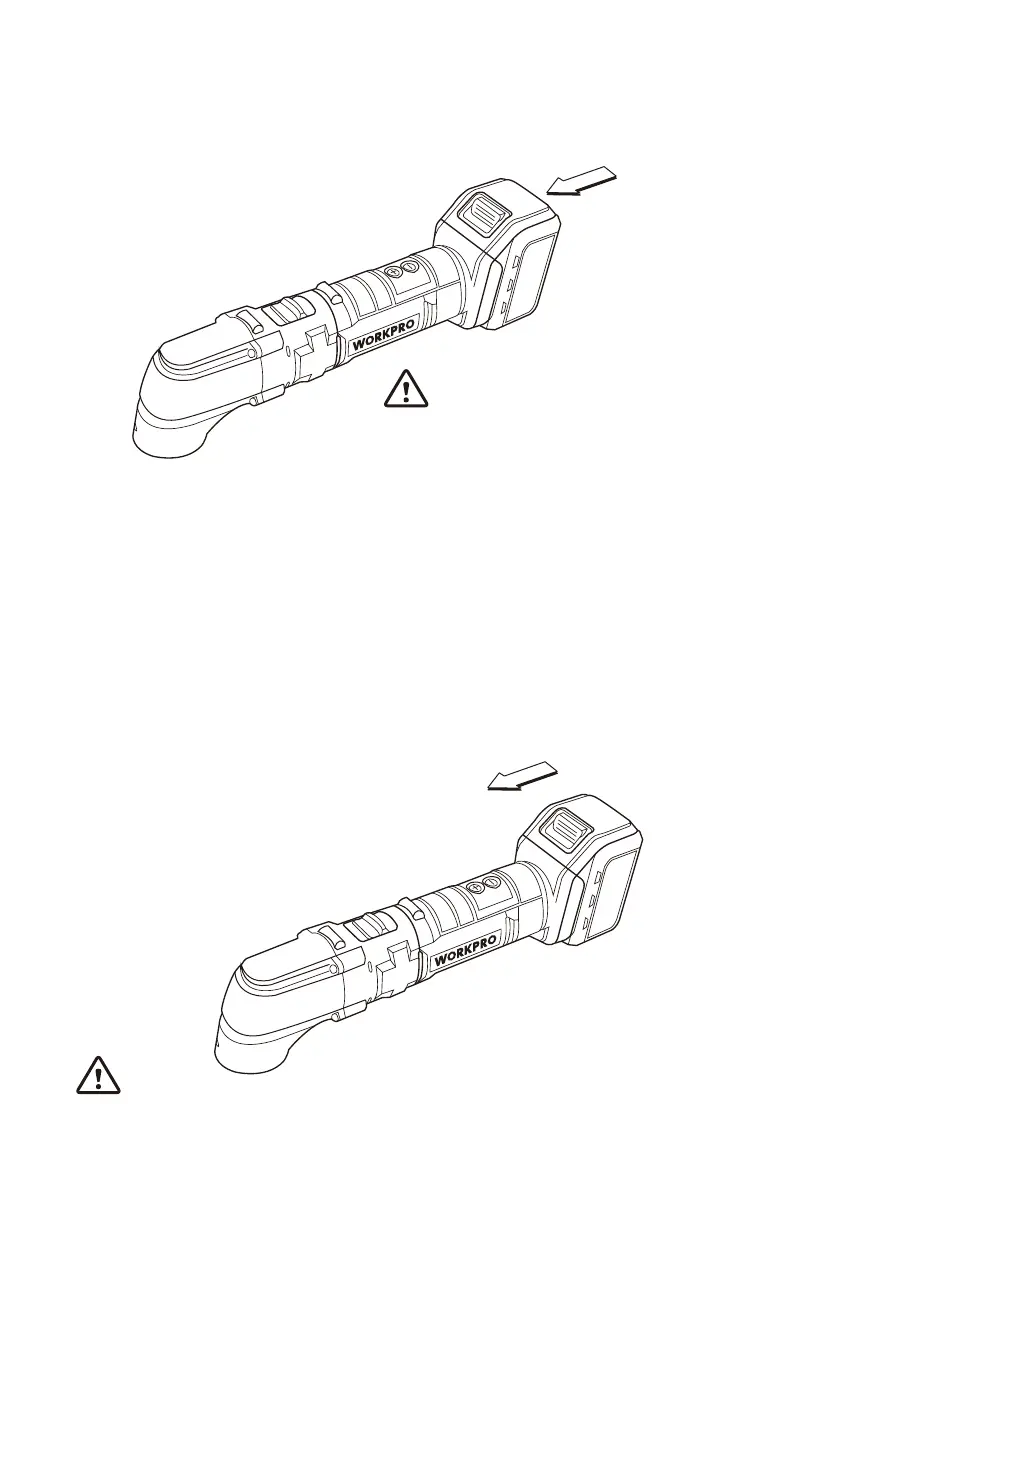
CHARGING THE BATTERY
1. Hold the battery 9 from underneath, press on the locking clips 8 and pull the battery
backwards.
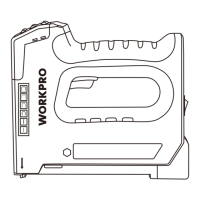
2. Insert battery 9 into the charger 5.
3. Plug the transformer into a standard 120V wall socket.
• The 2 LEDs on the battery 9 show the battery charge level while it is charging.
• The red light means that the battery is charging.
• The green light means that the battery is fully charged.
• Do not leave the charger plugged in for more than 24 hours.
4. To reinstall the battery 9, slide it in from behind the multi-function tool until it clicks
into place.
Batteries are sensitive to impact. Handle with care.
Note:
• Your multi-function tool is initially provided without any charge in the battery. Give it a
full charge for 5 hours before using it for the first time.
• After the initial charge, subsequent charges should be a maximum of 5 hours.
• The battery will reach its optimal charge level after 5 full charging and discharging
cycles.
• It is normal that the battery emits a small noise and becomes slightly warm during
charging.
• Do not charge the battery if the ambient temperature is lower than 40°F or over than
104°F
10