18
Assembling and operaon
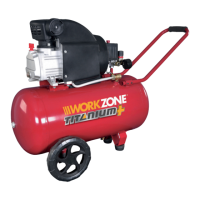
8.4 Fing the transport handle (Fig. 1)
• Fit the transport handle (1) using allen screws (1a) and allen key as shown in gure
1.
8.5 Changing the transportaon cover (A) (Fig. 9/10)
• Remove the transportaon cover from the oil lter opening (21) and insert the
supplied oil sealing plug (16) into the oil ller opening.
8.6 Mains connecon
• The compressor is equipped with a mains cable with shock-proof plug.
This can be connected to any 230-240V ~ 50 Hz shock-proof socket.
• Before you use the machine, make sure that the mains voltage is the same as the
operang voltage (see the rang plate).
• Long supply cables, extensions, cable reels etc. cause a drop in voltage and can
impede motor start-up.
• At low temperatures below +5°C, sluggishness may make starng dicult or
impossible.
8.7 ON/OFF switch (Fig. 3)
• Pull the ON/OFF switch (17) upwards to switch on the compressor.
To switch o the compressor, press the ON/OFF switch down.
8.8 Seng the pressure (Fig. 1,3)
• Use the pressure regulator (5) to set the pressure on the pressure gauge (6).
• The set pressure can be drawn from the quick-lock coupling (7).
• The vessel pressure can be read o the pressure gauge (4).
• The vessel pressure is drawn from the quick-lock coupling (3).
8.9 Seng the pressure switch (Fig. 1)
• The pressure switch (2) is set at the factory.
Cut-in pressure approx. 8 bar
Cut-out pressure approx. 10 bar.
8.10 Fing the compressed air hose (Fig. 1) (not scope of delivery)
• Use the compressed air hose (14) if you intend to carry out work at a greater
distance from the compressor. To do so, connect the nipple (H) on the compressed
air hose to one of the quick-lock couplings (3, 7). Then aach the compressed air
tool to the quick-lock coupling (I) on the compressed air hose.