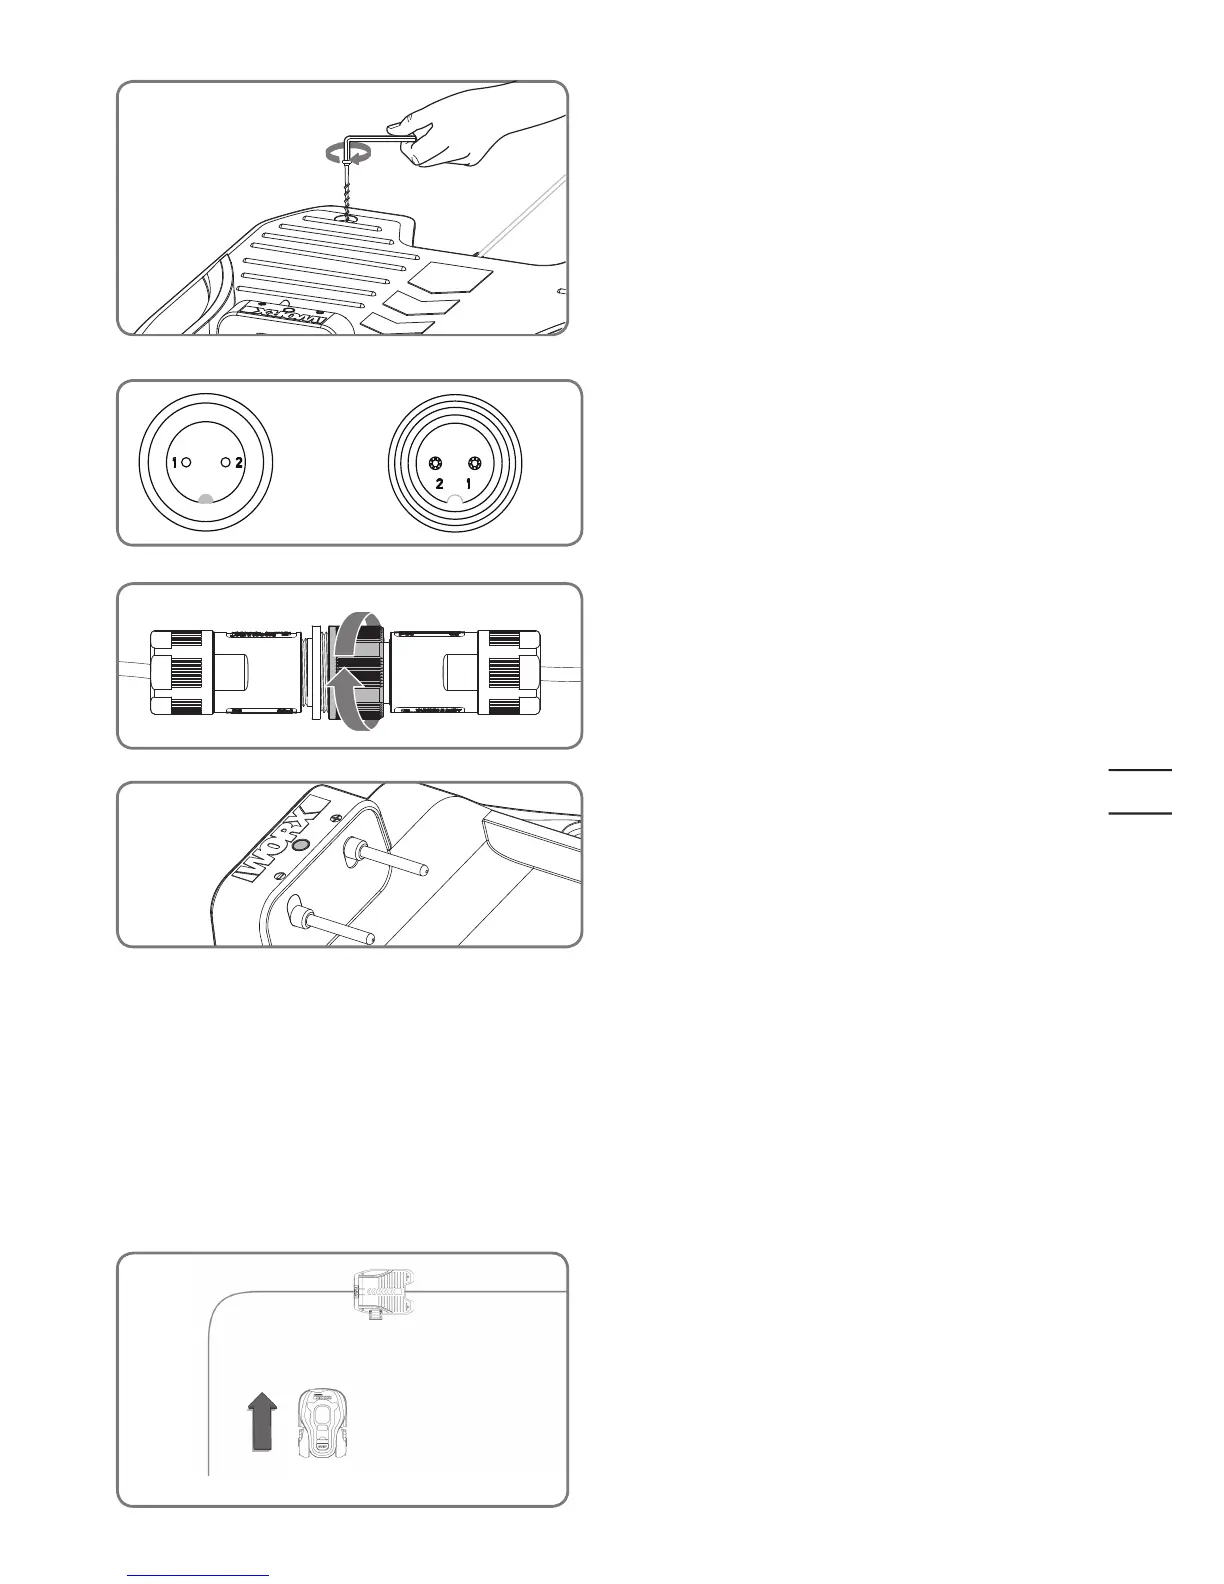
You can now permanently fix the charging base on the ground
by tightening the supplied Base Fixing Nails with the supplied
Hex key.
NOTE: Make sure the IN-wire is running straight through
the tunnel underneath the charging base.
3
Turn on and test the installation
Connect the power cord to the adaptor and then to the AC
electrical socket, the LED on the charging base will turn on. If
the LED is off, please refer to the Trouble shooting guide.When
connecting, align the notch on the power cord connector (a)
with the groove on the adaptor connector (b).
Make sure to only screw or unscrew the highlighted piece of
the connector.
If the green light does not come on, then check the power
connections.
In case the power cord is within the working area, you may bury
it as needed.
4
Place your Landroid
®
M inside the
working area, a few feet from the
back of the charging base.
1
This is the exciting part where you can turn your Landroid
®
M on for the first time.

 Loading...