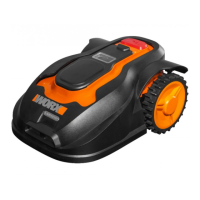
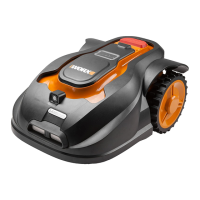
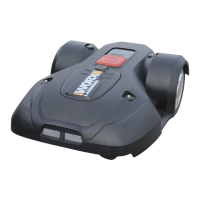
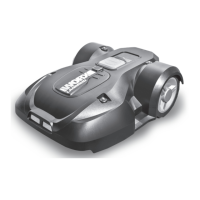
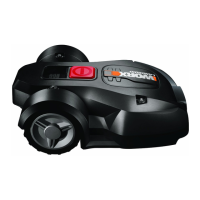
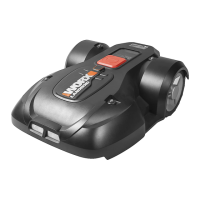
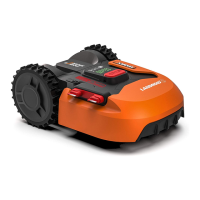
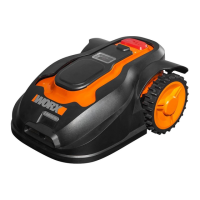
The device is a robotic lawnmower, branded "WORX Landroid M," designed to autonomously maintain a lawn. It operates as an "Unmanned Mowing Vehicle," providing a care-free approach to lawn maintenance by eliminating the need for manual mowing.
Function Description
The Landroid M operates by navigating a defined mowing area, ensuring even coverage without leaving unattractive mowing paths. Its core function is to cut grass using a set of sharp blades mounted on a blade turning disc. The cutting height is adjustable, allowing users to customize the lawn's appearance.
The robot is equipped with several intelligent features that enable its autonomous operation:
- Navigation and Boundary Sensing: The Landroid M follows a boundary wire that outlines the intended mowing area. It uses two front sensors to detect when it is approaching the boundary wire, allowing it to change direction and stay within the designated zone. The recommended distance for the boundary wire from the lawn's border is more than 35cm, and a provided distance gauge helps ensure proper installation.
- Charging System: When the Landroid M needs to recharge, it automatically stops mowing and follows the boundary wire back to its charging base. The charging base is connected to a power adaptor via a low voltage cable. Contact pins on the robot align with charging strips on the base to facilitate the charging process. The robot is pre-programmed to mow near the boundary wire once a week, but users can manually initiate this function.
- Rain Sensor: A built-in rain sensor detects raindrops, prompting the Landroid M to stop mowing and return to its charging base. It can be programmed with a delay start function (0-180 minutes) to resume mowing only after the rain sensors are dry and the countdown is complete.
- Safety Features: The robot is designed with safety in mind. It automatically stops its blade turning disc from rotating if it is lifted off the ground, preventing accidents. A prominent STOP button on top of the mower allows for immediate manual cessation of operation. Before any maintenance or lifting, the disabling device (ON/OFF key) must be operated. The device also requires a PIN code to start, preventing unauthorized use.
- Obstacle Avoidance: The Landroid M is designed to sense obstacles in its path. When it bumps into something, it stops, draws back, and turns around to continue mowing.
- Fault Detection: If the Landroid M detects a problem, it will display a fault message on its screen and turn itself off if no user input is received within 20 minutes.
Usage Features
The Landroid M is designed for user-friendly operation:
- Initial Setup: The boundary wire must be carefully installed to define the mowing area. It is recommended to first peg down the boundary wire on the lawn to allow for adjustments before burying it, ensuring the robot successfully tracks the wire to its charging base. The boundary wire can be extended by splicing and insulating new sections.
- Starting and Stopping: To stop the mower, simply press the STOP button. To start mowing, the control panel cover is opened, the ON/OFF key is pressed, the PIN code is entered, and then the START key is pressed before closing the panel cover.
- Cutting Height Adjustment: The cutting height can be adjusted between 2cm and 6cm. For the first use, it's recommended to cut the grass to no more than 9cm and then set the Landroid M to its maximum cutting height of 6cm.
- Optimal Mowing Conditions: The Landroid M performs best in dry weather. Wet grass can accumulate on the blade turning disc and motor, potentially causing loose traction and slippage.
- Remote Mobile Control (Specific Models): Some models offer remote mobile control via a smartphone. This allows users to set general settings and monitor the robot's working status and errors.
- Software Updates: The Landroid M's software can be updated by downloading new versions from the manufacturer's website, ensuring access to the latest features and improvements.
Maintenance Features
Regular maintenance is crucial for the Landroid M's longevity and optimal performance:
- Cleaning: The robot should be cleaned regularly. The body can be cleaned with a soft brush or moist cloth, avoiding hoses or high-pressure washers. It's important to remove all grass clippings and debris. The underside, including the blade disc, chassis, and wheels, should also be cleaned thoroughly with a soft brush or moist rag. Any lodged debris that could cause cracks in the blade disc must be removed. The contact pins on the charging base and the charging strips on the robot should be cleaned periodically to ensure successful charging.
- Blade Maintenance: The cutting blades are razor-sharp and have four cutting edges. They spin in both directions for maximum cutting capacity. Blades need to be flipped/rotated periodically for a new cutting edge. If the Landroid M mows daily, blades should be rotated monthly. Worn or damaged blades and bolts should be replaced in sets to maintain balance. When replacing blades, all blades and screws should be replaced simultaneously with new ones to ensure blade retention and prevent injury. Protective gloves should be worn during blade maintenance. After screwing new blades, ensure they can spin freely.
- Battery Care: The 28-volt lithium-ion battery requires no maintenance. For proper storage, especially during winter hibernation, the battery should be fully charged and kept in a cool, dry place. The battery's lifespan depends on factors like daily mowing hours, mowing season duration, and storage maintenance. The battery can also be charged manually by docking the powered-off robot into the charging base connected to a power supply.
- Winter Hibernation: To prolong the Landroid M's life, it should be stored in a shed or garage during winter. Before storage, it should be thoroughly cleaned, the battery fully charged, and the power turned off. The boundary wire can remain buried, but its ends should be protected.
- Battery Replacement: If the battery needs replacement, the robot should be turned off, flipped upside down, and the four screws on the battery cover removed. The old battery is then removed, a new one inserted, and the screws firmly replaced.
- Disposal: Waste electrical products and batteries should not be disposed of with household waste. They should be recycled at local collection or recycling points.