Do you have a question about the Worx LANDROID M WG754E and is the answer not in the manual?
Read all safety warnings and instructions. Failure to follow may result in serious injury.
Read through the Operator's manual carefully and understand the content before using your robotic lawnmower.
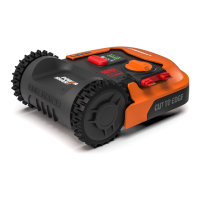
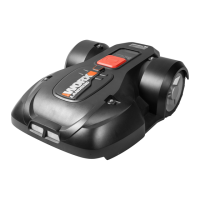
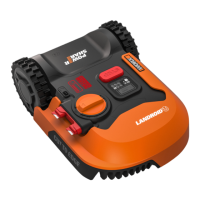
The Landroid®M chooses its direction at random to ensure your entire lawn is evenly mowed.
Explains how the Landroid®M navigates, uses rain sensors, boundary wire, and controls start/stop.
Mowing area depends on grass type, blade sharpness, humidity, temperature, and obstacles.
Discusses cutting height, dry weather preference, and avoiding obstacles/gravel.
Set correct distance from borders using gauge. Maintain spacing for neighbors and signal range.
Recommended to peg wire first for adjustment before burying to ensure proper function.
Extend the boundary wire by splicing ends and securing with insulating tape.
Check charger LED for connection status and boundary wire signal to ensure proper installation.
Rotate or replace blades for optimal cutting. Blades are sharp and spin both ways.
Clean the body and underside using soft brush/cloth. Avoid water. Clean contact pins/strips.
Lithium-ion battery requires no maintenance. Store fully charged in a cool, dry place.
Clean and fully charge the battery before storing in a shed or garage for winter.
Turn off mower, flip it, remove cover, replace battery, and refit screws.
| Cutting Width | 18 cm |
|---|---|
| Max Area | 500 m² |
| Battery Voltage | 20 V |
| Charging Time | 90 min |
| Cutting Height | 20 - 60 mm |
| Battery Capacity | 2.0 Ah |
| Operating Time | 60 min |
| Slope Capacity | 35% |
| Noise Level | 63 dB |