Cordless Hedge Trimmer WG268E
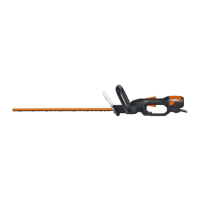
port (See Fig. E). A simple push and slight pressure will
be sufficient until a click is heard. Check to see if the
battery is fully secured.
NOTE: When removing the battery pack, hold it firmly to
avoid dropping and injury.
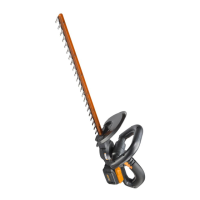
6. BATTERY STATUS LED’S (See Fig. F )
NOTE: The Status LED’s will indicate the battery
condition when the button on the battery is
pressed.
The LED’s constantly senses and displays the battery
condition as follows:
Press the button “POWERTEST”, the light button is
illuminated.
When the three green lights are illuminated, the battery
is in a highly charged condition.
When two lights ( ) are illuminated, the battery is in a
moderately charged condition.
When only one green light ( ) is illuminated, the
battery charge is depleted.
IMPORTANT:
When only one light is illuminated, your battery is
overly discharged, even though the trimmer may
still be capable of trimming hedge. Continuing
to operate your trimmer with the battery in this
discharged condition may reduce the life and
performance of your battery.
7. STARTING AND STOPPING
BEFORE STARTING YOUR HEDGE TRIMMER
Remove Blade Sheath (9).
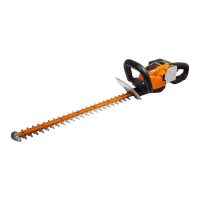
TO START YOUR HEDGE TRIMMER
Your Hedge Trimmer is equipped with both Rear and
Front Switch levers. Both switch levers need to be
depressed for the Hedge Trimmer to start. Depress
and hold the Front Switch Lever (5) and press the Rear
Switch Lever (2) (See Fig. G1).
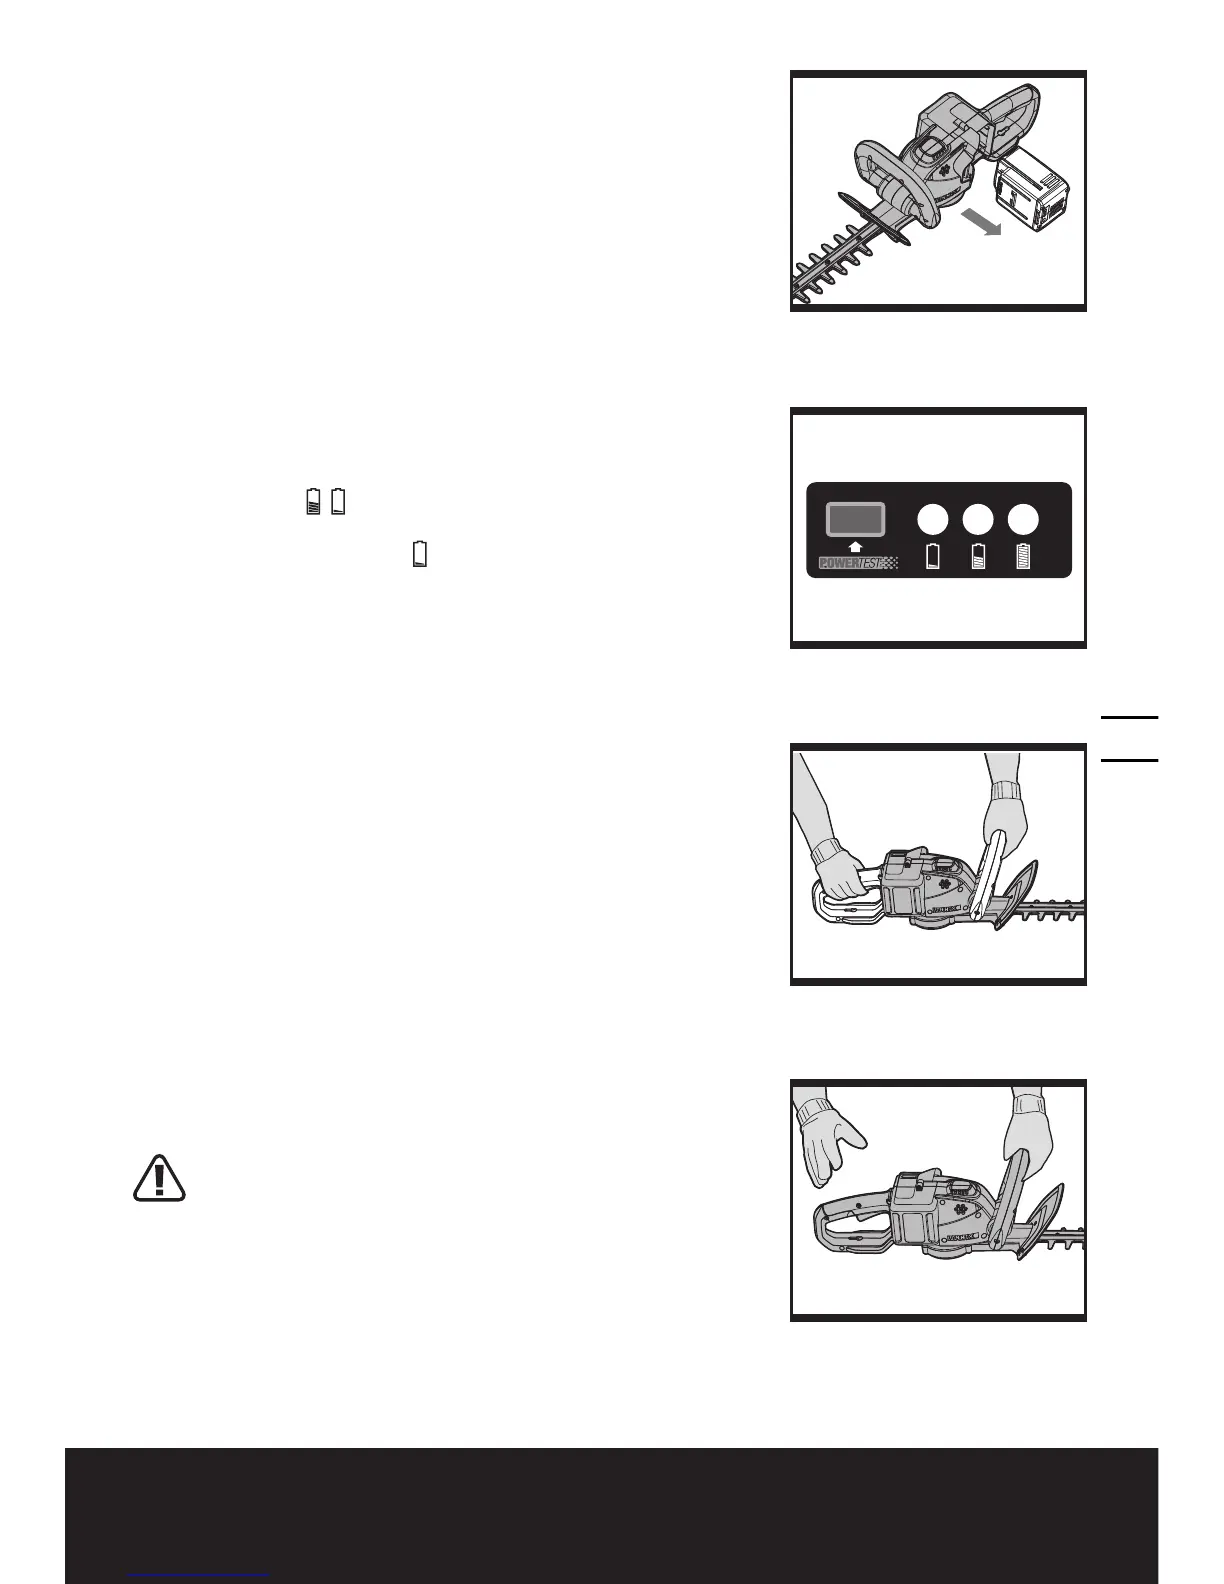
TO STOP YOUR HEDGE TRIMMER
Move Hedge Trimmer away from cutting area before
stopping.
To stop, release one of the switch levers (See Fig. G2).
WARNING: If any parts are missing,
damaged or broken, do not operate your
hedge trimmer until all damaged parts have been
replaced or repaired. Failure to do so could result
in serious personal injury. DO NOT USE WITHOUT
HANDLE AND GUARD
8. HOW TO USE YOUR HEDGE TRIMMER
Note that the Front Switch Lever (5) can be activated on
 Loading...