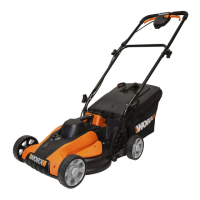
18
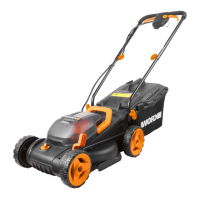
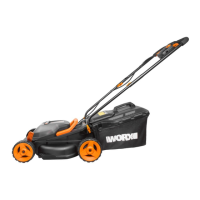
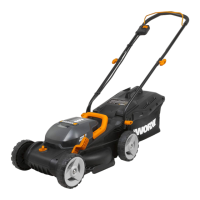
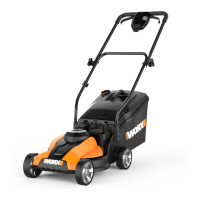
Cordless Lawn Mower EN
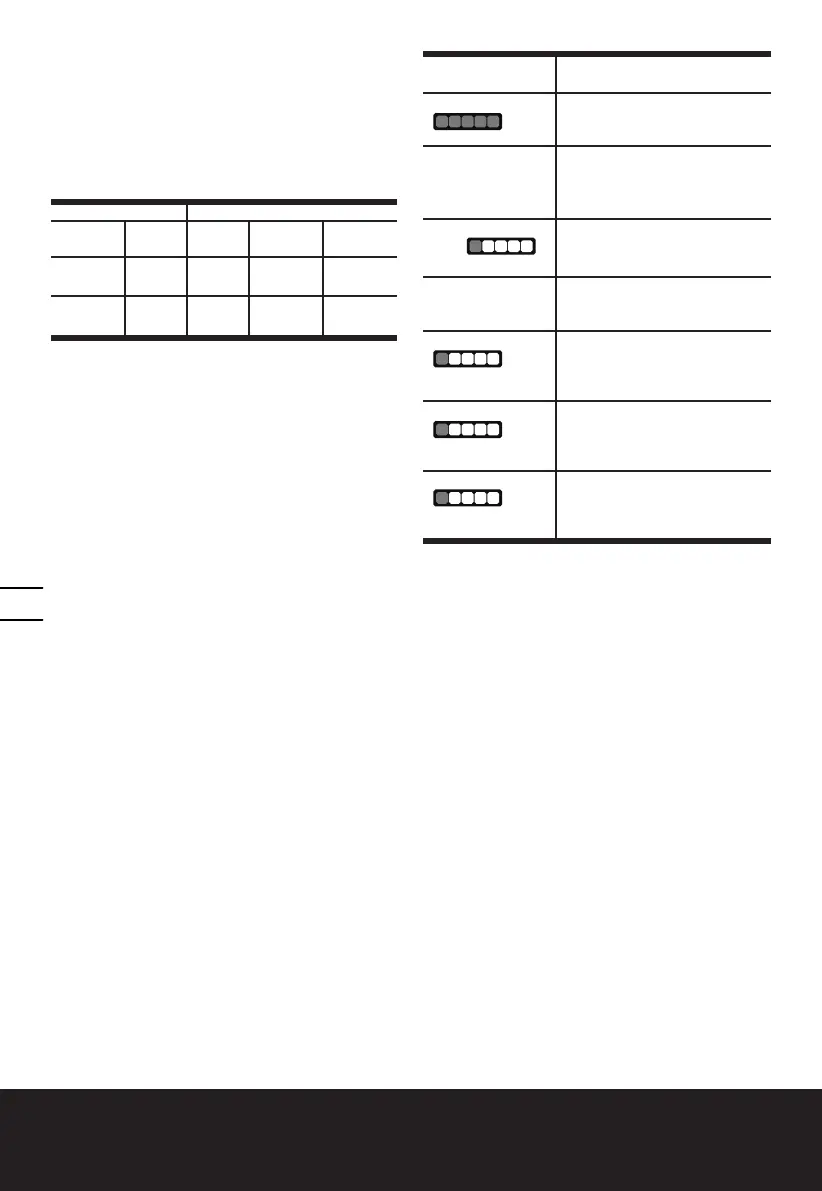
CUTTING AREA
The cutting area can be affected by several factors,
such as cutting height, lawn humidity, grass length
and density. Besides, starting and stopping the mower
too many times during operation will reduce the
cutting area.
The table below gives the relationship between cutting
conditions and cutting area.
Cutting conditions Cutting area (maximum)
Grass
conditions
Cutting
height
WG779E WG779E.1 WG779E.2
Very thin,
dry grass
cut 8cm
to 6cm
280m
2
* 460m
2
* 230m
2
*
Thin, dry
grass
cut 8cm
to 4cm
140m
2
* 230m
2
* 11 5 m
2
*
* Used with two fully charged battery packs.
TIPS:
1) It is recommended to mow your lawn more
frequently, walk at normal pace, and not to start/
stop the mower too often during operation. Please
always use the same two batteries and charge the
two batteries at same time.
2) For best performance, please ensure use a fully
charged battery pack and always cut off 1/3 or less
of the grass height.
3) Walk slowly when cutting long grass, so as to have
more effective cutting and properly discharge the
clippings.
4) Avoid cutting wet grass, otherwise it will stick to
the underside of the deck and the clippings cannot
be collected or discharged properly.
5) A higher cutting height shall be applied to new or
thick grass and it will extend the battery duration.
BATTERY STATUS (See Fig. F)
Before starting or after use, press the button
“POWERTEST” on the machine to check the battery
capacity. During operation, the battery capacity will be
indicated automatically by the battery power indicator.
The indicator constantly senses and displays the
battery condition as follows:
Battery power
indicator status
Battery condition
Five green lights
(
) are
illuminated.
The two batteries are in a
highly charged condition.
Two, three or four
green lights are
illuminated.
The two batteries have a
remaining charge. The more
lights are illuminated, the
more battery capacity.
Only one green
light (
)
is illuminated.
At least one battery is deplet-
ed and needs to be charged.
No light is
illuminated.
At least one battery is not
fully installed or battery is
defective.
Only one light
(
) is
flashing twice per
cycle.
At least one battery is over
discharged, please recharge
the two batteries at once be-
fore use again or storage.
Only one light
(
) is
flashing three
times per cycle.
At least one battery is hot,
wait for them cool down
before start again.
Only one light
(
) is
flashing four
times per cycle.
The machine is over load.
Raise the cutting height or
push slowly.
MOWING TIPS
NOTE: ALWAYS INSPECT AREA WHERE MOWER
IS TO BE USED AND REMOVE ALL STONES,
STICKS, WIRE, METAL AND OTHER DEBRIS
WHICH MIGHT BE THROWN BY THE ROTATING
BLADE.
1. Mow across the face of slopes, never up-and-
down. Exercise extreme caution when changing
direction on slopes. Do not mow excessively steep
slopes. Always maintain good footing.
2. Release switch lever to turn mower “OFF” when
crossing any graveled area (stones can be thrown
by the blade).
3. Set mower at highest cutting height when mowing
in rough ground or in tall weeds. Removing too
much grass at one time can cause circuit breaker
to trip, which stops mower.
4. If a grass bag is used during the fast growing
season, the grass may tend to clog up at the
discharge opening. Release switch lever to turn
mower “OFF” and remove the safety key. Remove
the grass bag and shake the grass down to the
back end of the bag. Also clean out any grass or
debris which may be packed around the discharge
opening. Replace the grass collection bag.
5. If mower should start to vibrate abnormally,
release switch lever to turn mower “OFF” and
remove safety key. Check immediately for cause.
Vibration is a warning of trouble. Do not operate
mower until a service check has been made.
 Loading...