Rotary hammer EN
8
The tool being in good condition and well maintained.
The use the correct accessory for the tool and ensuring
it is sharp and in good condition.
The tightness of the grip on the handles and if any anti
vibration accessories are used.
And the tool is being used as intended by its design
and these instructions.
This tool may cause hand-arm vibration
syndrome if its use is not adequately
managed.
WARNING: To be accurate, an estimation of
exposure level in the actual conditions of use
should also take account of all parts of the operating
cycle such as the times when the tool is switched off
and when it is running idle but not actually doing
the job. This may significantly reduce the exposure
level over the total working period.
Helping to minimize your vibration exposure risk.
ALWAYS use sharp chisels, drills and blades.
Maintain this tool in accordance with these
instructions and keep well lubricated (where
appropriate).
If the tool is to be used regularly then invest in anti
vibration accessories.
Plan your work schedule to spread any high
vibration tool use across a number of days.
ACCESSORIES
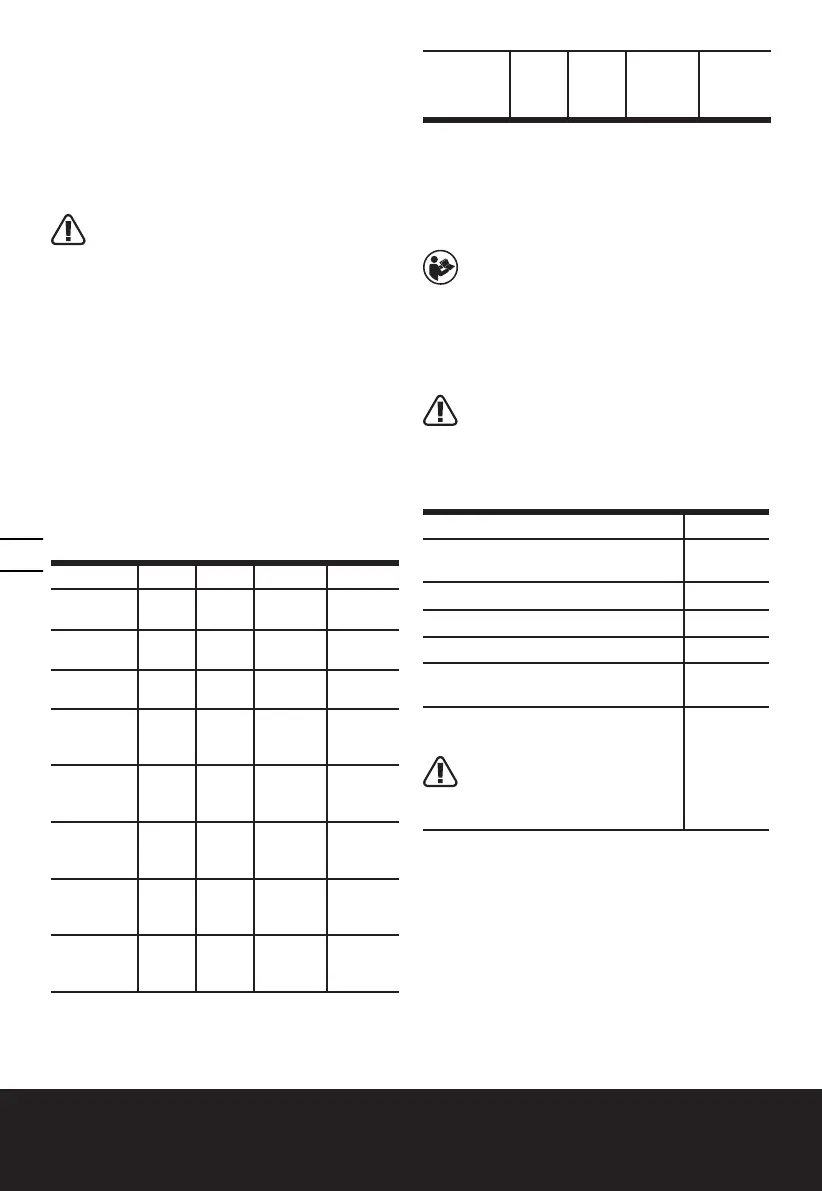
WX337 WX339 WX339.2 WX339.3
Auxiliary
handle
1 1 1 1
Depth
gauge
1 1 1 1
1#Injection
box
1 1 1 1
SDS drill
bits: 8 mm
/ 1 1 1
SDS drill
bits: 10
mm
/ 1 1 1
SDS drill
bits: 12
mm
/ 1 1 1
SDS flat
chisel
20x250mm
/ 1 1 1
3 in 1 digi-
tal detector
(WA1132)
/ / 1 /
Keyed chuck
with key and
adaptor
/ / / 1
We recommend that you purchase your accessories
from the same store that sold you the tool.Refer to
the accessory packaging for further details. Store
personnel can assist you and offer advice.
OPERATING INSTRUCTIONS
NOTE: Before using the tool, read the
instruction book carefully.
INTENDED USE
The machine is intended for hammer drilling in
concrete, brick and stone as well as for light chiseling
work. It is also suitable for drilling without impact in
wood, metal, ceramic and plastic.
WARNING: Before any work on the
machine itself, pull the mains plug.
OPERATION
Action Figure
INSERTING AND REMOVING
DRILL BIT IN SDS
See Fig.
A1& A2
Adjusting the Auxiliary Handle
See Fig. B
Using the Depth Gauge
See Fig. C
Plugging in the power See Fig. D
On/Off Switch With Variable Speed
Control
See Fig. E
FORWARD / REVERSE ROTATION
CONTROL
WARNING: Never change the
direction of rotation while the
tool is rotating, wait until it has
stopped.
See Fig. F
 Loading...