— REMOVING (See Fig. B3)
Retract back the bit holder locking sleeve (2)
and pull out the bit.
WARNING: Your new WORX Rotary
Hammer Drill generates powerful
forces to get your job done quickly and
effectively. These forces may cause
inferior quality SDS bits to break and jam
in the chuck, We therefore recommend
that only high quality SDS bits be used
with this tool.
2. INSERTING A TOOL INTO CHUCK (13)
(See Fig. C)
To open the chuck jaws rotate the front section
of the chuck while holding the rear section.
Insert the drill bit between the chuck jaws
and rotate the front section in the opposite
direction while holding the rear section.
Ensure that the drill bit is in the center of
the chuck jaws. Finally, firmly rotate the two
separate chuck sections in opposite directions.
Your drill bit is now locked in the chuck.
3. ON/OFF SWITCH (See Fig. D)
Depress the On/Off switch (4) to start and
release it to stop your tool.
— ON/OFF SWITCH WITH VARIABLE
SPEED CONTROL
Depress the On/Off switch to start and release
it to stop your tool. This tool has a variable
speed switch (4) that delivers higher speeds
with increased trigger pressure - speed is
controlled by varying the pressure applied to
the switch.
4. SWITCH LOCK (See Fig. D)
The switch trigger can be locked in the OFF
position. This helps to reduce the possibility of
accidental starting when not in use. To lock the
switch trigger, place the direction of rotation
control in the center position.
5. FORWARD AND REVERSE ROTATION
CONTROL (See Fig. D)
With the hammer pointing away from you, push
the forward/reverse-lever “
“ to the left for
forward rotation. Push the forward/reverse-lever “
“ to the right for reverse rotation.
WARNING: Never change the
direction of rotation while the tool
is rotating, wait until it has stopped.
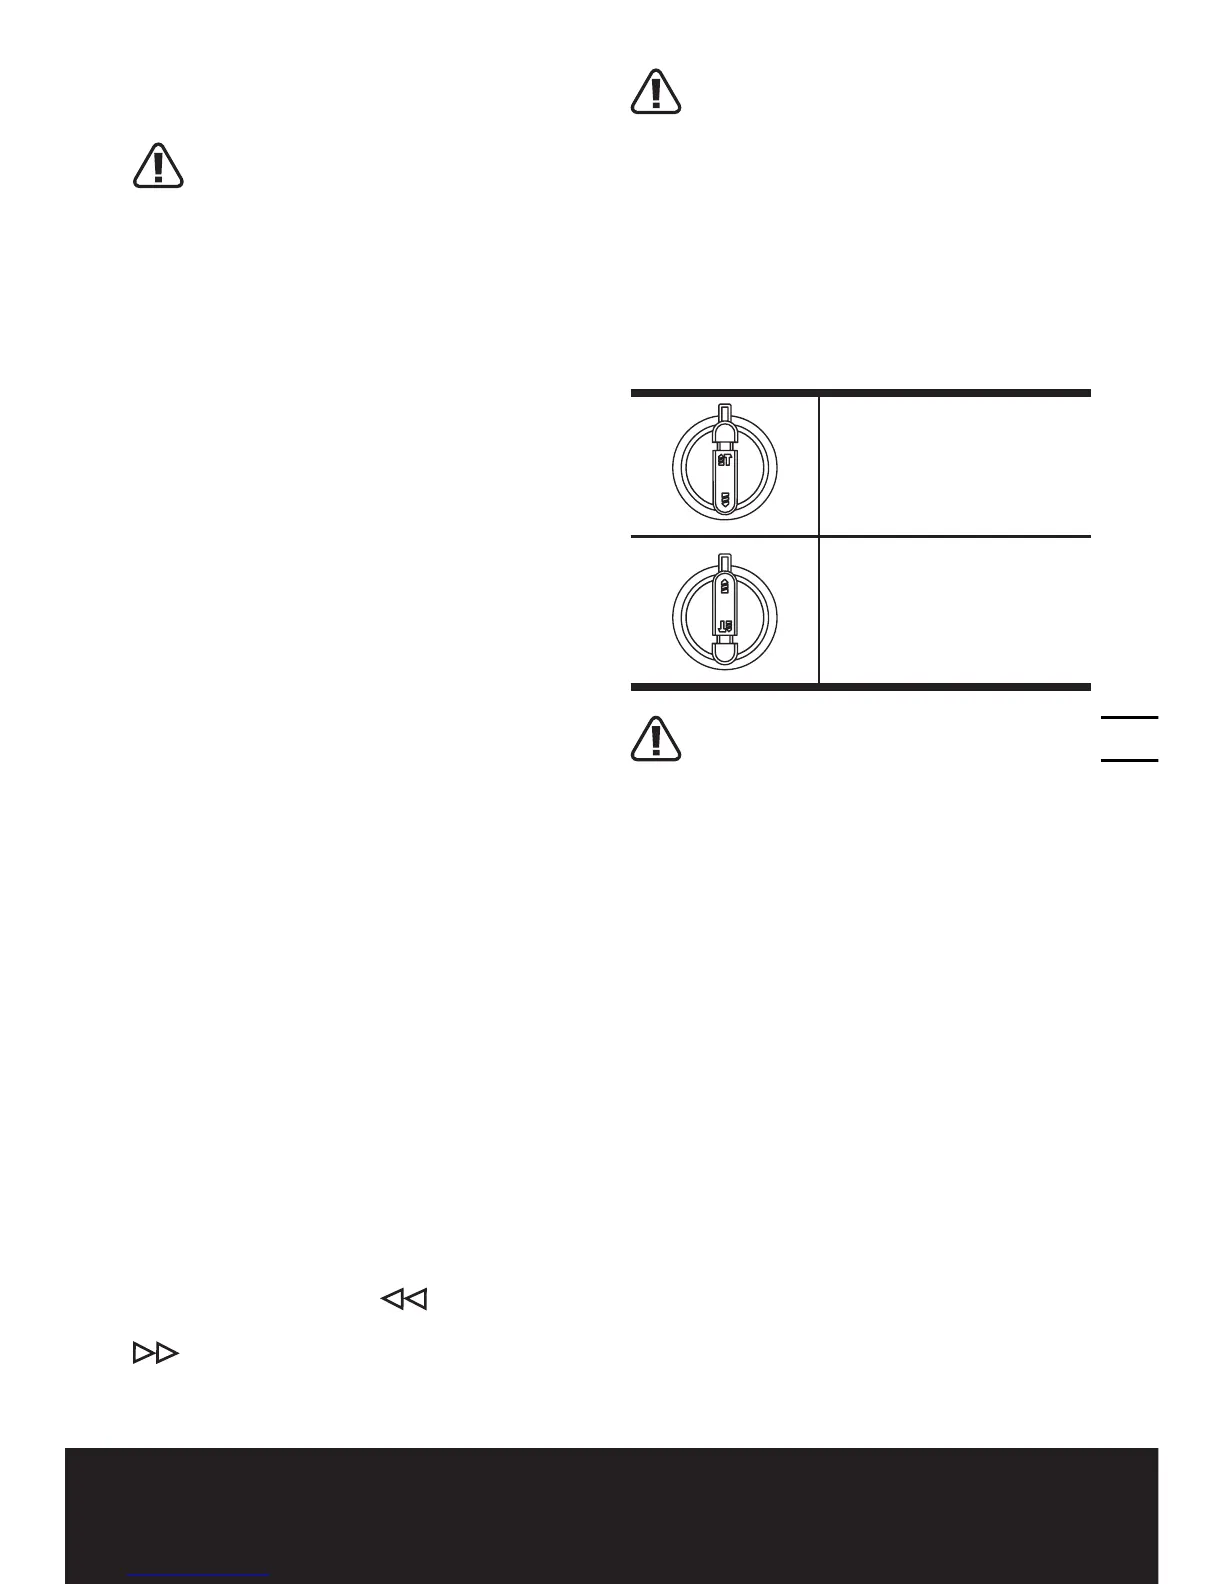
6. FUNCTION MODE SELECTION
(See Fig. E)
The operation of the gearbox for each
application is set with the function mode
selection switch (8). To change between
functions, depress the unlocking button
(15) and rotate the selector to the desired
operating mode.
For simultaneous
drilling and impacting
of concrete or masonry,
choose the Hammer
drilling position.
For screw driving,
drilling into steel, wood
and plastics choose the
Rotary drilling position.
WARNING: The operating mode
selector switch may be actuated
only at a standstill.
7. LED LIGHT (See Fig. F)
To turn on the light simply press the on/off
switch. When you release the on/off switch,
the light will be off.
LED lighting increases visibility-great for
dark or enclosed area. LED is also a battery
capacity indicator. It will flash when power
gets low.
8. TEMPERATURE DEPENDENT
OVERLOAD PROTECTION
When using as intended for, the power tool
cannot be subject to overload. When the
load is too high or the allowable battery
temperature of 75°C is exceeded, the
electronic control switches off the power
tool until the temperature is in the optimum
temperature range again.
9. PROTECTION AGAINST DEEP
DISCHARGING
The Li-Ion battery is protected against deep

 Loading...