DUSX^Ydb_^D" % GU \T3_^db_\
FUbcY_^F! !Q^TF! !1
!#
'! "$$
+RRNLQJ8SWKH7
+RRNXS3URFHGXUH
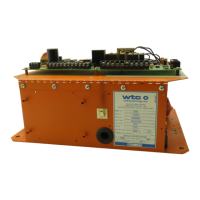
Hooking up the T2050 is simple.Follow these steps:
1. Connect cooling water to the hose fittings provided through
the bottom of the control enclosure.
2. Ensure that the flow rate of cooling water flow be AT LEAST
1.2 gal/min.
3. Connect the L1, L2 line power cables and the H1, H2 weld
transformer cables to the labeled copper bars provided in the
enclosure.
4. Referring to the I/O hookup schematic located at the back of
this manual, connect the inputs and outputs as required.
5. If Emergency Stop, Weld and/or PS/SS are not used, jumper
the inputs to FSC. Review DIP switch settings and voltage
tap connections of T1 for your application.
WARNING! NEVER apply 120VAC to FSC, as it will
destroy the control.
6. Make sure the cabinet has a good earth ground according to
NEC standards. ALWAYS close the enclosure door and latch
it tightly before applying power, especially on the initial
application of power.
8Y^dc* Begin the initial start-up in AVC mode (SW1-1 set open). Set the
tap on the weld transformer so good welds are made at the
midrange of the percent of available current (40 – 80%). Enter the
proper transformer Turns Ratio. Before going to Constant
Current mode, check the measurement of current (SW1-6 open).