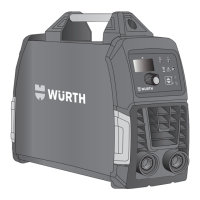
14
Connecting the welding gun
▸ Insert the power plug of the welding gun in the
power socket [5] and lock by turning clockwise.
▸ Insert the control plug of the welding gun in the
connection socket [7].
Connecting the dent killer
▸ Insert the power plug of the dent killer in the
power socket [4] and lock by turning clockwise.
▸ Insert the control plug of the control lead in
the connection socket [3] and lock by turning
clockwise.
▸ Switch the device on at the mains plug [9].
3 The device performs a self-test. “Würth PinPuller®
Spot 50 Hz” is output to the display [1].
3 If the device does not detect an error, the soft-
ware ID number is shown briey on the display.
3 The device automatically selects the manual set-
ting of the last tool used.
3 The last used values are output to the display.
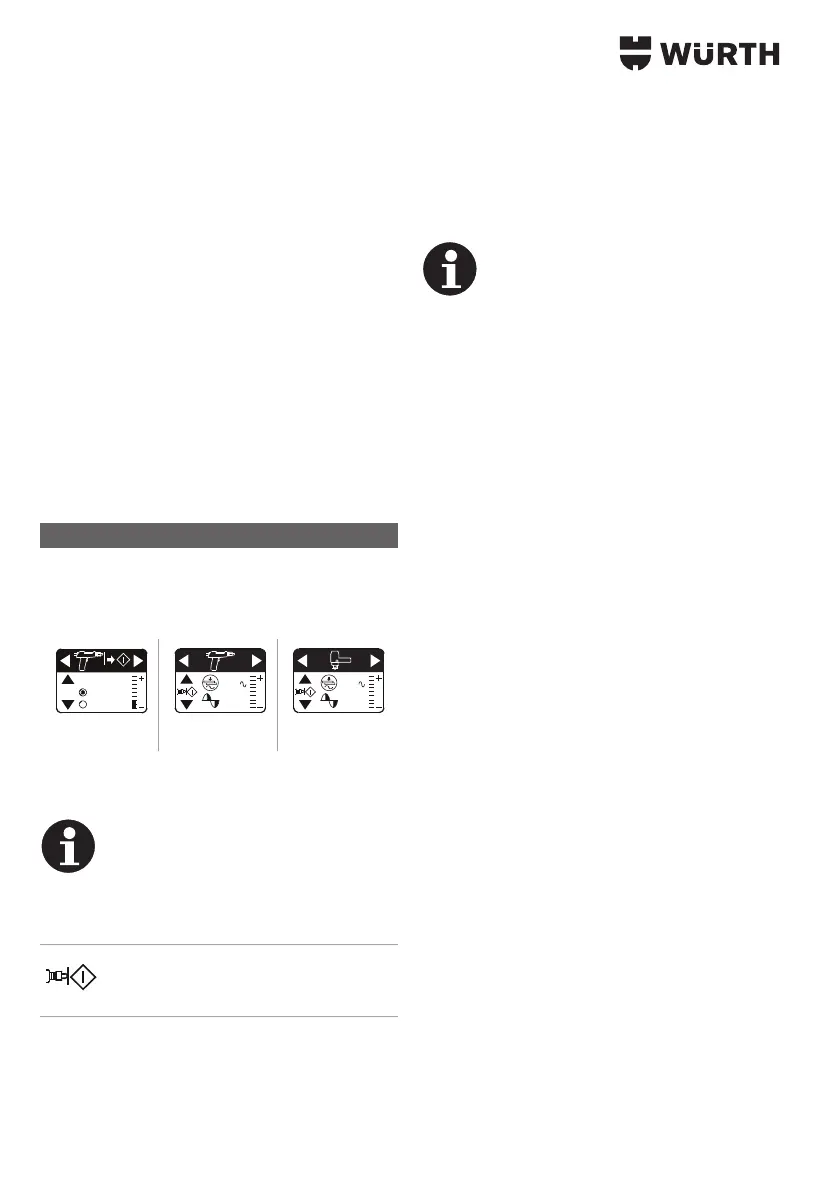
Programming
▸ To select a tool or the type of start, press the right
or left arrow keys [8].
Selection options
AUTOSTART
ON 0.3s
OFF
3
43 %
3
43 %
Type of start Welding gun Dent killer
▸ To switch Autostart on or o, press the up or
down arrow keys [8].
Information
If Autostart is activated, welding starts
automatically as soon as the welding
gun comes into contact with the plate.
▸ To adjust the time delay between contact
and start, press "+" or "-" [2].
3 If Autostart is activated, this symbol is
displayed in the program between the
arrow keys.
The device has two independent modes:
• Manual setting
• Synergetic setting
Both modes are available for use of the welding gun
and also the dent killer.
▸ To switch between the two modes press the up or
down arrow keys [8].
Information
After switching on, the device rst auto-
matically selects manual adjustment.
Manual setting
In this mode, you can manually set the values for
time and current. To do this, press key "+" or "-" [2].
3 The time value symbol ashes for approximately
3 seconds. While the symbol is ashing, you can
either adjust the time or change to current value
setting.
▸ To adjust the time press "+" or "-" [2].
3 When the time value symbol stops ashing, the
set value is programmed.
▸ To change to current value setting, press the
down arrow key [8].
3 The current value symbol ashes.
▸ To change the value, press "+" or "-" [2].
3 When the current value symbol stops ashing, the
set value is programmed.
Synergetic setting
In this mode you can use the available, already
preset programs. In each case these are optimised
for the intended purpose.
▸ To switch from manual to synergetic setting, press
the up or down arrow keys [8].
3 The purpose, time and current values are output
to the display.
▸ To make ne adjustments, press "+" or "-" [2].
3 The bar indicator on the display with zero line
shows the ne adjustment made.