Seite 11 von 100
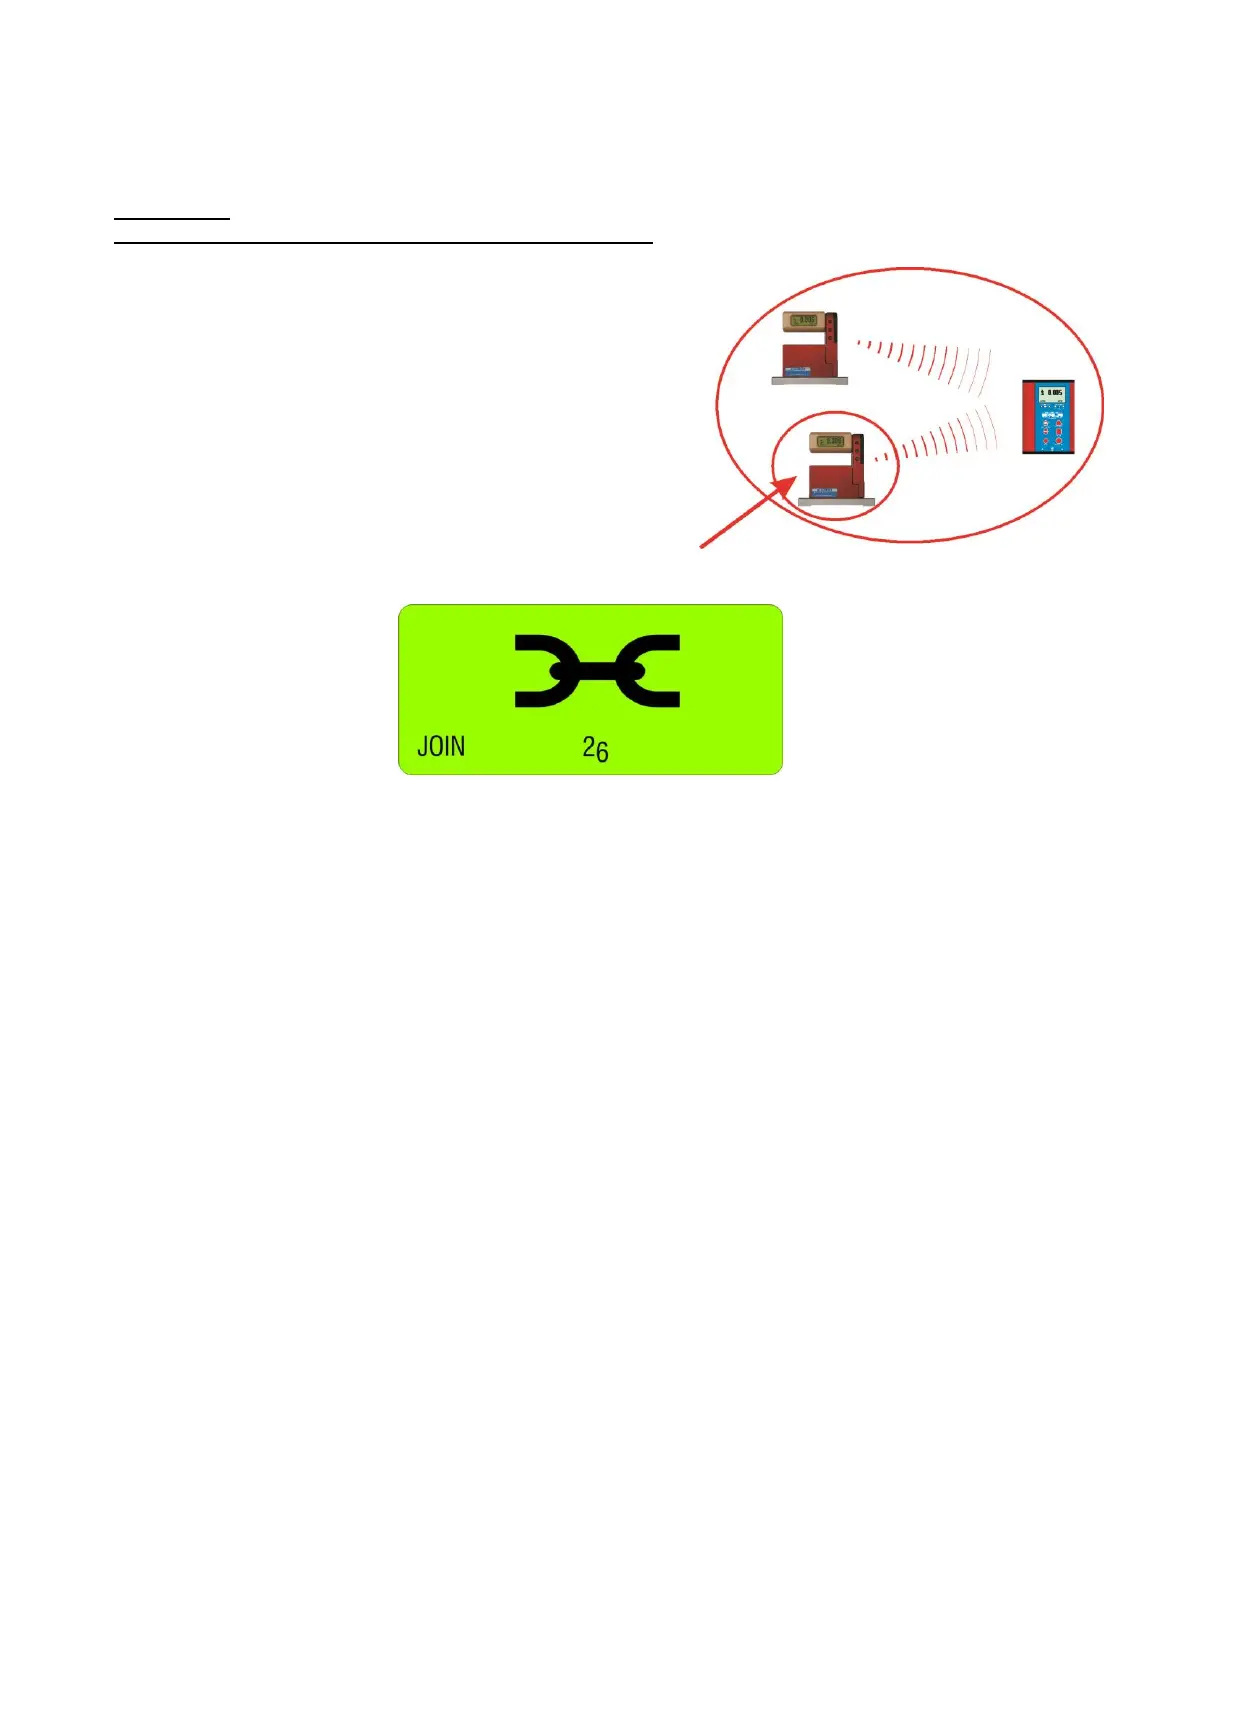
2.4.2 PROCEDURE "JOIN" WITH WIRELESS DATA TRANSMISSION
With the function "JOIN" an instrument can be added by wireless data transmission to an existing group. During this
procedure no instrument must be connected by cables as otherwise the "JOIN" procedure for cables will be performed.
IMPORTANT:
Only two instruments can be grouped in one procedure. If more instruments are members of a measuring group,
e.g. a BlueLEVEL "1", a BlueLEVEL "2" and a BlueMETER it is
recommended to group first the BlueLEVEL "1" with the
BlueMETER and then the BlueLEVEL"2" also with the
BlueMETER. The affiliation to the measuring group will be
communicated between the members.
The two instruments to be grouped must be set to the JOIN-
mode. The <ON/MODE> key must be pressed repeatedly until the
mode [JOIN] appears in the display. Confirm with <ENTER>
Searching
1. Both instruments are "searching" each other. During the
searching procedure the green LED on both instruments
are lit continuously. The instruments remain in the
"search" mode until they have detected each other.
During the search process the following picture will be displayed:
Remark: The searching process may go on for several minutes in bad communication conditions.
2. Group connection
As soon as the two instruments have successfully detected each other the search process is stopped and this is
visualised by a rapid blinking (4 to 5 times per second) of the green LED’s on both instruments.. The joining can
no be activated by
- using the <ENTER> key on one of the instruments
or
- the whole process may be cancelled by pressing the <ON/MODE> key.
3. After establishing the group a "REFRESH" will be performed.
4. After the grouping the command "SENSOR" will be performed. As the measuring mode has been cancelled
during the JOIN procedure this mode must be selected again. The message "not-defined" will be displayed
5. The measuring mode ("A", "B" or "A-B" must now be selected. Select the mode preferred using the
<ZERO/SELECT> keys (corresponding to the menu [SENSOR]) and confirm with <ENTER>
It is also possible to execute any other function of the menu. For instance it is possible to integrate with further
"JOIN" commands additional instruments with wireless connection into the group
6. The sensors must be selected. Select the sensors for A and - depending on the measuring mode - also for B using
the <ZERO/SELECT> keys and confirm with <ENTER>. The measuring values are now shown in the display
according to the selected configuration.
7. After a successful grouping on both instruments the blue LED "LINK" will be lit continuously. The green LED
"READY" will blink shortly as many times as instruments are joined in the measuring group (including the own
address)
Attention: If the LED "OFF" is blinking in red, a connection is not possible (see chapter 2.4.2 / special case)
 Loading...