XR-2425H Q uic k Insta lla tio n Guid e
- 3 -
4) Attach the Mounting Plate to the Array
The accessory kit includes a mounting plate. Mounting plate dimensions are included in the
Drawings section at the end of this guide. The mounting plate can be used for wall or pole
mounting by reversing the side of the plate exposed. Attach the mounting plate to the Array
using the eight provided screws in the locations indicated below (secure in at least 4 places).
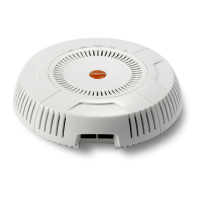
For Wall Mounting, position the bracket
with the four slotted flanges pointed
towards the Array, as shown below.
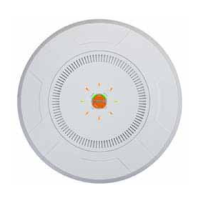
For Pole Mounting, position the bracket with
the four slotted flanges pointed away from the
Array, as shown below.
5) Mount the Array on a Pole or Wall
5a) Pole Mounting
For pole mounting, Xirrus recommends using metal straps (not included with the Array). The
metal straps can be obtained from BAND-IT-IDEX, Inc. (
www.BAND-IT-IDEX.com
). See their
web site for additional contact information. Complete the following steps to mount the Array to
a pole.
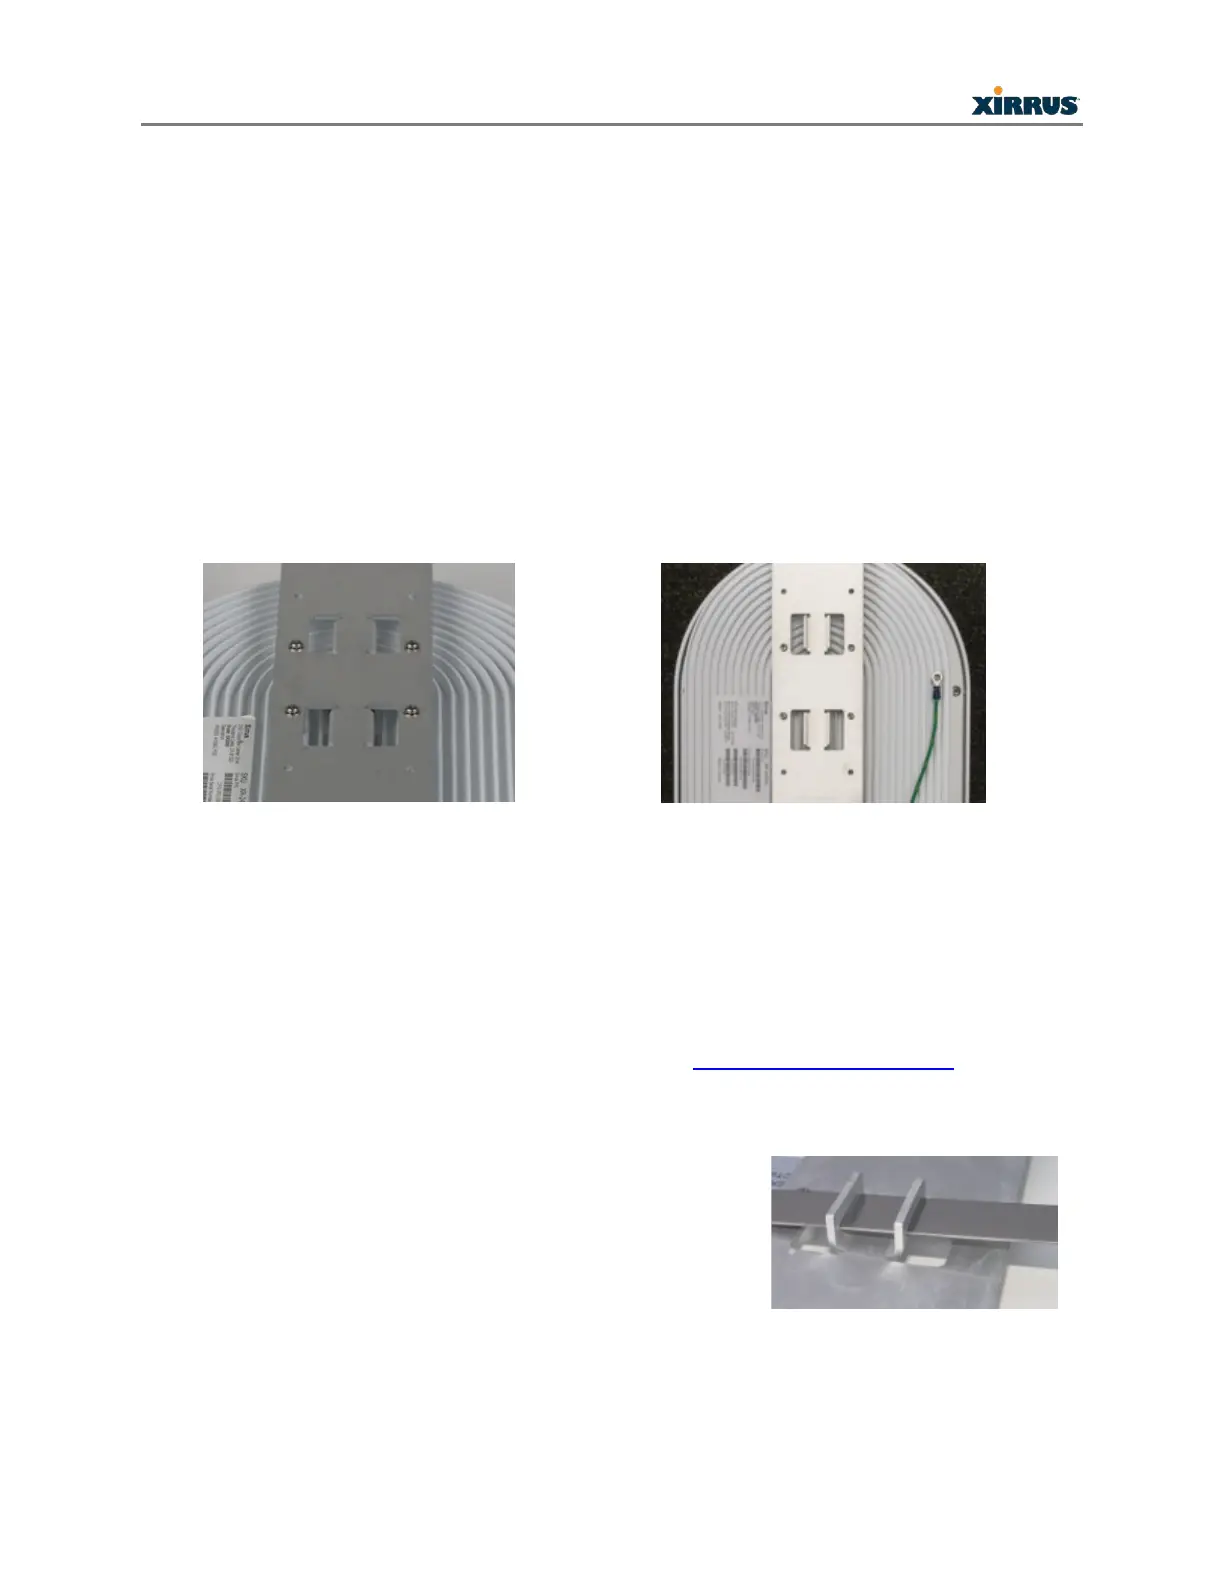
Install the metal bands through the holes in the mounting
bracket.
Note that the photos below show a different mounting
bracket. The steps for installation are identical, however.
 Loading...