XR-2425H Q uic k Insta lla tio n Guid e
- 9 -
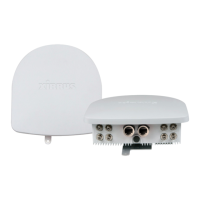
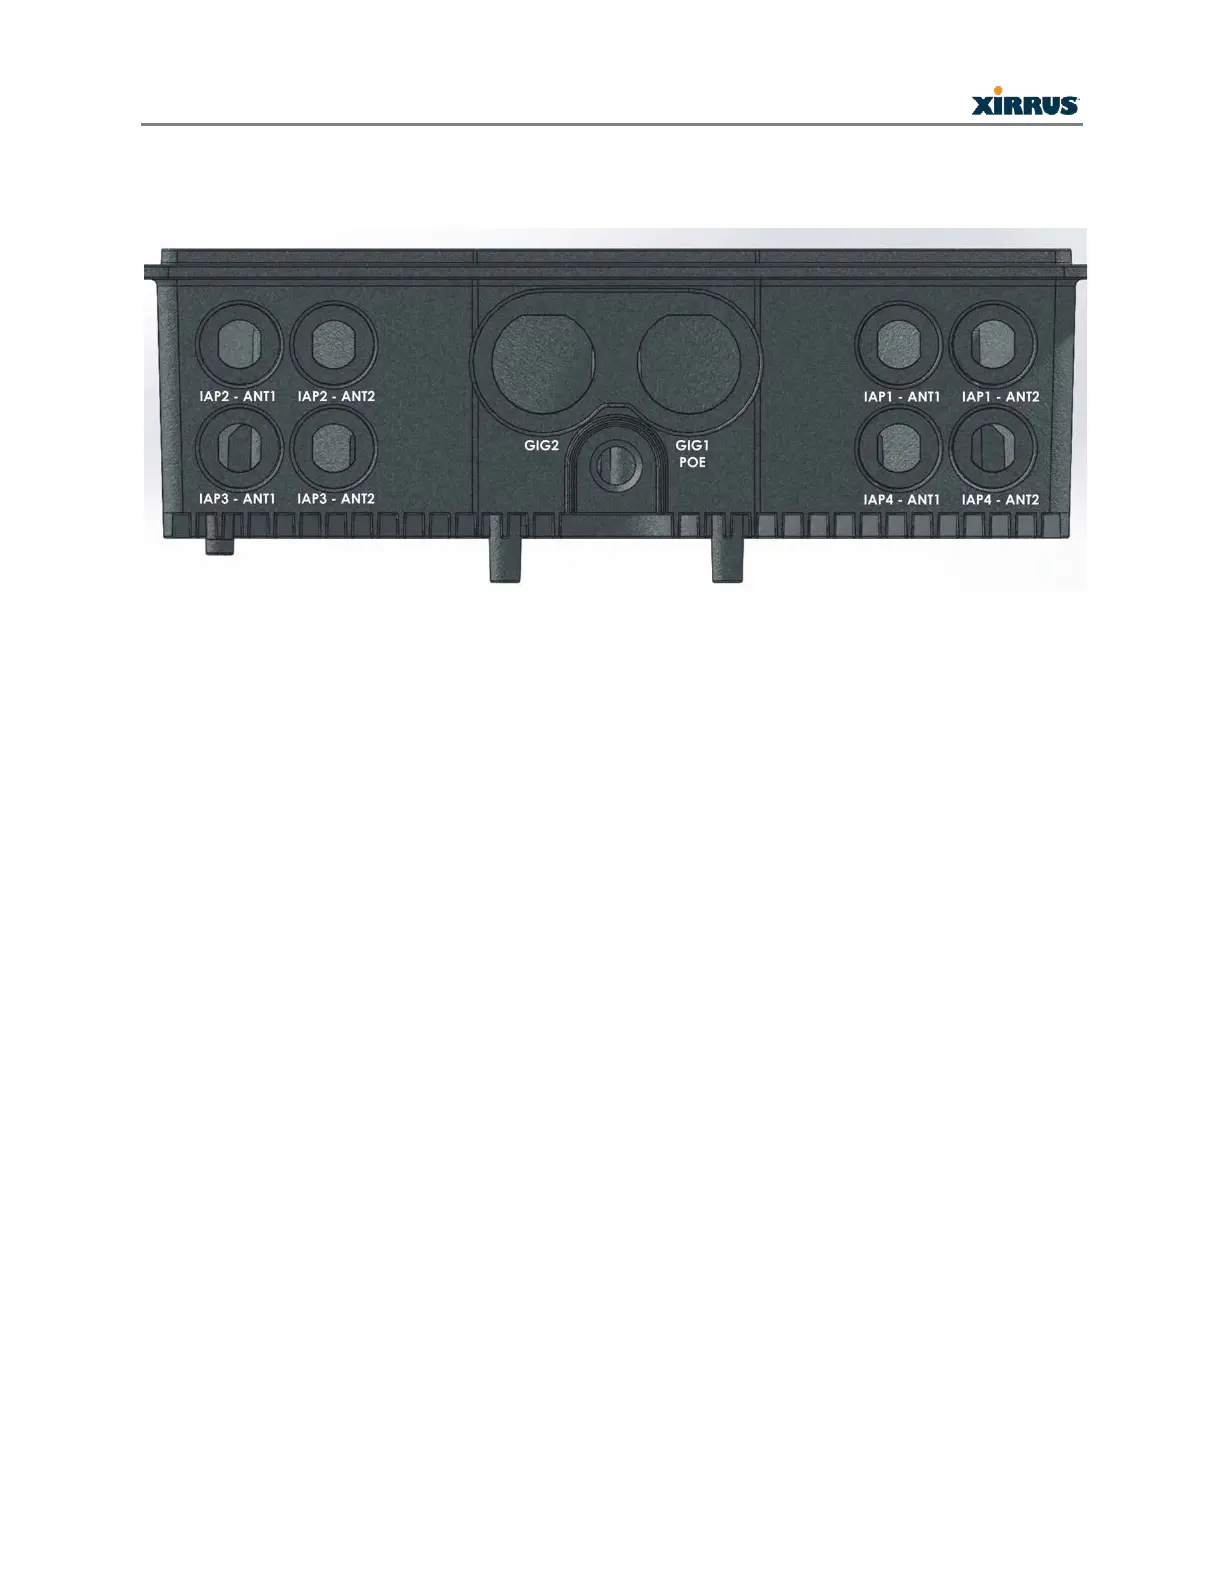
9) Connect the Antenna
The XR-2425H has eight RP-TNC connectors for the antennas, two for each of the four IAPs.
Both of the antenna connectors for each IAP (for example, IAP1 ANT1 and IAP1 ANT2) must
be attached to antenna leads for the same frequency band (for example, 5GHz), and that IAP
must be set to that band on the Array. Thus, you must configure the Array to correspond: set
each IAP to the correct frequency band using the Xirrus Management System (XMS) or the
Array’s CLI or Web Management Interface (WMI).
NOTE: To use a 3x3 MIMO antenna with the XR-2425H, connect to the +45 and -45 antenna
outputs. Do not use the connector marked “V”.
NOTE: For some MIMO omni-directional antennas where each of the individual antennas
is dual-band, it does not matter which lead is connected to which connector on the Array.
For example, the Xirrus ANT-OMNI-2x2-02 has four antenna leads that are not
differentiated in any way. The labels on all the leads are the same since each antenna is
dual-band and omnidirectional.
The opening beneath the Gigabit connectors is a weatherproof air pressure valve to relieve
high- or low-pressure conditions within the sealed chassis.
 Loading...