XR-2425H Q uic k Insta lla tio n Guid e
- 5 -
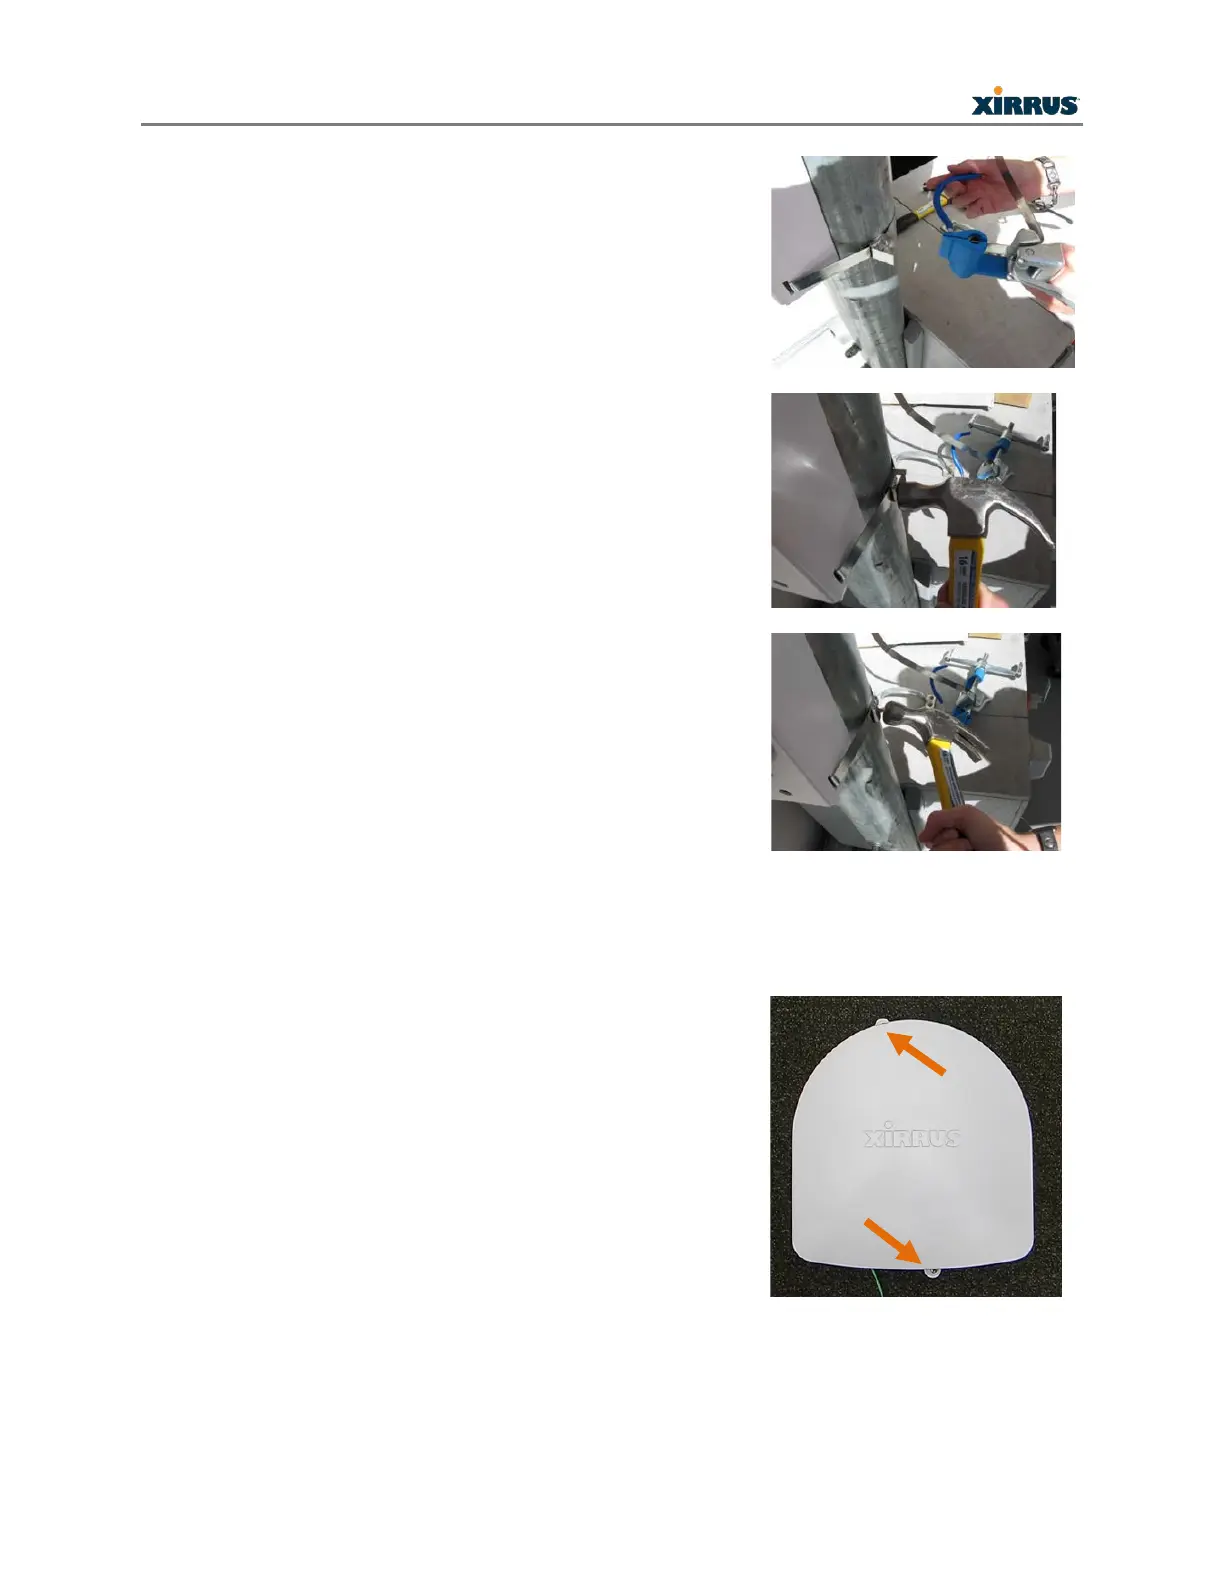
Your installation should now appear as shown here.
Using a hammer, bend back and flatten the remaining
strap.
Using a hammer, bend and flatten the two tabs on the
buckle to hold the flattened strap end in place.
The completed attachment should have the mounting
bracket firmly seated against the pole. One band should
be enough for most installations however a second band
can be used for additional mounting security.
5b) Wall Mounting
Place the Array in the desired location and mark the location of the bracket’s two mounting
holes on the wall, as shown.
Drill and prepare the holes for the desired screw type. In
metal walls the holes may be tapped to the proper thread
or alternatively the Array may be mounted with sheet
metal screws. For concrete walls a plastic anchor and
screw are suggested.
NOTE: Mounting screws for attaching the plate to the
wall are not provided in the kit.
The Array should already be secured to the mounting
plate (Step 4). Mount the assembly to the wall, securing it
at the two locations indicated.
 Loading...