17
BREAKING IN THE MICRO NITRO TRUCK ENGINE
The micro nitro truck nitro engine requires careful break-in the first time the engine is used to allow the internal parts to achieve proper operating clearances. This is especially
true of the piston/cylinder, crankshaft, and connecting rod (conrod). Pay close attention during the initial break-in period; this process is very important to achieve the best engine
performance, reliability, and lifespan.
Each micro nitro truck engine is shipped from the factory with all carburetor settings set to a standard position.
The proper way to break in the micro nitro truck nitro engine is to “heat cycle” the engine with short periods of running followed by cooling down periods. Heat cycling allows the
engine to heat up to its optimum operating temperature, allowing the components to “wear in” to each other properly. During the running time, the engines should be run only
SLIGHTLY rich at the top end; overly rich mixtures and cold temperature break-in will lead to premature wear and failure of the piston & sleeve and other engine components.
First, break in the engine by performing the following process:
1. Keep the carburetor factory settings; do not adjust.
2. Fill the fuel tank and “dry-start” the engine for 2-3 seconds without applying the glowplug starter, and with the carburetor in the “idle” position. This primes the fuel lines and
allows the fuel to reach the engine.
3. Apply the glowplug starter and start the engine.
4. Allow the engine to idle for a short time so the engine warms up.
5. Run the engine for 5–8 minutes, varying the throttle setting, without exceeding 1/2 throttle. The engine should run cleanly, and only SLIGHTLY rich at the top (noted by a very
slight “burbling”). If the engine runs very crisply with high temperature and hard acceleration, it is probably running too lean; turn the main needle CCW slightly to richen
the mixture very slightly at the top.
6. Stop the engine and allow it to cool down completely. Make sure the piston does not get stuck at top of the cylinder (TDC); rotate the flywheel to move the piston to the bottom
of the cylinder (BDC).
7. Run the engine for several more heat cycles:
• 5–8 minutes up to 2/3 throttle, then complete cool-down.
• 5–8 minutes up to 3/4 throttle, then complete cool-down. (During the running, start to lean the main needle so it runs only very slightly rich – less than before – on top.)
• Run through a full tank of fuel up to full throttle, adjusting the main needle so the engine runs cleanly at high RPM.
Do not run the engine at high RPM without load; that is, don’t pick the truck off the ground and run the engine hard. The engine will overheat without the
airflow over its cooling head, damaging the engine components.
ADJUSTING THE MICRO NITRO TRUCK ENGINE
The "Golden Rule of Carburetor Adjustment" is to make only small adjustments at one time, maximum 1/8 turn (45°), especially when fine tuning. The en-
gine is very responsible to small changes in mixture settings.
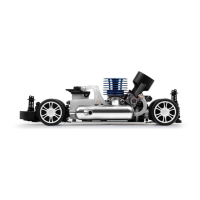
CARBURETOR ADJUSTMENT - OVERVIEW
The carburetor on the NT18 engine is preset at the factory, meaning that the original settings are close to where they should be for normal operation.
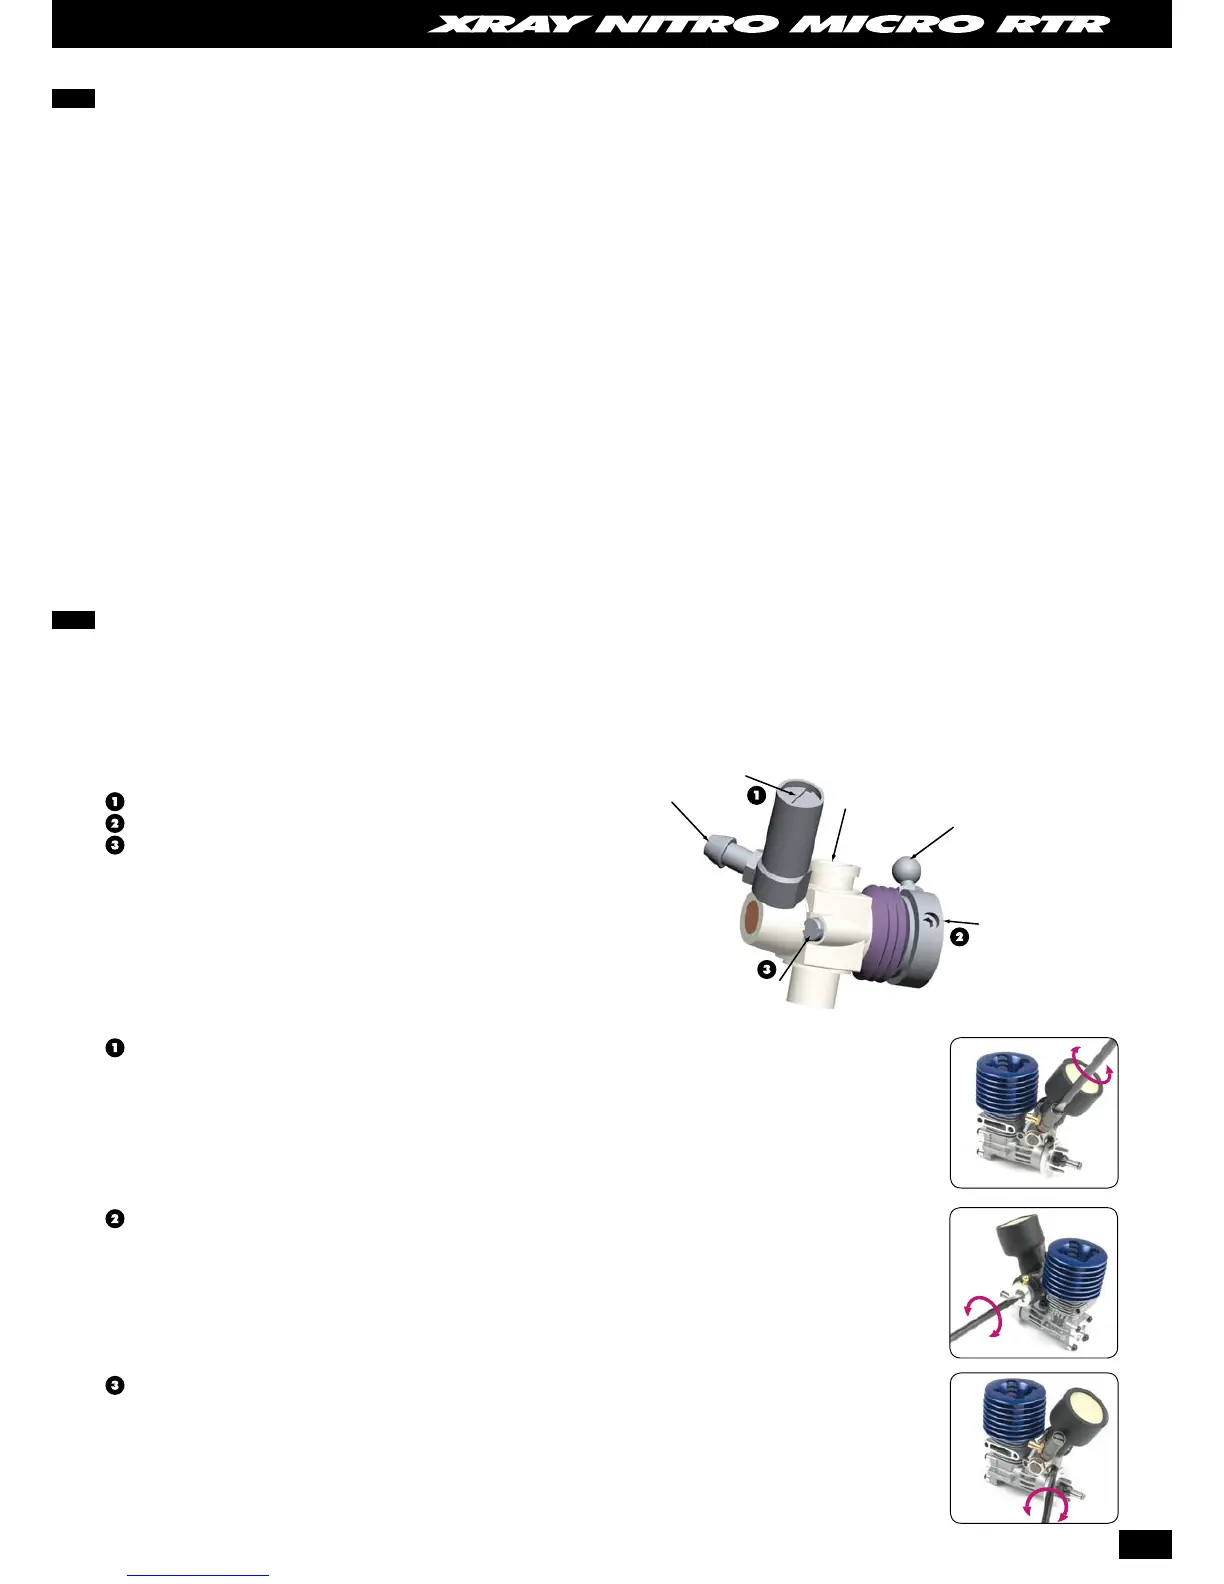
The engine carburetor has 3 adjustments:
Main needle valve
Low-speed needle
Idle adjustment screw
Throttle
Linkage Ball
Air Intake
Main Needle Valve
Fuel Inlet
Idle Adjustment Screw
Low-speed
Needle
The carburetor has three settings that may be adjusted. Note that the initial
position of each setting has been adjusted by the air gauge before shipping
from our factory.
MAIN NEEDLE VALVE
The main needle valve controls the overall fuel flow to the carburetor, though its effects are particularly noticeable between ¼ and full
throttle.
In the situation where this setting has not been adjusted, or if you get lost with your setup, put the main needle valve to the factory setting:
• Turn the needle CW until it barely stops (do not tighten it further or you will damage the carburetor).
• Turn the needle CCW by 3-4 turns from the fully-closed position.
LOW-SPEED NEEDLE
The low-end needle controls the amount of fuel at idle and low RPM (up to approximately ¼ throttle).
IDLE ADJUSTMENT SCREW
The idle screw controls the idle RPM when the carburetor is fully closed. We strongly recommend that the initial, factory-default setting be used
for normal operation.
 Loading...